
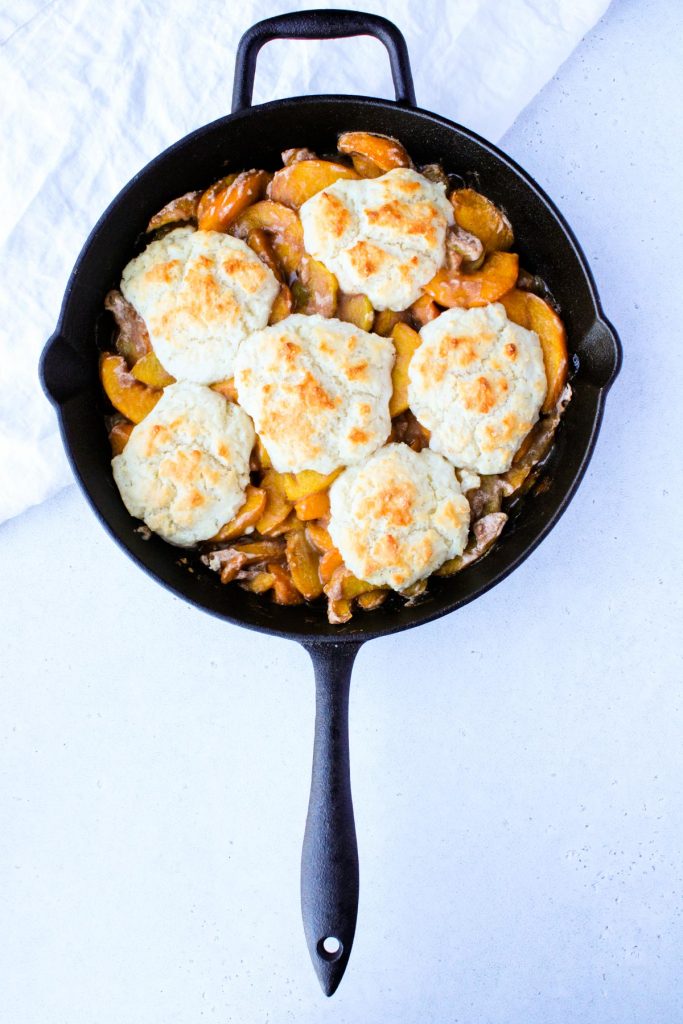
This healthy peach cobbler made with frozen or fresh peaches is perfect dessert or even for a delicious breakfast! With less sugar than most peach cobbler recipes out there, it packs in extra nutrition with Greek yogurt in the biscuit topping!
You got peaches?
Then I've got a cobbler for you😄
This healthy and gluten-free peach cobbler has less sugar than most cobbler recipes out there.
And using your cast iron skillet to bake this peach cobbler is a perfect was to cook and serve this delicious recipe!
Jump to:
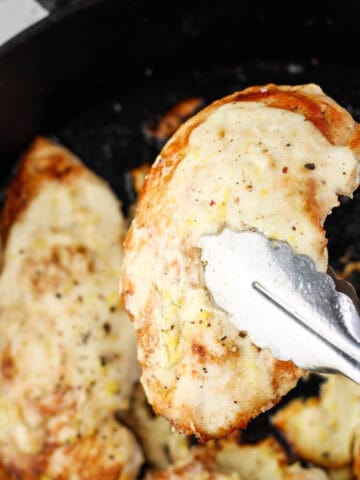
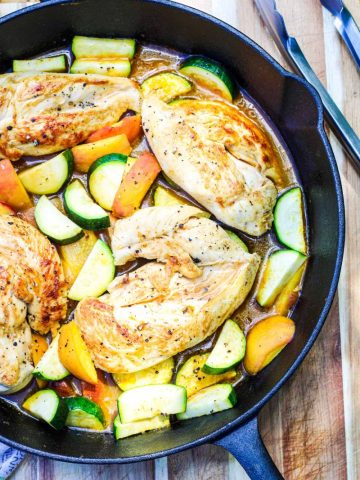
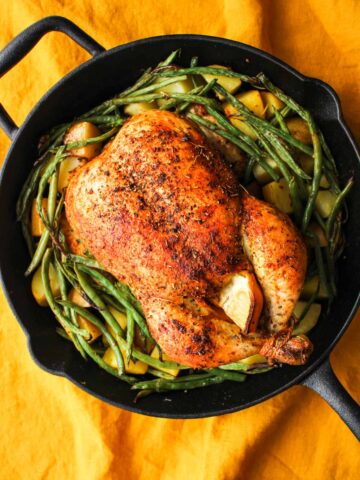
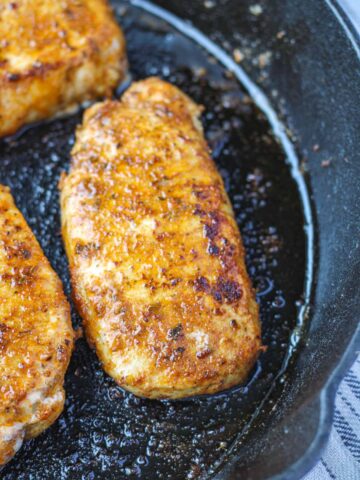
If you're new to cast iron cooking, definitely check out this recipe for Cast Iron Skillet Chicken Breast if you love chicken.
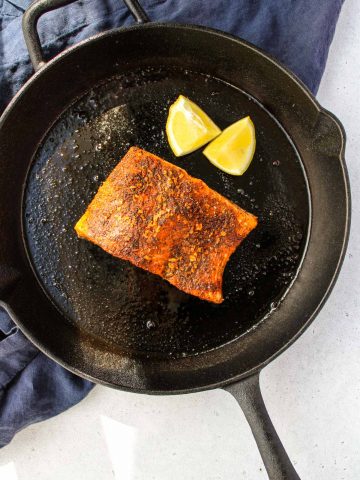
And if you love the salmon, then check out this Cast Iron Skillet Salmon recipe😄
Cast Iron Skillet Recipes
- Skillet-Seared Chicken Breasts with Lemony Greek Yogurt Sauce
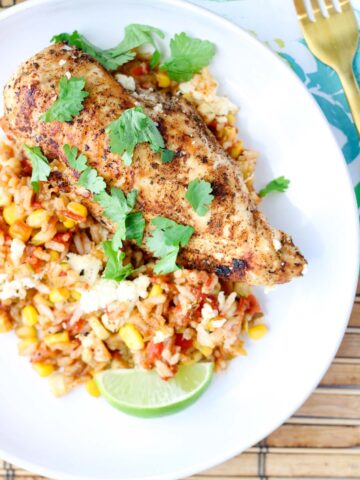
- Easy Cast Iron Skillet Chicken and Rice (One Pan Recipe)
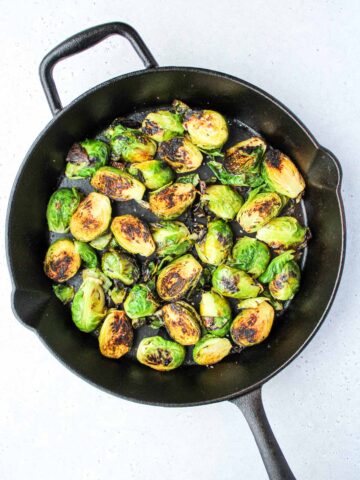
- 4 Ingredient Cast Iron Skillet Brussel Sprouts
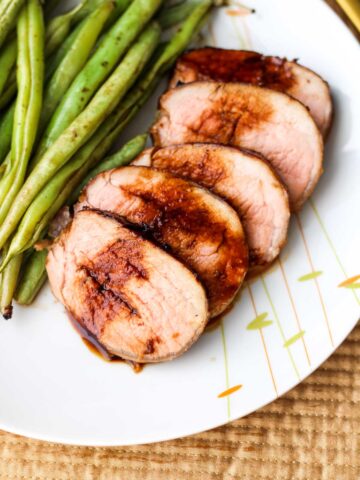
- Best Cast Iron Pork Tenderloin Recipe
Now, on to the most delicious and gluten-free cobbler recipe for you...

Ingredients
Here's what you'll need to make this easy and healthy peach cobbler:
- Peaches, about 7 cups; frozen or fresh🍑
- Gluten-free flour - I like Bob's Red Mill 1:1 Baking Flour
- Lemon for zest and juice
- Cinnamon
- Salt
For the topping, you make like a "biscuit" - with a healthy twist😄
You'll need:
- Gluten-free flour
- Sugar
- Baking powder
- Salt
- Greek yogurt, 2%
- Melted and cooled butter
- Milk
- Vanilla (optional)
See recipe card for quantities.
Instructions
Making this easy cast iron skillet peach cobbler is a breeze.
Here's the high level steps:
- Pre-heat oven to 375 degrees F. Melt some butter in the cast iron skillet so the peaches don't stick.
- Toss frozen and thawed (or fresh) peaches with flour, cinnamon, grated lemon zest, lemon juice and salt. Arrange in cast iron skillet.
- Then make the topping: combine flour, sugar, baking powder, and salt in a medium bow. Then combine Greek yogurt, melted butter, milk and vanilla in a small bowl. Add the Greek yogurt mixture to the flour mixture. Stir until just combined. You'll have a loose "dough".
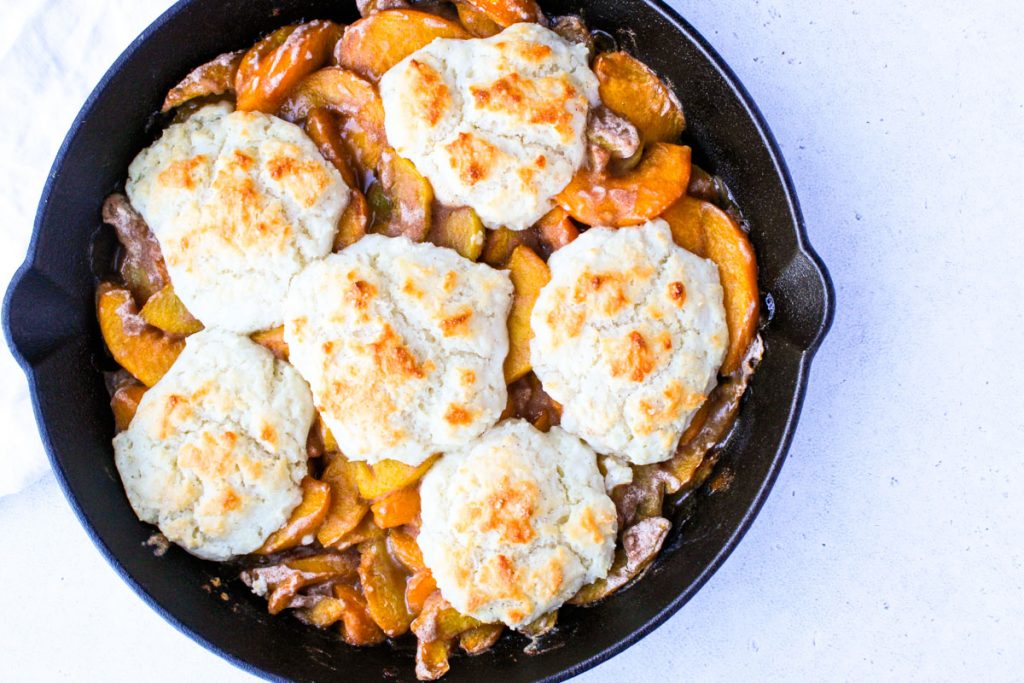
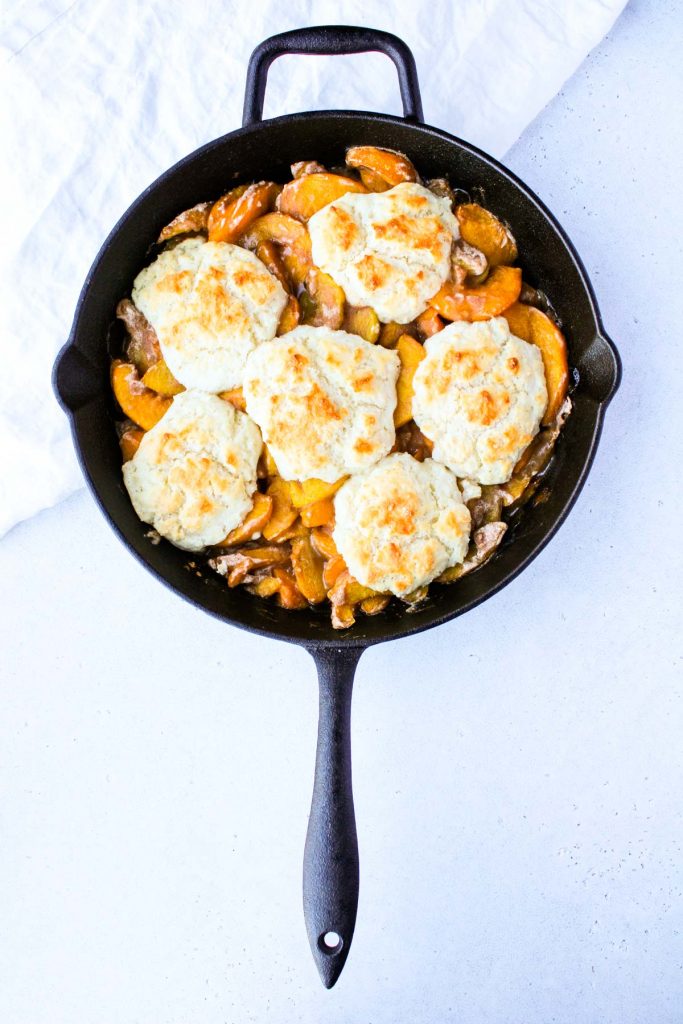
- About ¼ cup a time, spoon the topping on top of the peaches, spacing each mound of topping out. You'll have about 5-6 mounds of dough.
- Brush the topping with a little milk and sprinkle the whole cobbler with ~1 tablespoon of sugar (optional).
- Bake in the pre-heated oven for 45 - 50 minutes. Tops of the cobbler should brown.
- Let sit in the cast iron pan 10 minutes before serving.

Can I make peach cobbler without peaches?
Want to make a plum, cherry or really almost any kind of fruit cobbler?
No problem! Just keep the proportions the same and you can sub in any fruit you'd like.
Here are some of my favourite fruits to have in a cobbler:
- Cherries
- Diced rhubarb
- Mixed berries like strawberries, blueberries and blackberries
- Sliced apples
- Sliced plums
Can I make peach cobbler with canned peaches?
Yes, you definitely can. To keep the sugar content on the lower side though, buy the canned peaches in water or "in their own juice".
Canned peaches will also have a little more moisture so add 1 or 2 more tablespoon of flour to the filling to absorb some of that moisture.
Can I use frozen peaches to make peach cobbler?
Absolutely in fact, it's how I usually make it! Using frozen peaches is also how I perfected this recipe. Big tip for using frozen peaches though: I find the results are better if you let the peaches thaw out and come to room temperature before baking them.
If you know you're making this recipe in advance, take out your bag(s) of frozen peaches the night before and put them into the fridge. They'll thaw slowly overnight.
You can also use the microwave to thaw your frozen peaches if you didn't take them out ahead of time.
Most microwaves will have a "defrost/frozen fruit" setting. Or just start with 30 second increments on a lower power setting and thaw the peaches out that way.
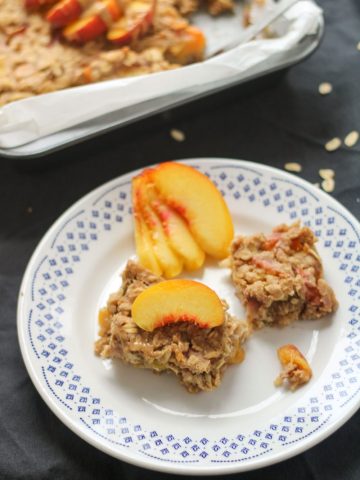
More frozen peaches to use up? Try this recipe for Healthy Cherry and Peach Crisp with Oat Crumble (Gluten-Free)!
What to serve with peach cobbler
I love this healthy peach cobbler straight-up, aka there's no topping needed!
If you like a little cooling topping to go with the warm cobbler, then spoon a little Greek yogurt overtop, especially if you're going for a healthier version and it's breakfast time.
Otherwise, if you're going for a more decadent dessert, go for a small scoop of high quality ice cream🍨
Equipment
Since this is peach cobbler in a cast iron pan, then you'll be using a cast iron skillet if you have one.
If you don't have a cast iron pan, no worries.
You can easily make this delicious peach cobbler in a glass baking dish, approximately 9x13".
Follow the rest of the recipe as written and just watch the baking time. You might need to add a few more minutes because the cast iron really holds the heat.
Storage
You can keep leftover peach cobbler in the fridge for up to 3 days.
Keep it in a container with a lid. You can re-heat it portion by portion as you need it.
Did I mention it's delicious for breakfast?! Scoop a portion of this yummy cobbler into a bowl and warm it up in the microwave. Paired with a hot cup of coffee, this cobbler will become a new favourite - promise🙋♀️
Top tips
2% Greek Yogurt is a must
Be sure to use 2% Greek yogurt for the best results with the topping.
I've experimented with using 0% Greek yogurt and because of the lower fat and higher water content, the 0% Greek yogurt causing the topping to be less fluffy and fall flat. And that's no bueno.
Baking Time Tips
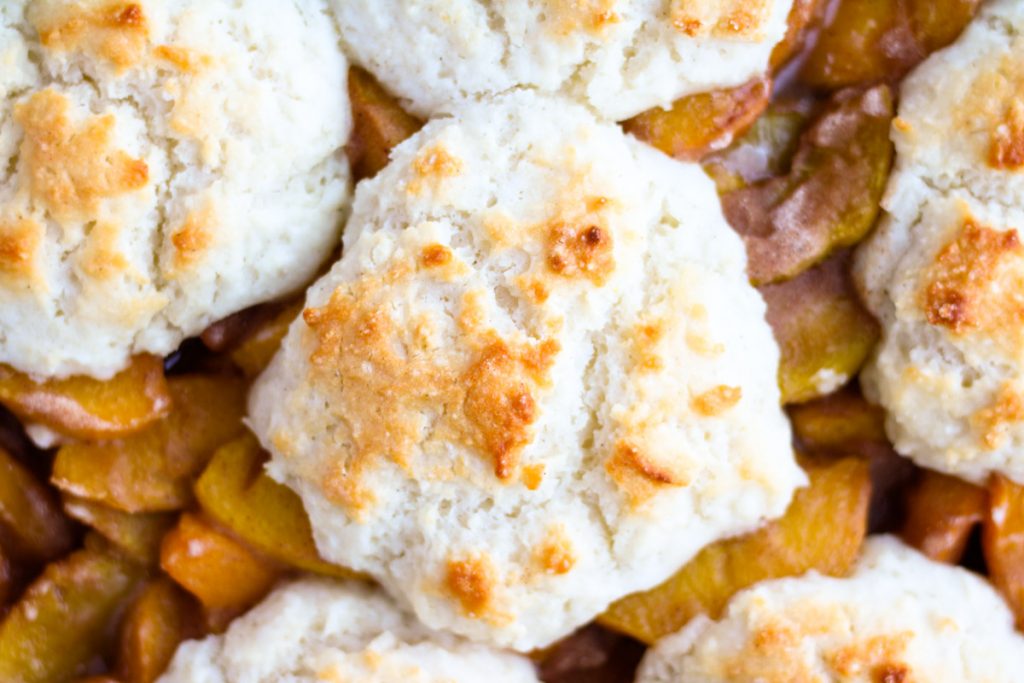
After baking the cobbler in the oven for 45 - 50 minutes, check the biscuit on top with a toothpick. If it comes out clean and the tops are browned, it's done.
The peaches around the biscuit topping and the sides of the cast iron pan will start to turn golden brown.
If the tops of your biscuit aren't browned by the end of the baking time, you can put the whole pan on a higher rack in the oven, closer to the element to try and get some browing.
Keep in mind, if you didn't brush the tops of the biscuit with the milk, they won't brown as easily so if you like browned biscuits, be sure to brush those biscuits baby🙋♀️
Let the cobbler rest after baking
Be sure to let the cobbler sit and rest after it finishes baking in the oven.
Letting it rest after baking lets the peaches on the bottom continue to thicken up a bit. And makes it easier to serve.
Alright I hope you love this easy peach cobbler recipe!🍑
~April
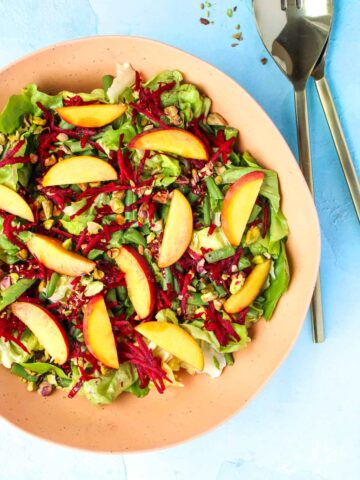
🍑More Recipes with Peaches

📖 Recipe
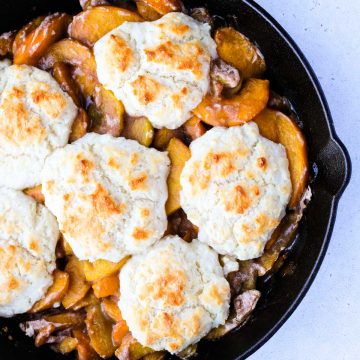
Cast Iron Skillet Peach Cobbler
Equipment
- 1 Cast iron pan
Ingredients
- 7 cups peaches
- ½ cup gluten-free flour
- ¼ cup sugar
- ½ teaspoon salt
- 1 teaspoon cinnamon
- 1 lemon for zest and juice
Biscuit topping ingredients
- 1 cup gluten-free flour
- ¼ cup sugar
- 1 teaspoon baking powder
- ¾ teaspoon salt
- 1 cup 2% Greek yogurt
- 2 tablespoon melted and cooled butter
- ¼ cup milk
- 1 teaspoon vanilla optional
Instructions
- Pre-heat oven to 375 degrees F. Melt some butter in the cast iron skillet over medium heat so the peaches don't stick. Set aside.
- Toss frozen and thawed (or fresh) peaches with flour, sugar, salt, cinnamon, grated lemon zest and juice from 1 lemon. Arrange in prepared cast iron skillet.
- Then make the topping: combine flour, sugar, baking powder, and salt in a medium bow. In a separate smaller bowl, whisk together the Greek yogurt, melted butter, milk and vanilla. Add the Greek yogurt mixture to the flour mixture. Stir until just combined. You'll have a loose "dough".
- About ¼ cup a time, scoop the dough on top of the peaches, spacing each mound of topping out. You'll have about 5-6 mounds of dough.
- Brush the dough with a little milk and sprinkle the whole cobbler with 1 tablespoon of sugar (optional).
- Bake in the pre-heated oven for 45 - 50 minutes. Tops of the cobbler should brown.
- Let sit in the cast iron pan for about 10 minutes before serving. Serve warm.
Comments
No Comments