Okaaaay, THIS meal prep is a really WINNER🏅
Especially when you're tired and / or just plain don't feel like cooking.
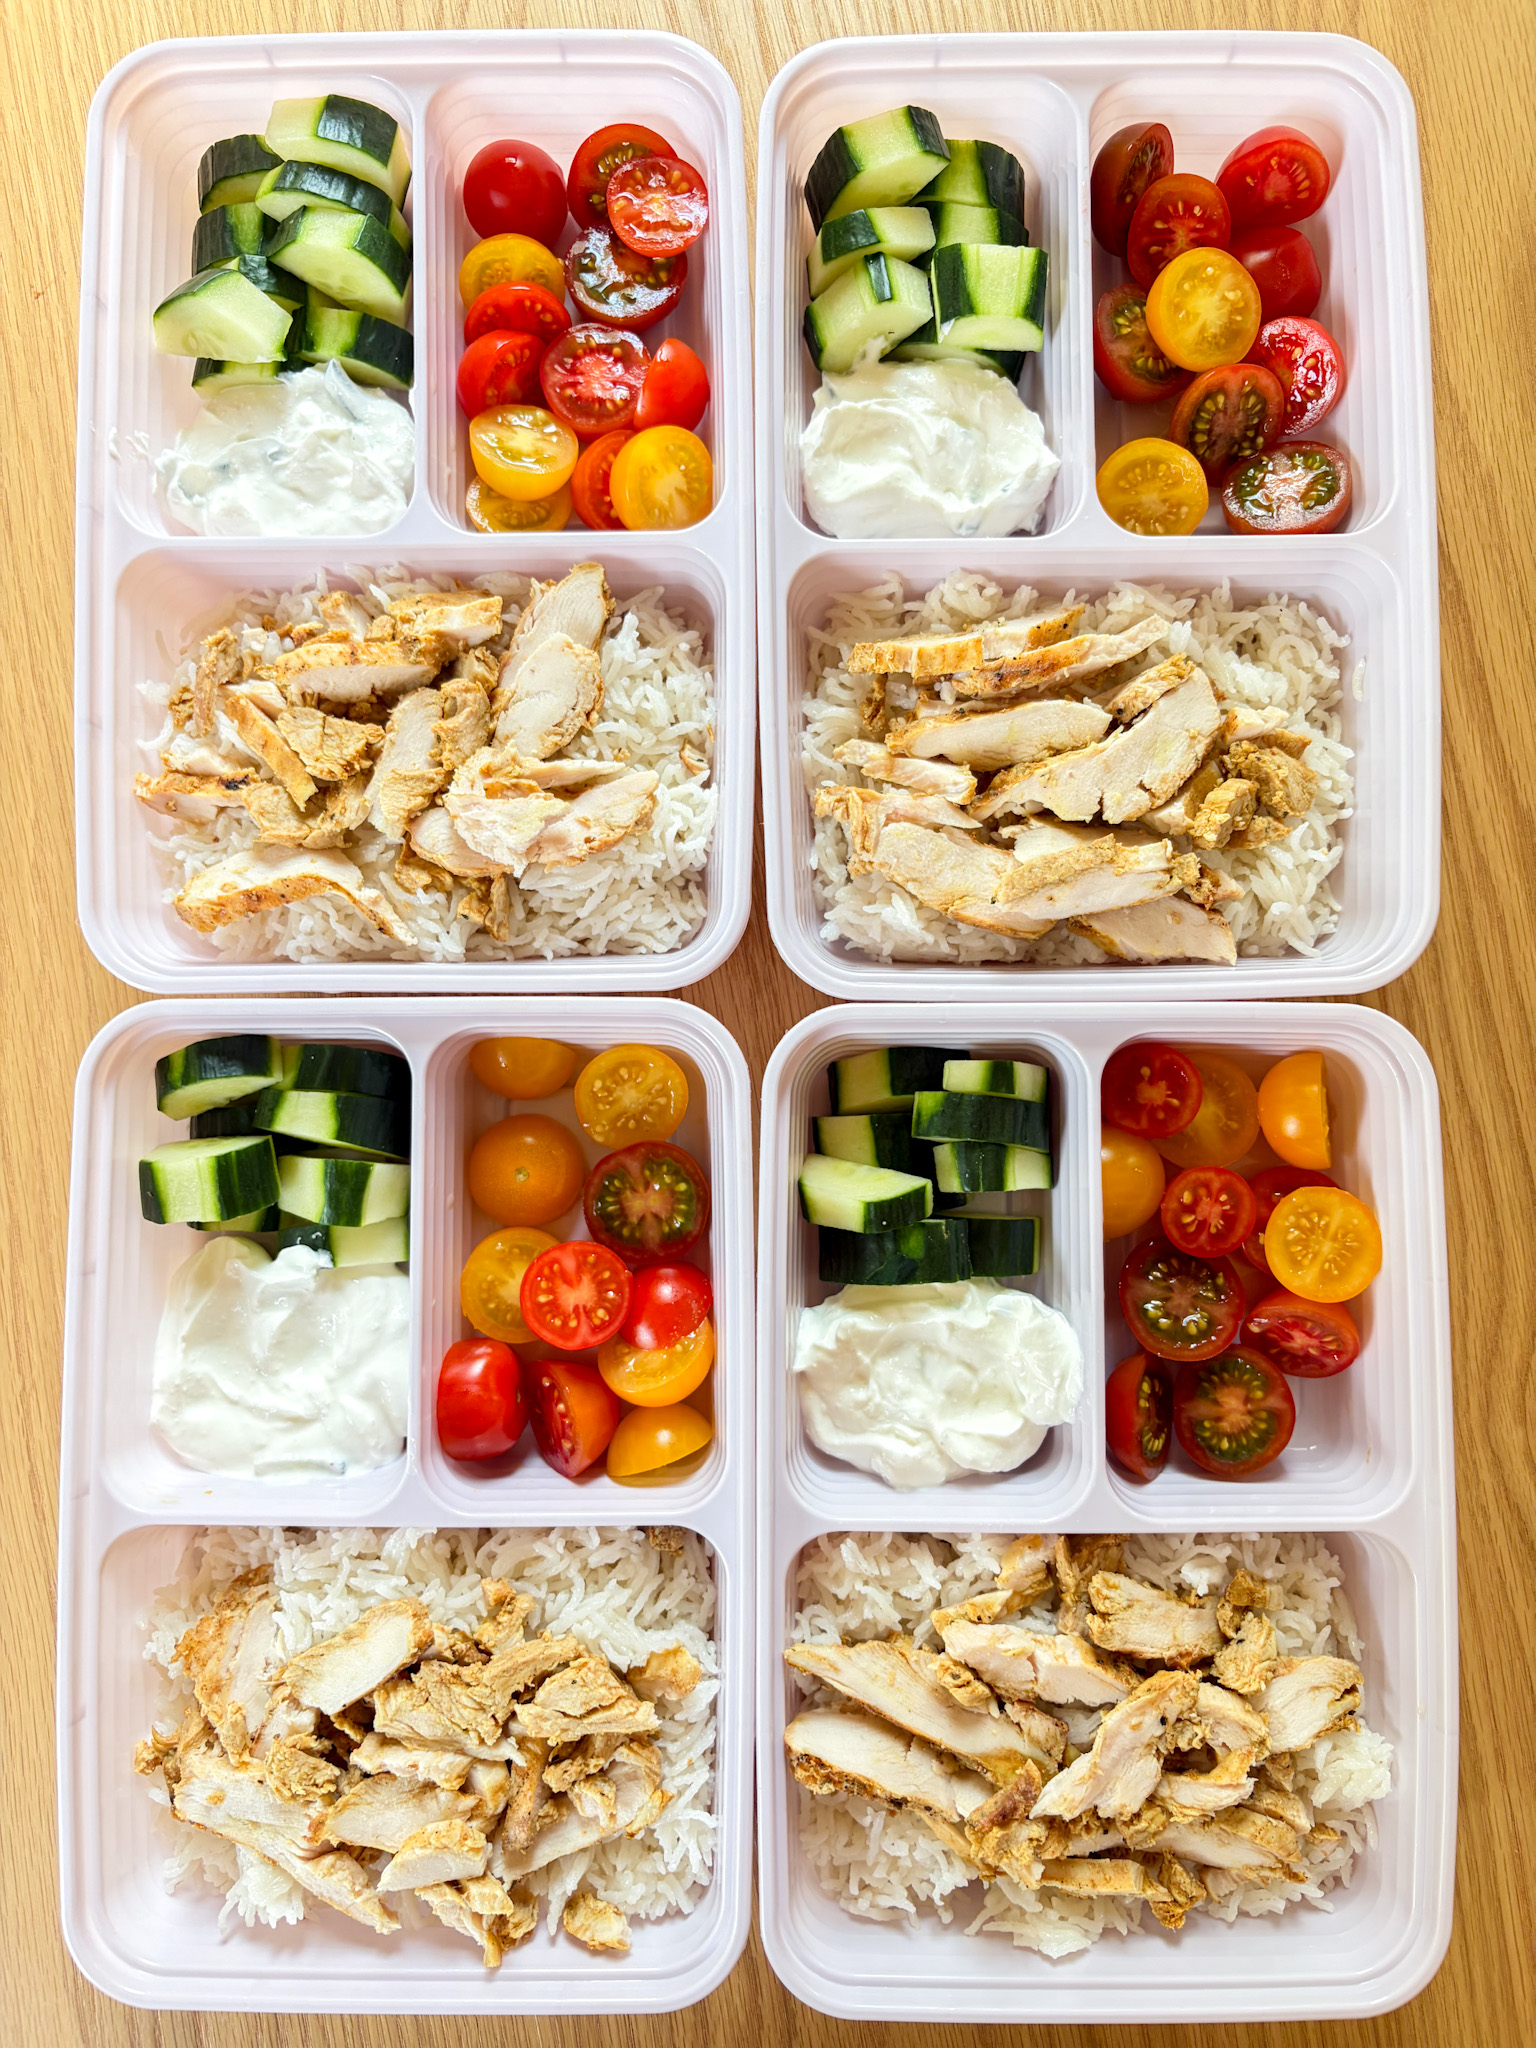
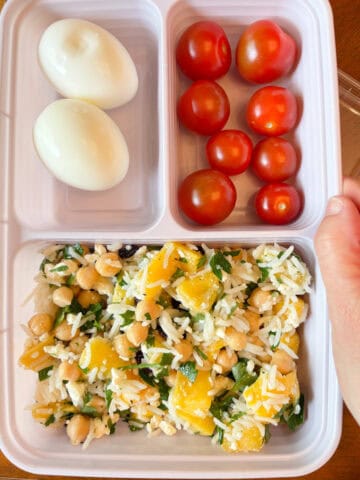
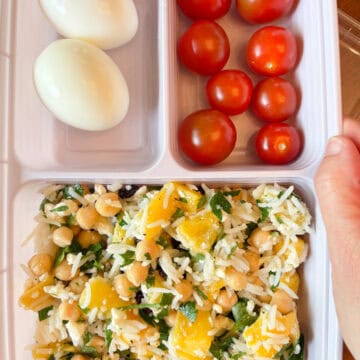
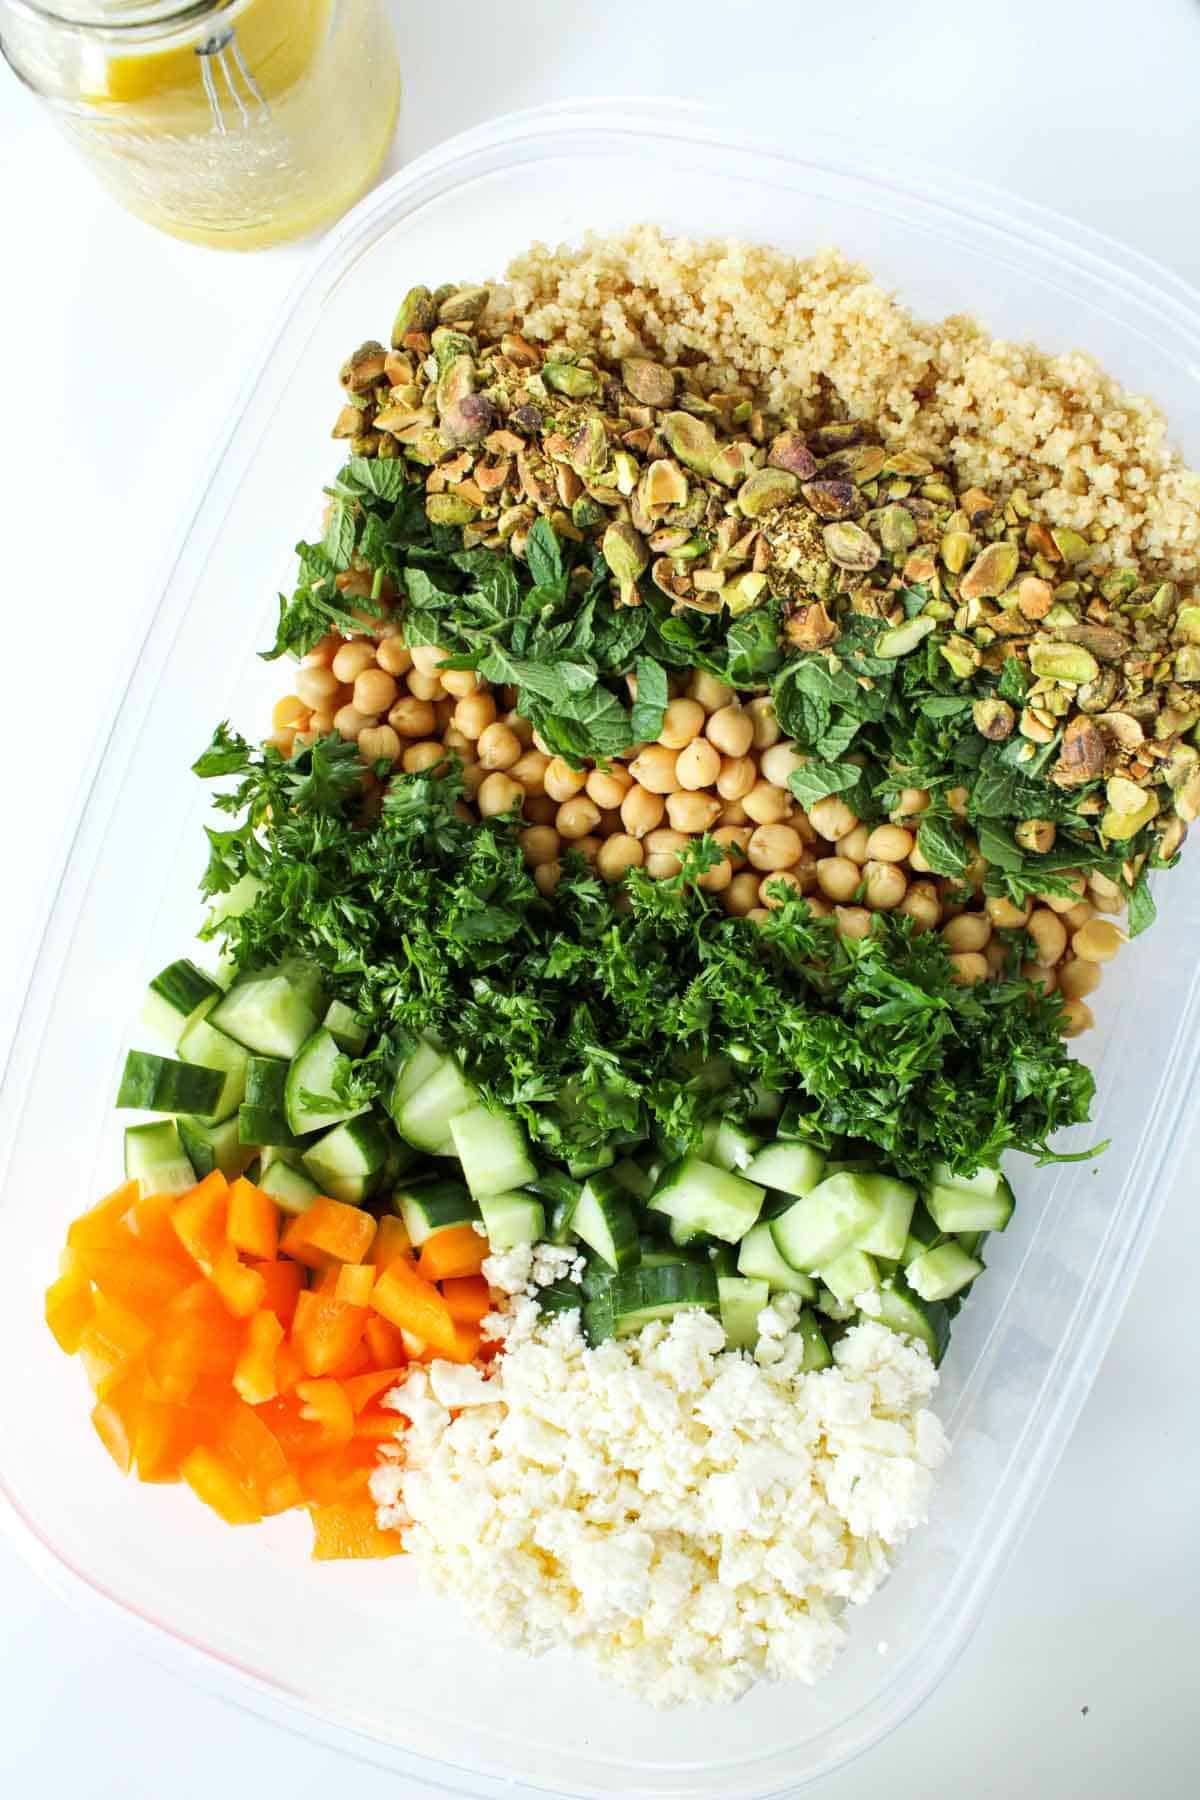
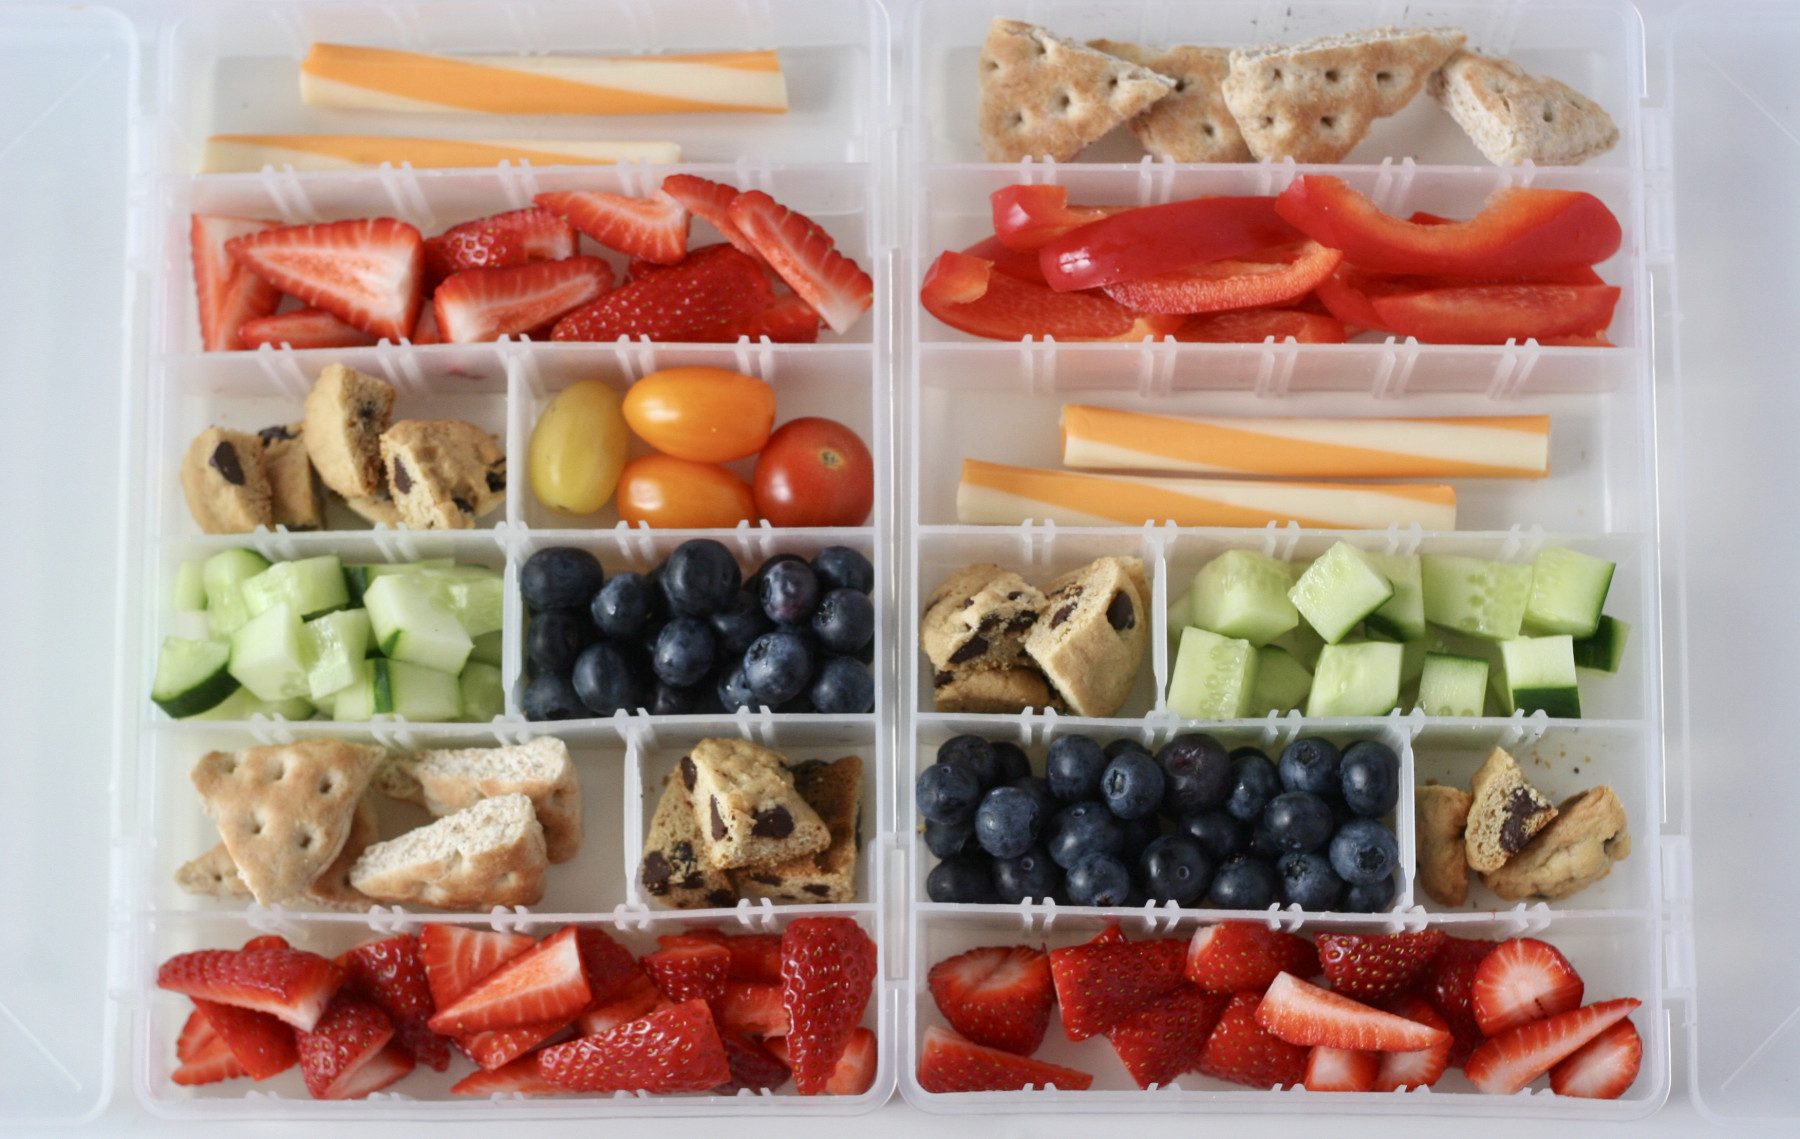
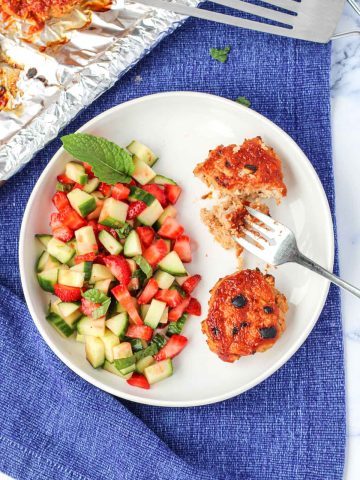
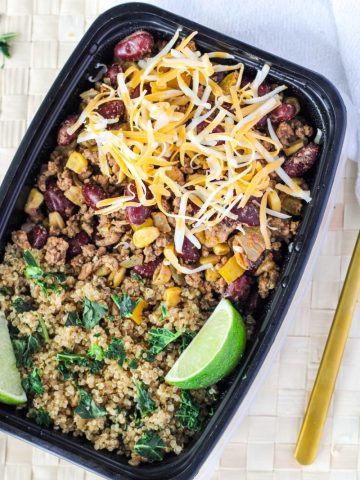
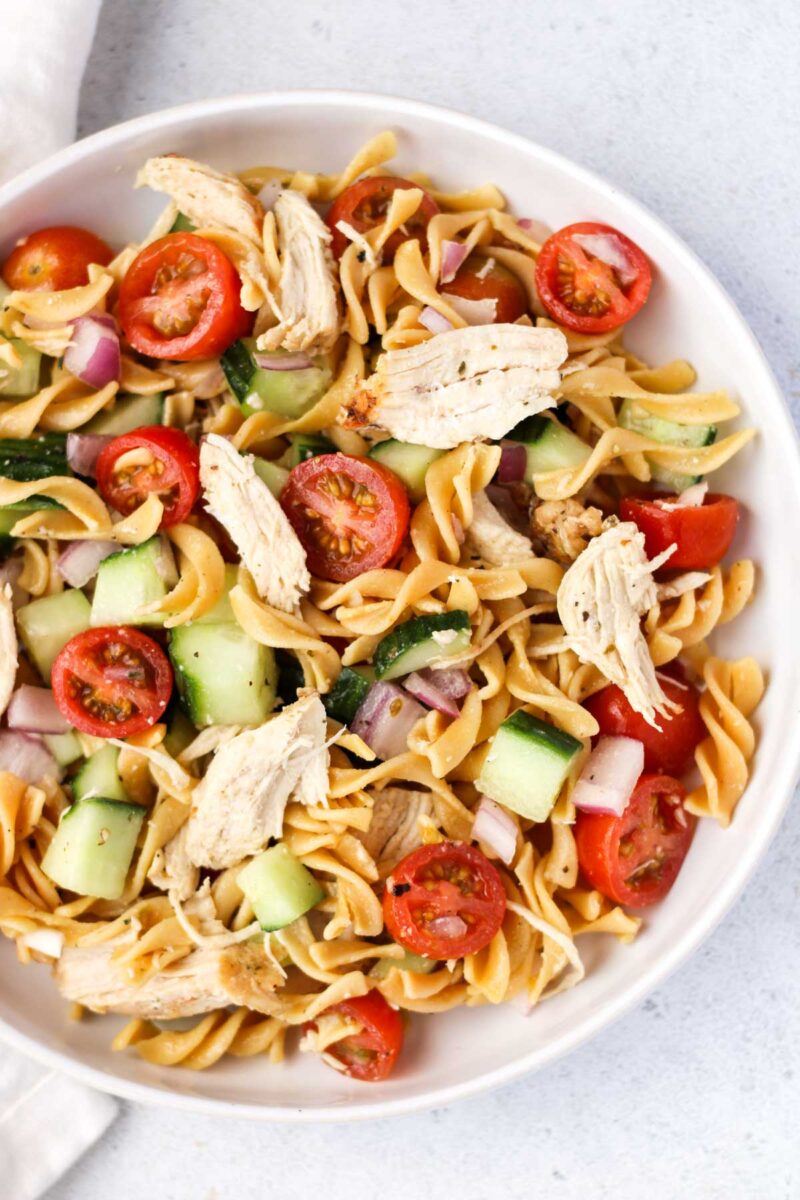
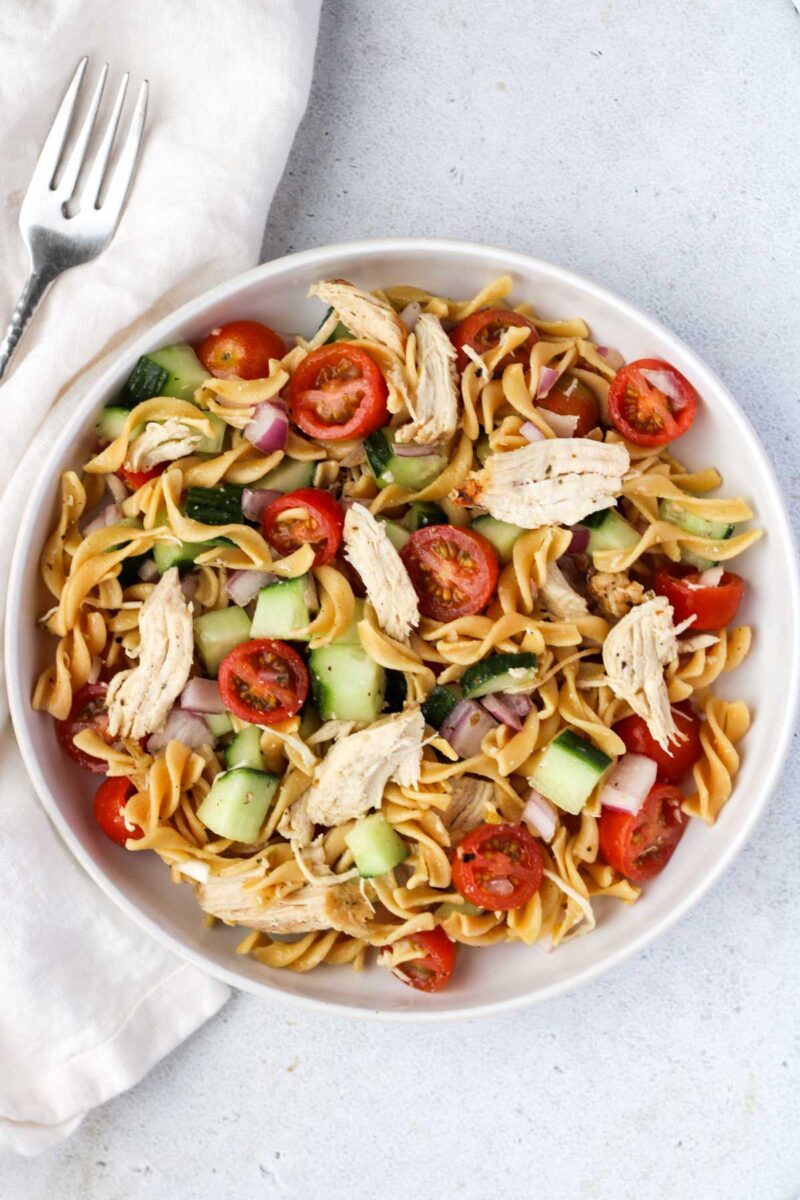
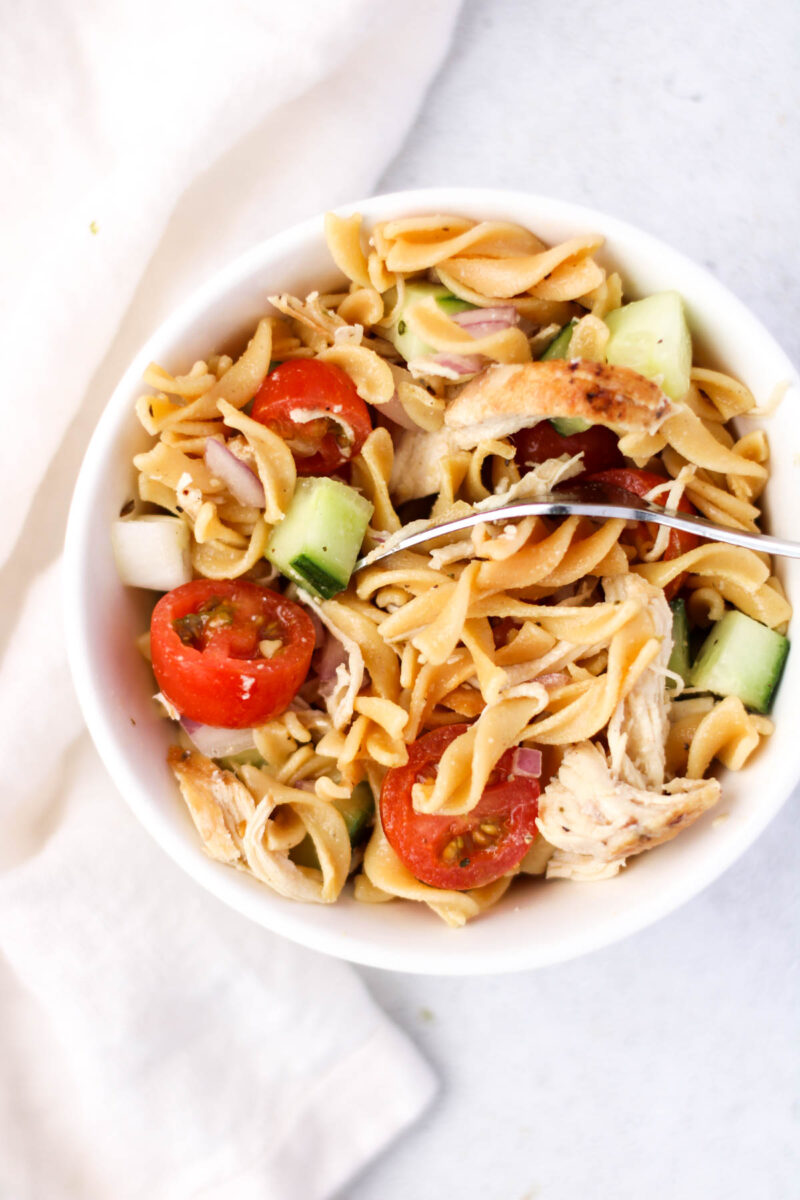
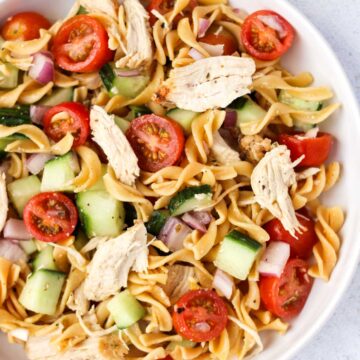
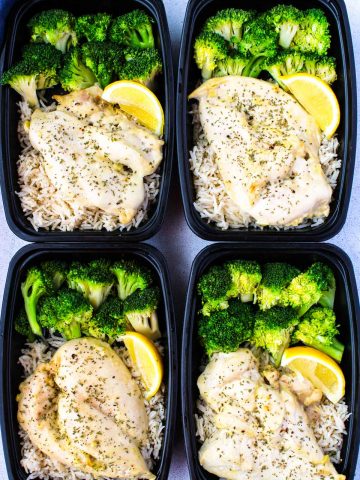
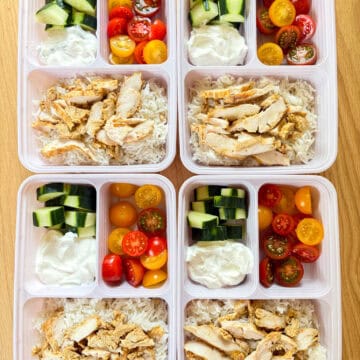
Less of a recipe and more of an "assembly" box, this Chicken Shawarma Bowl comes together so easily.
And it has everything you need in a healthy lunch:
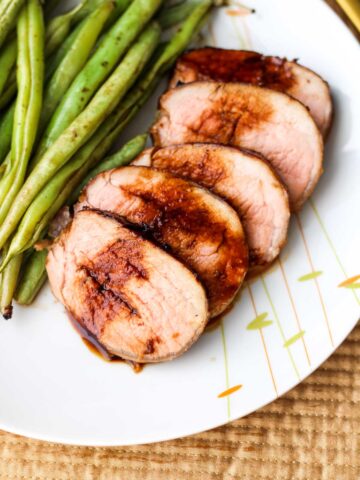
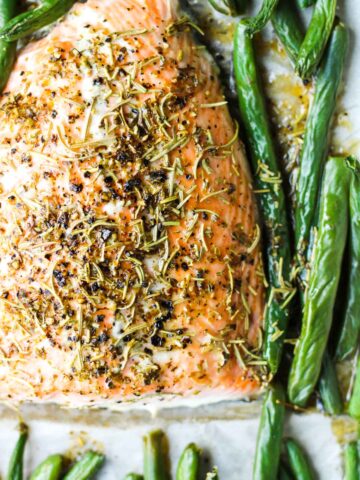
- High protein chicken
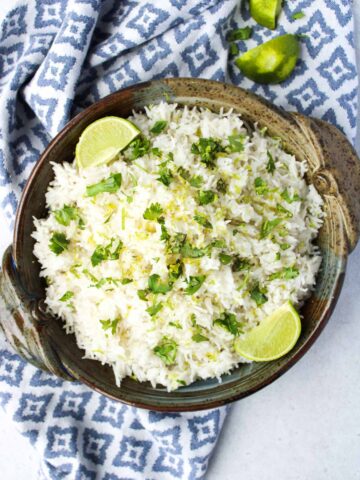
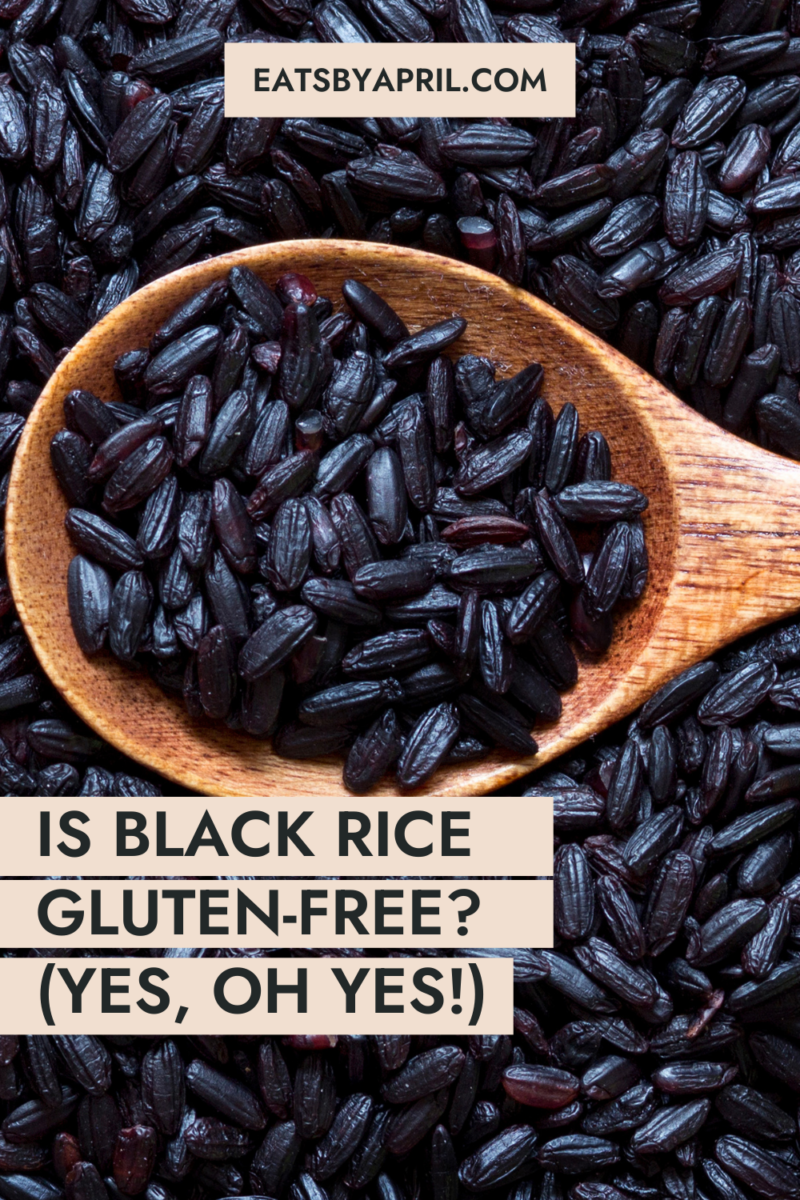
- Flavorful and naturally gluten-free rice
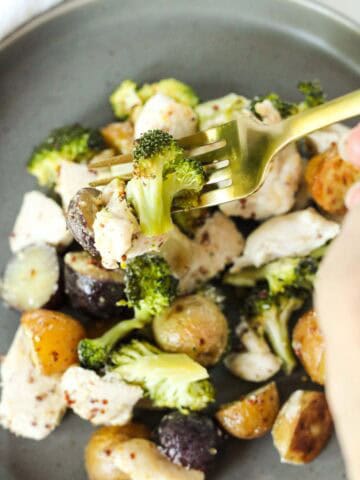
- Fresh veggies
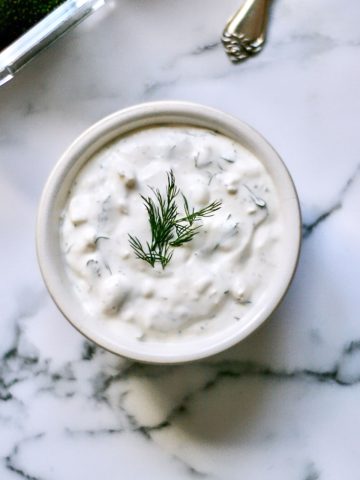
- A yummy dip (tzatziki in this case)
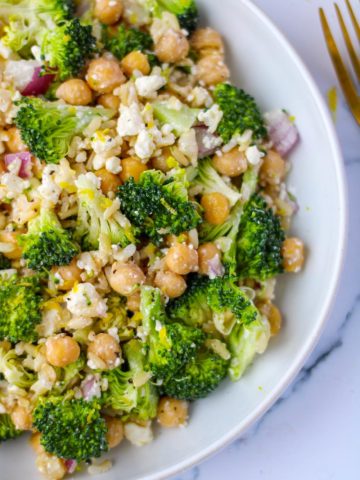
More Chicken Meal Prep Recipes
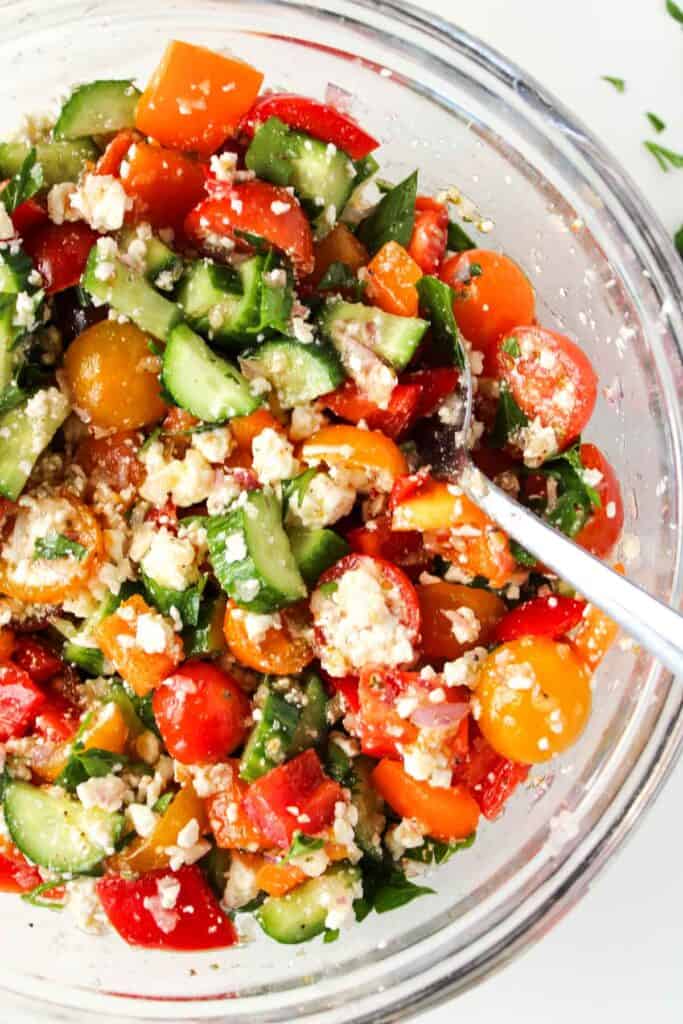
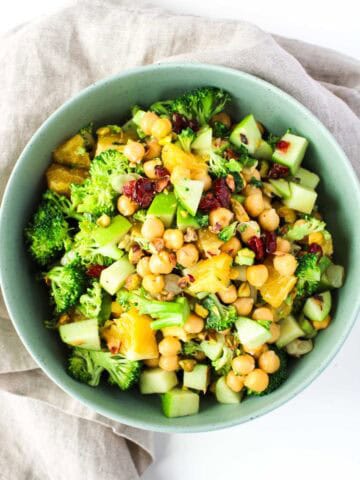
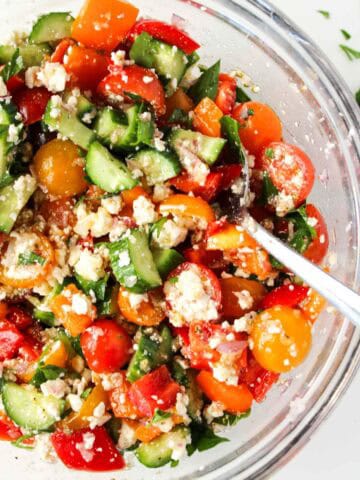
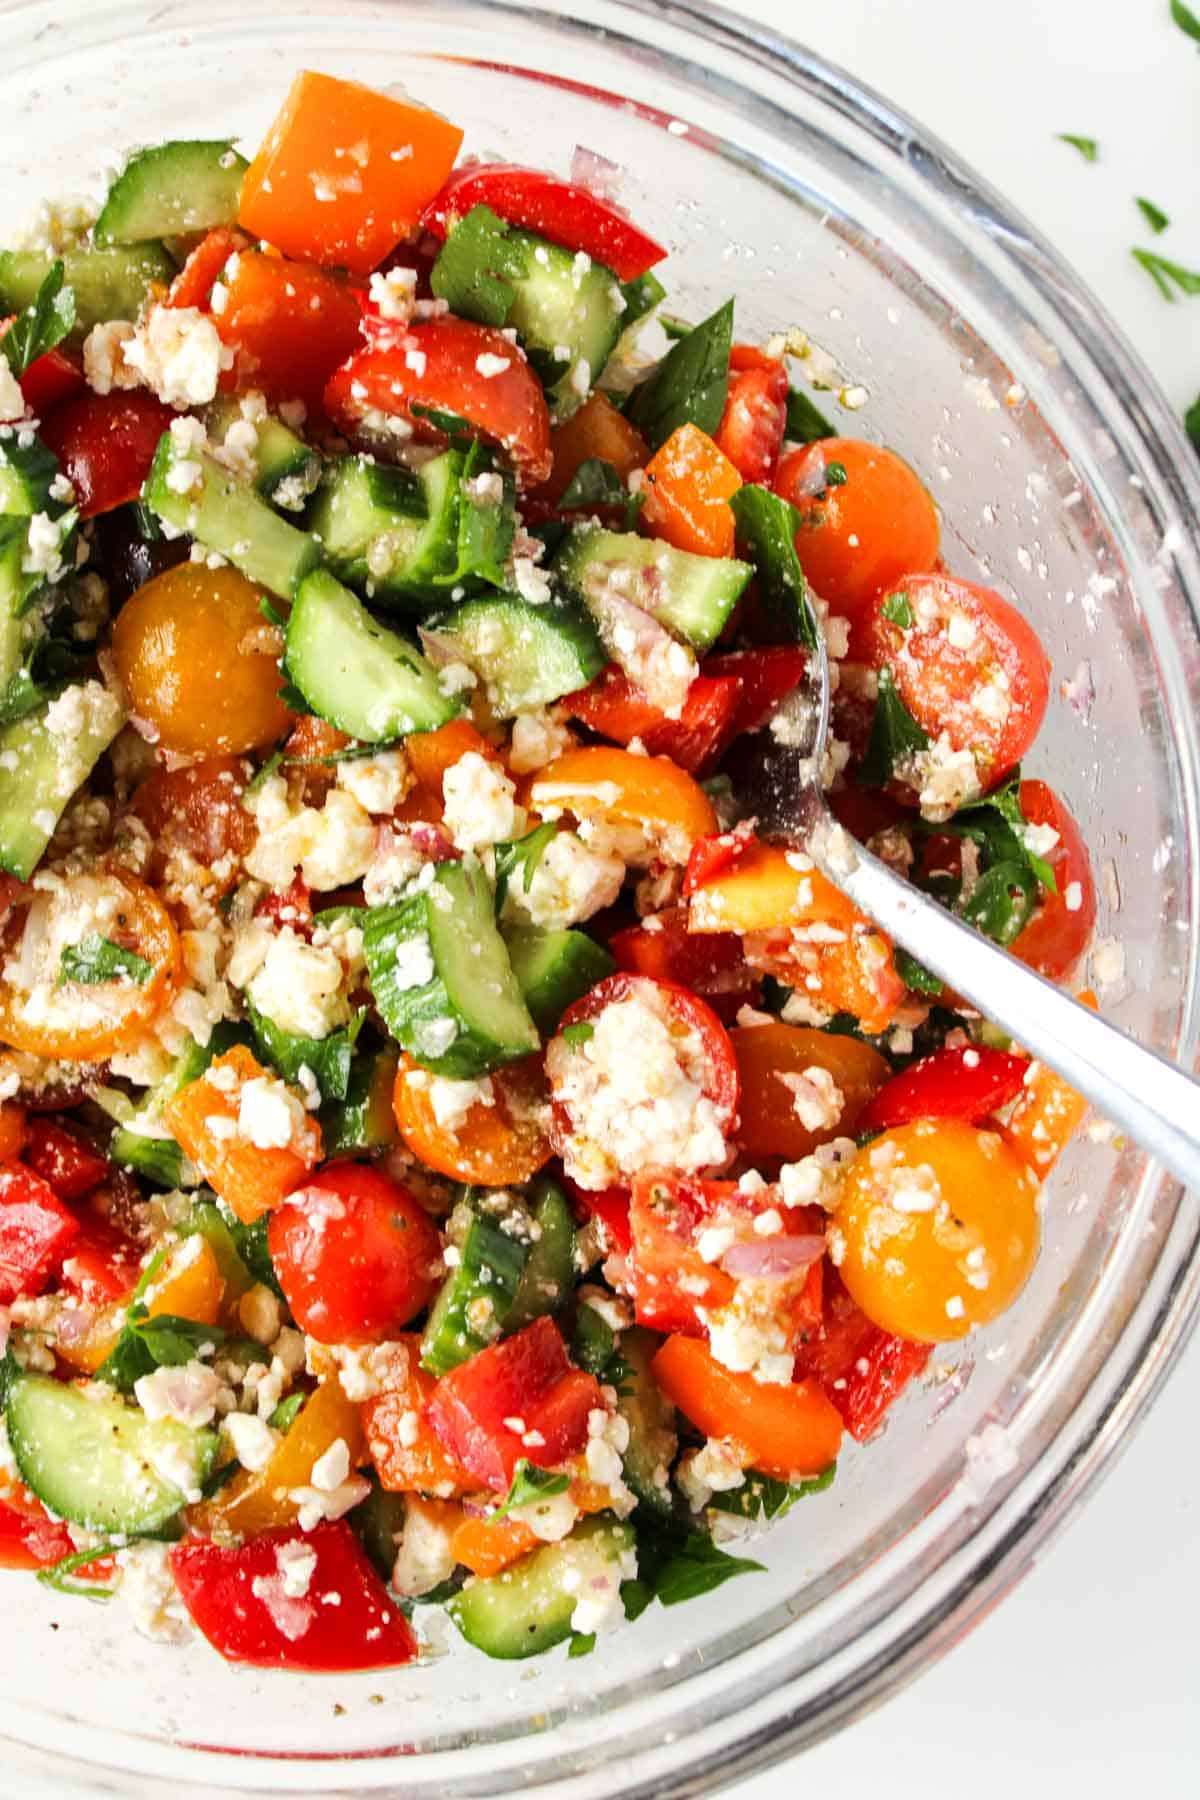
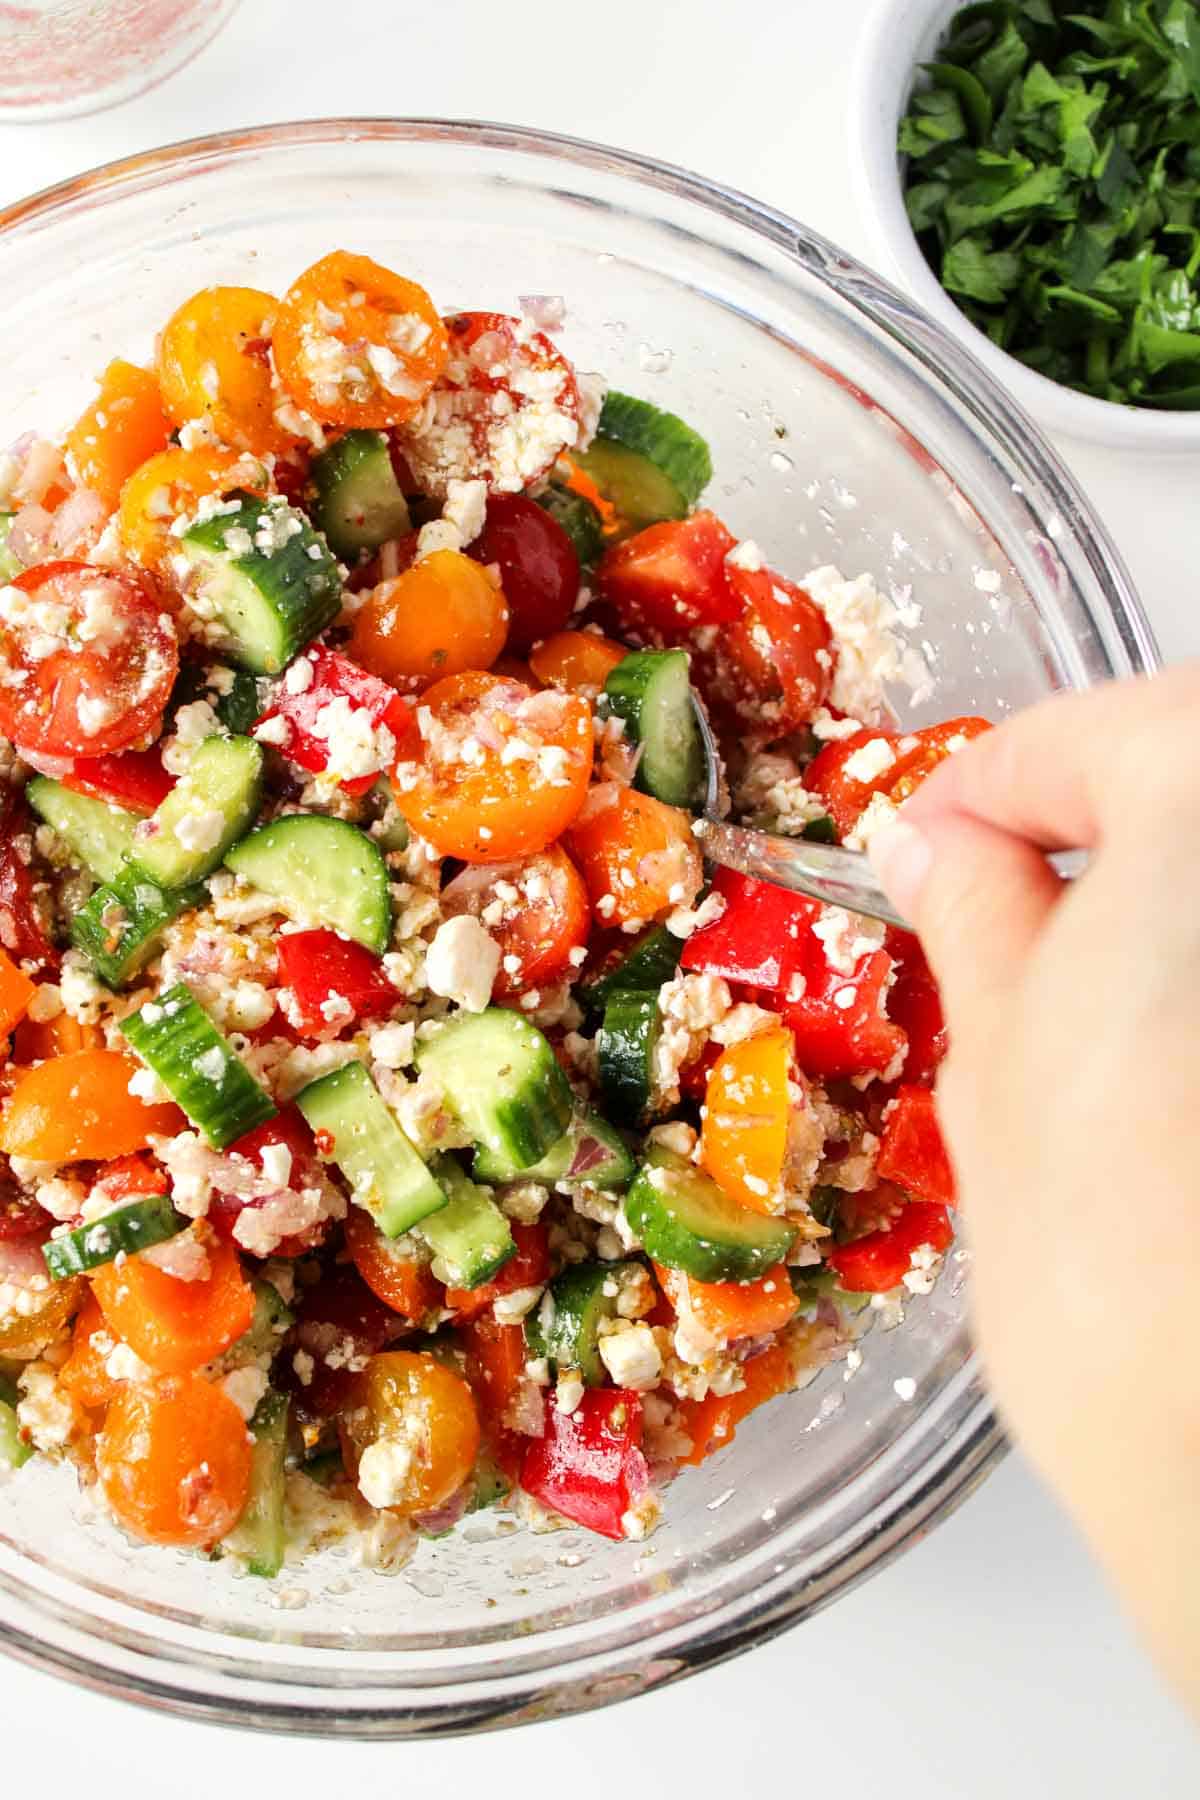
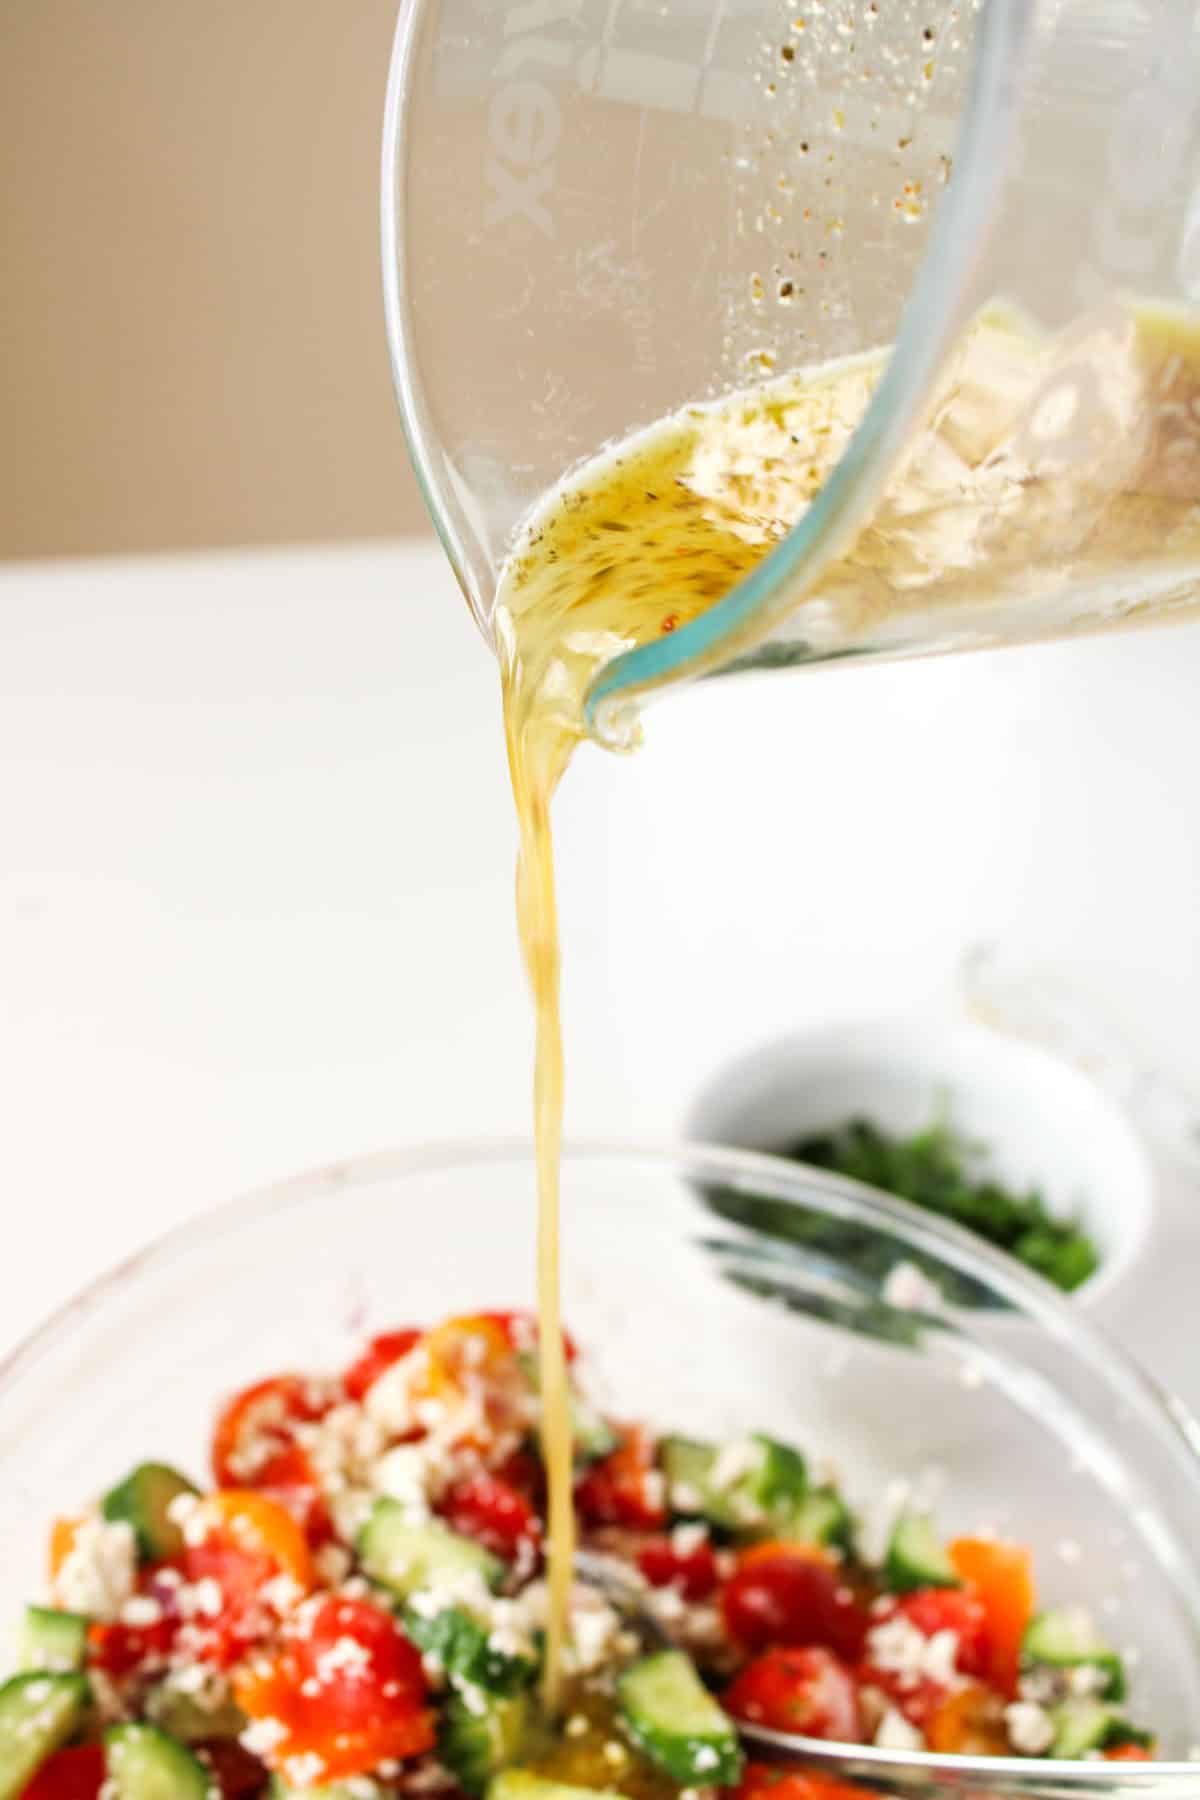
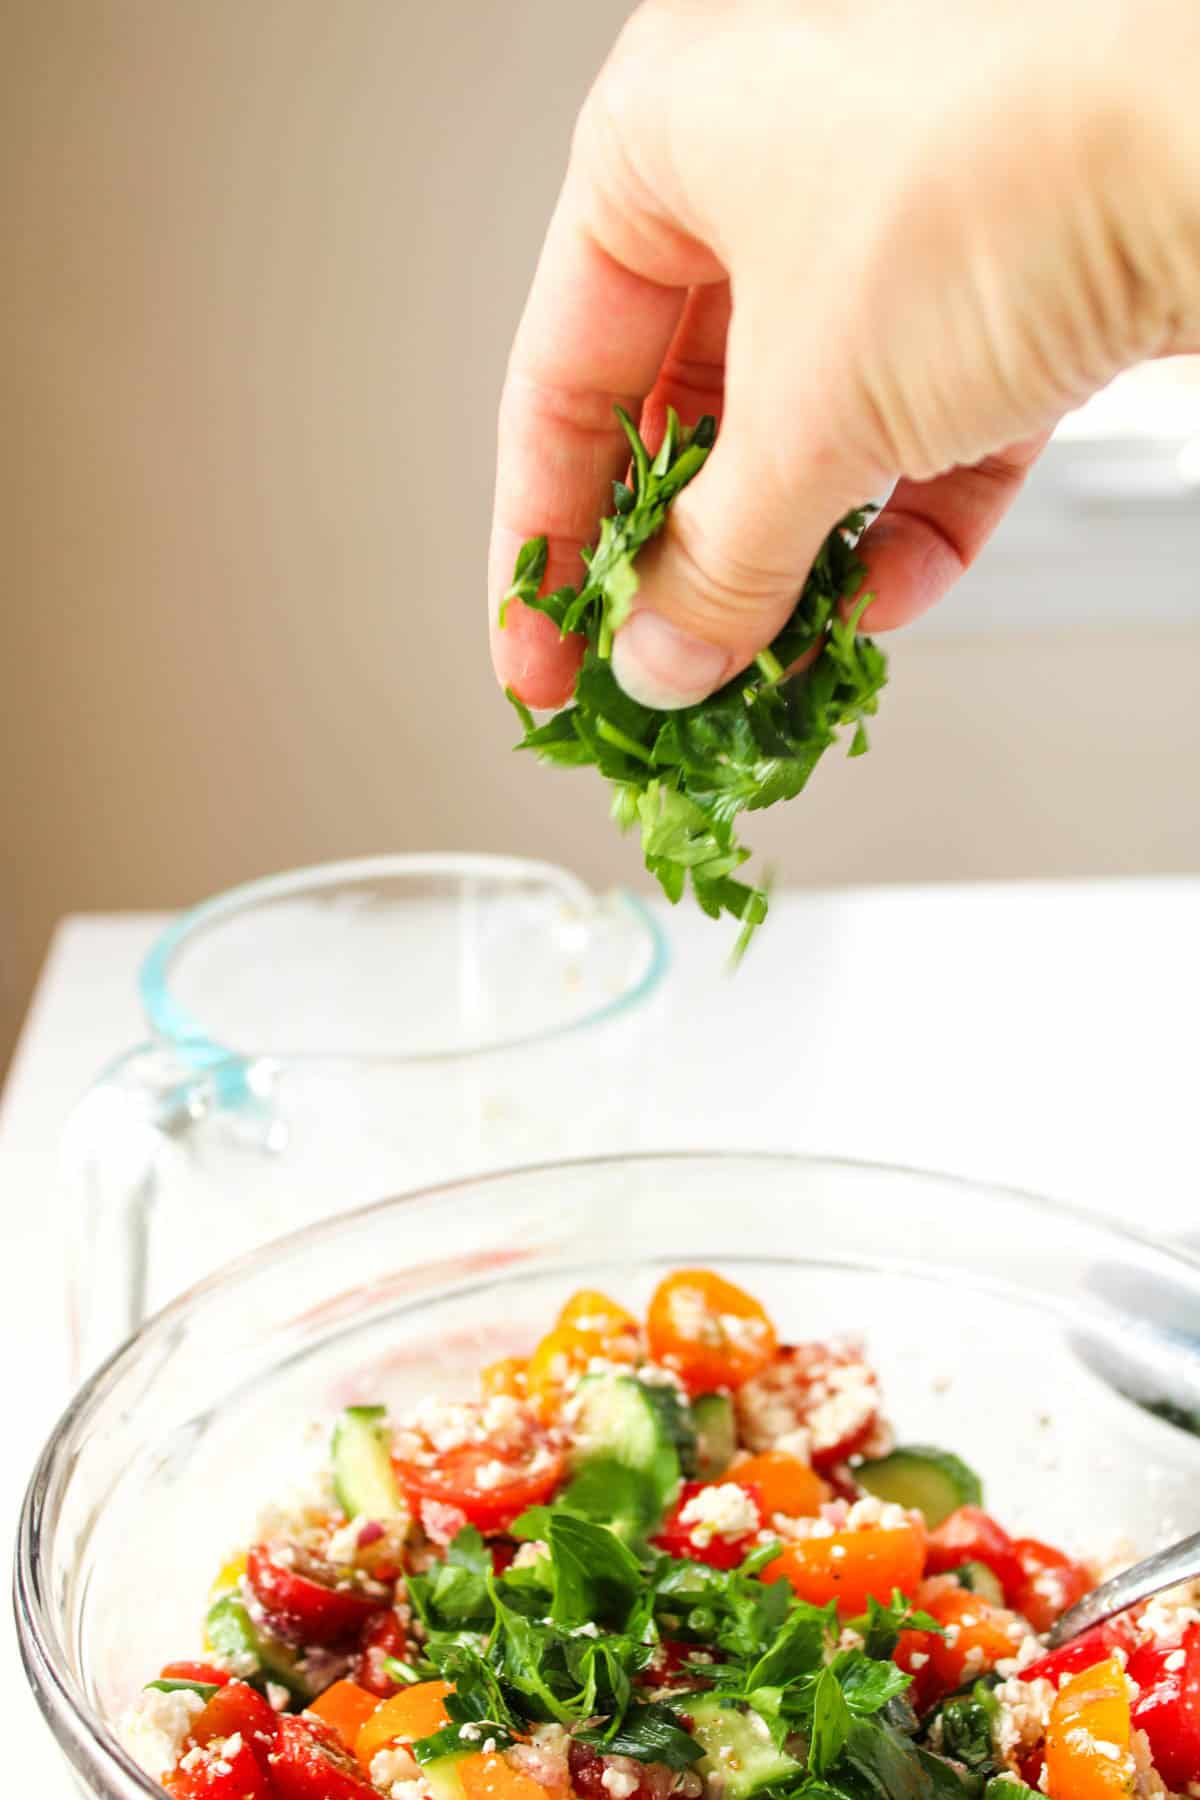
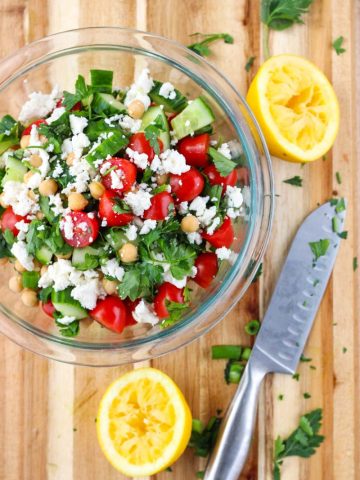
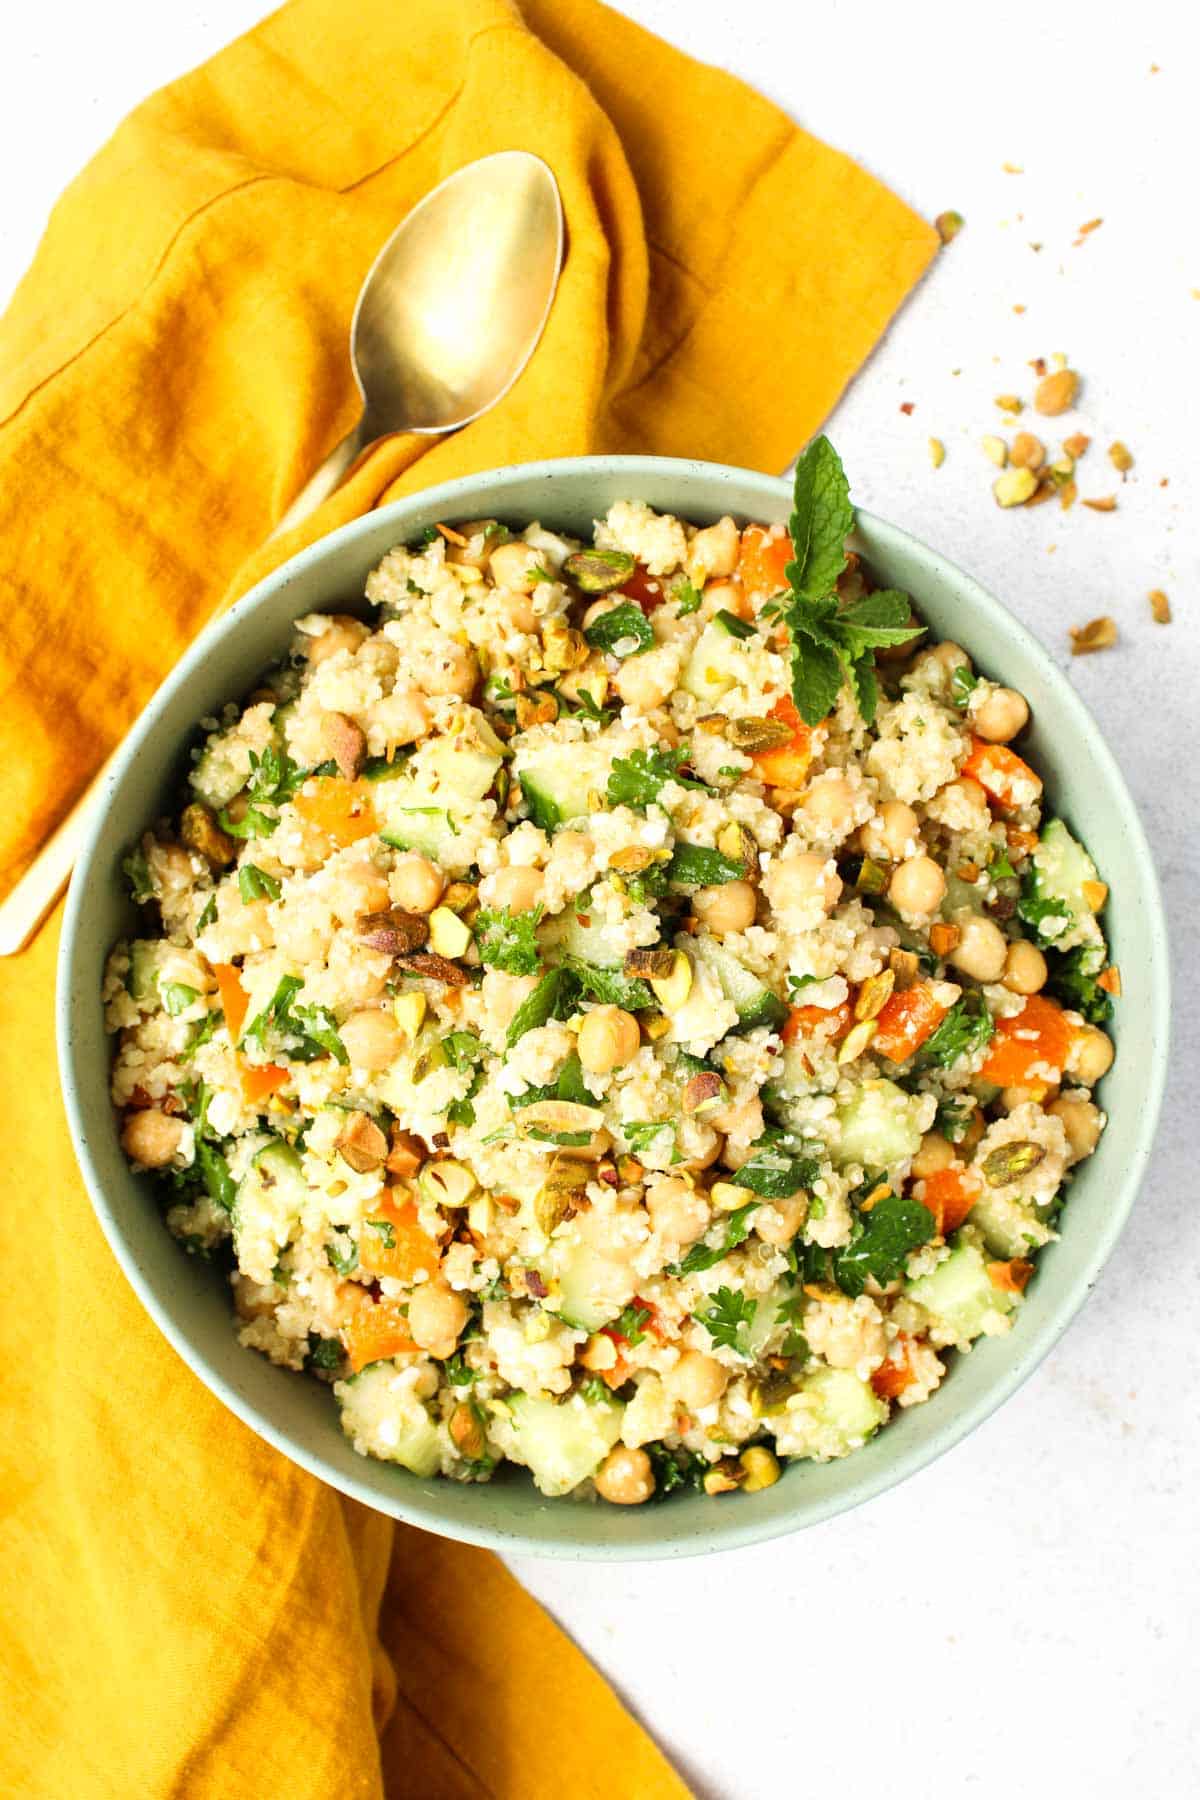
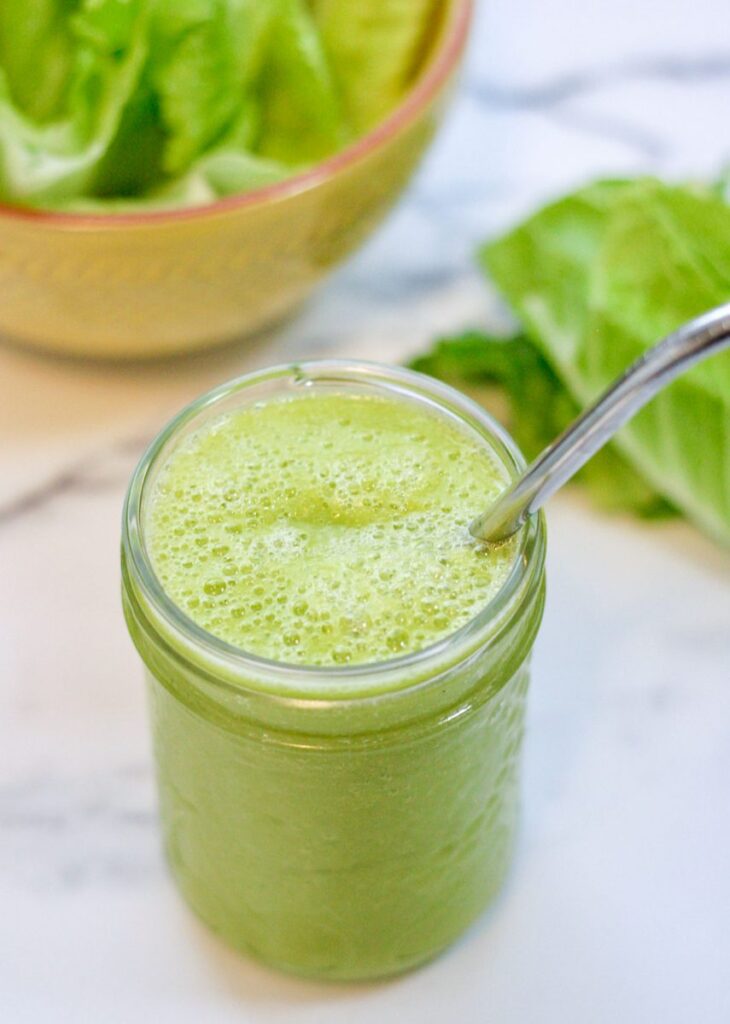
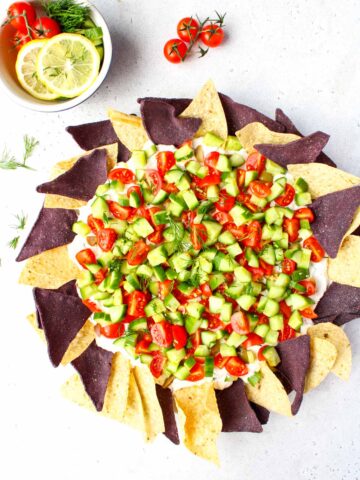
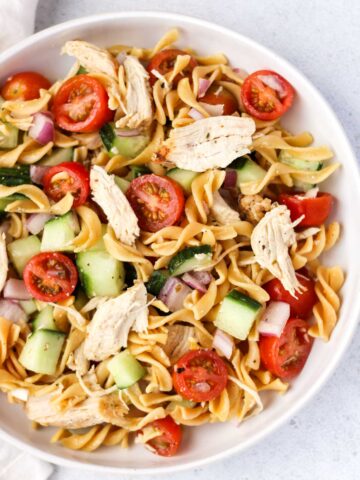
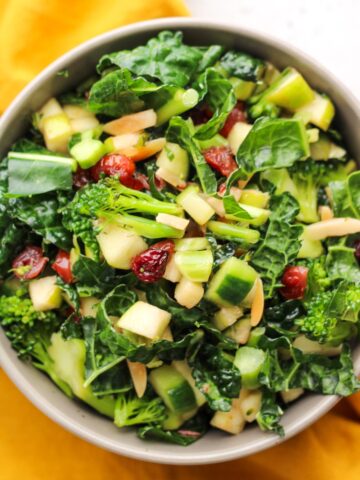
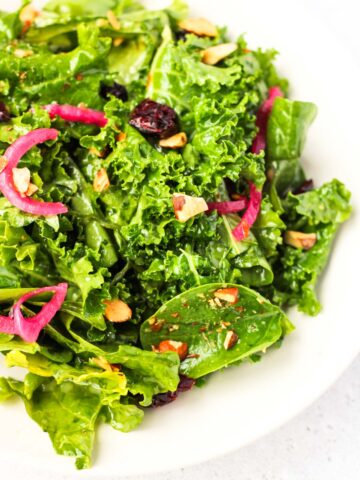
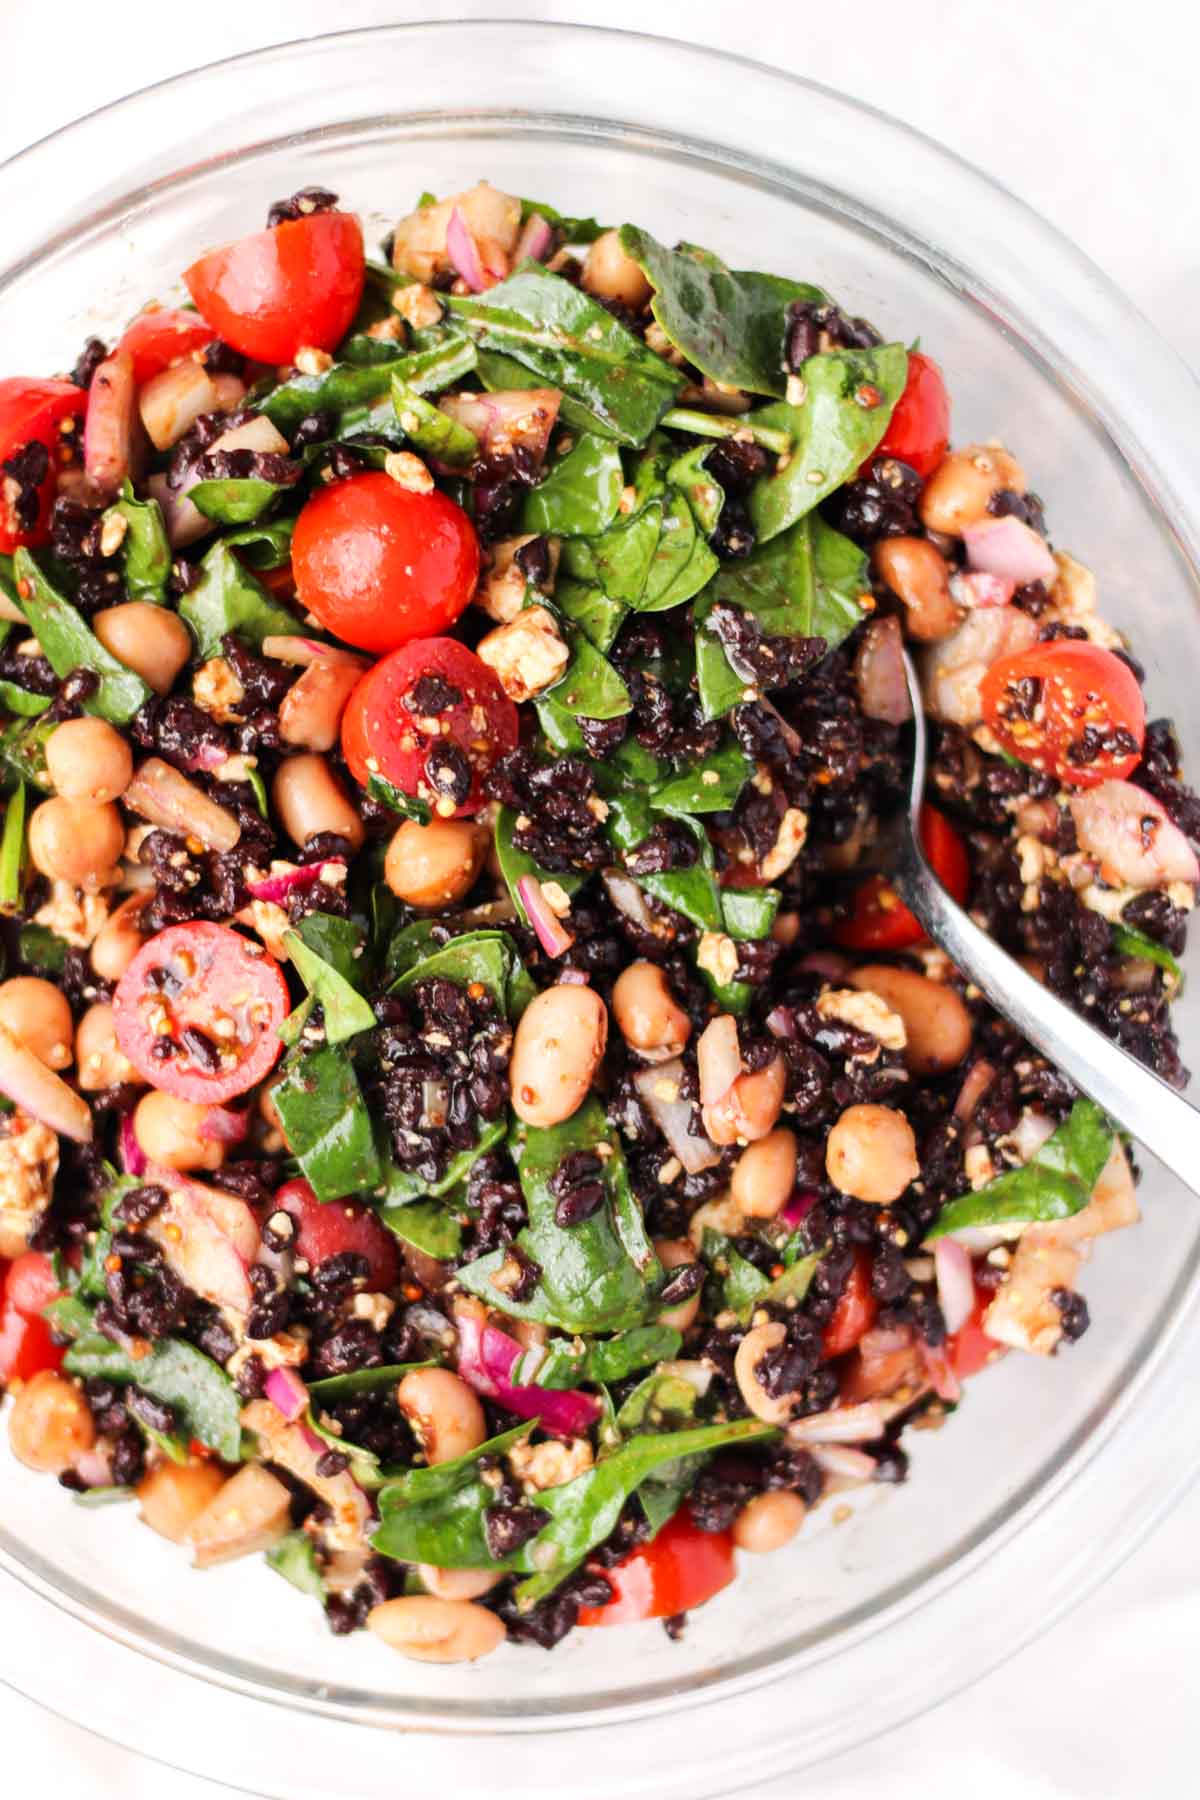
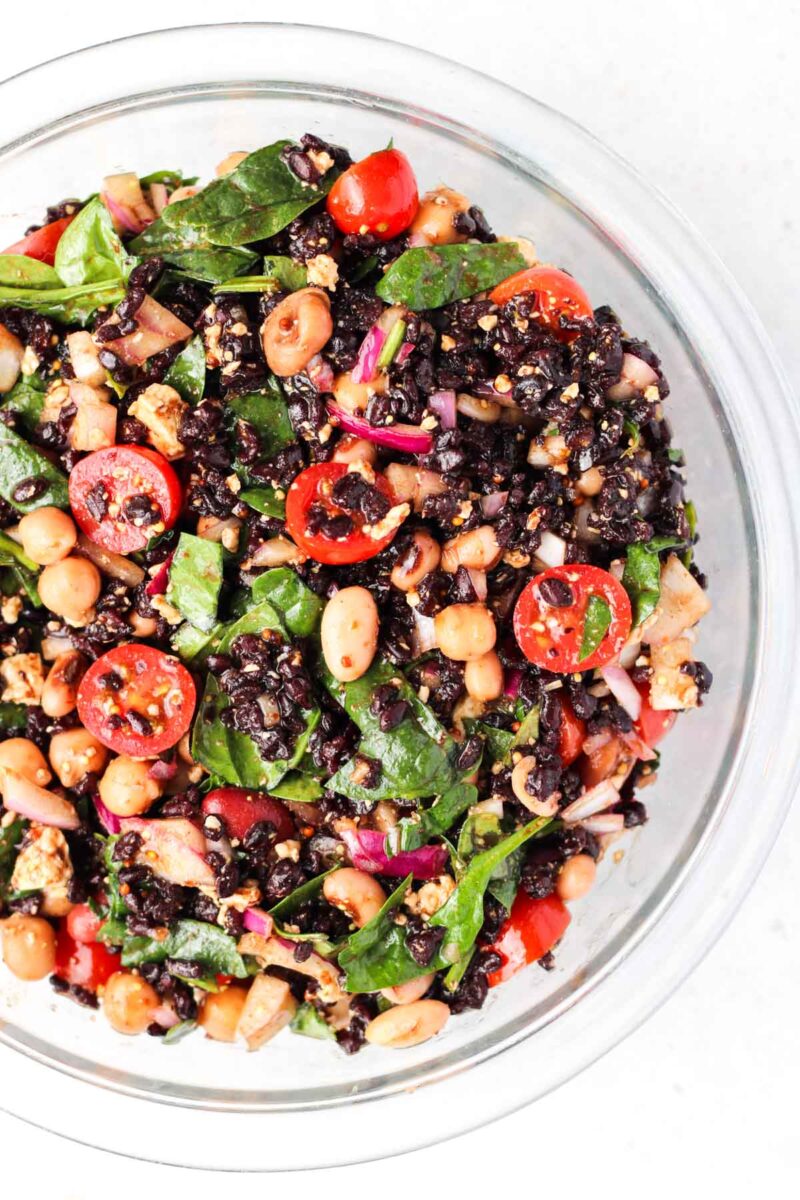
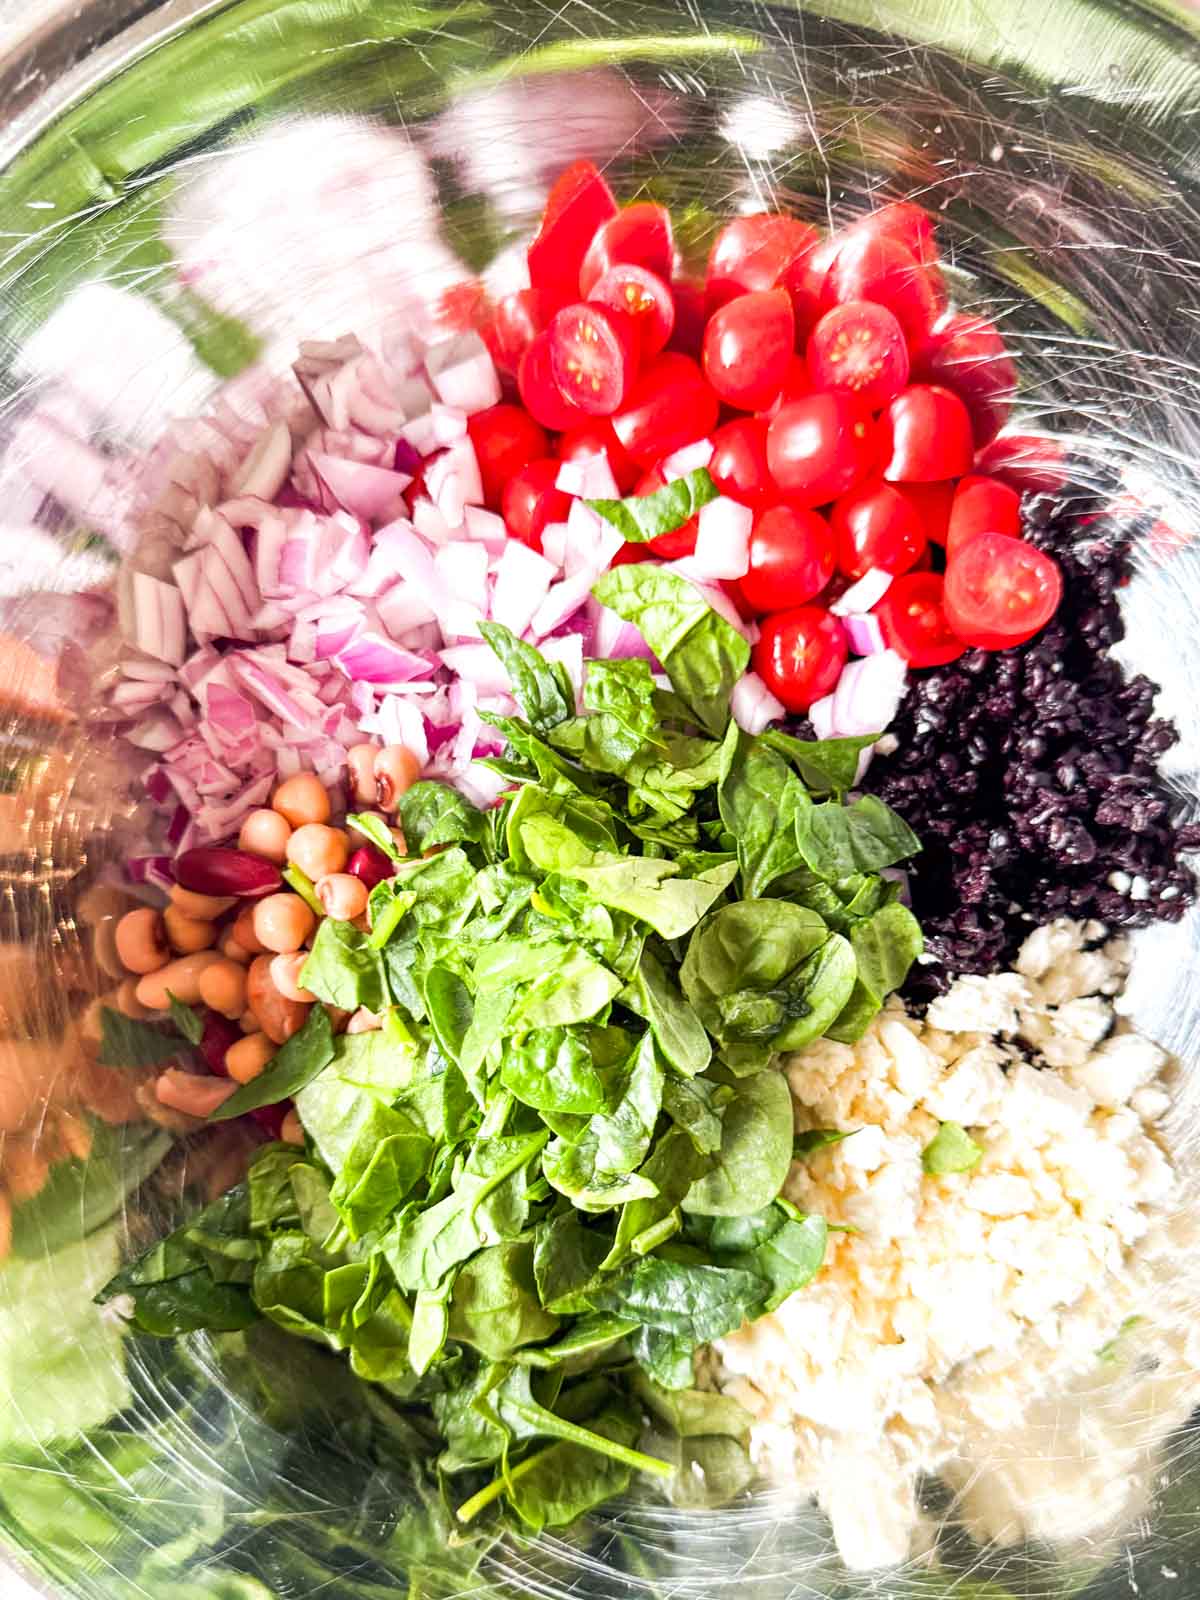
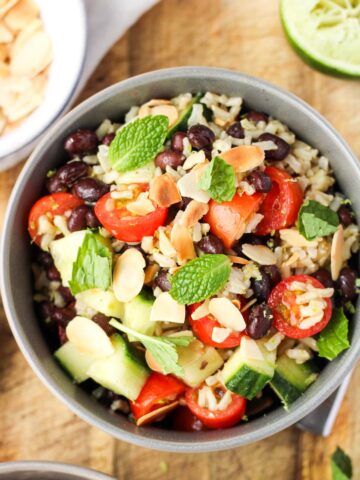
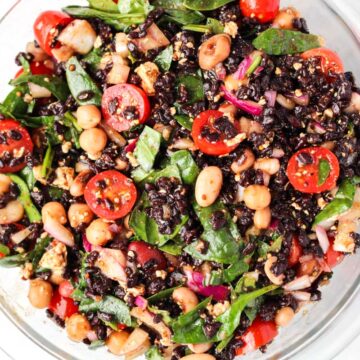
Pair this recipe with a no-lettuce Greek salad!
📖 Recipe
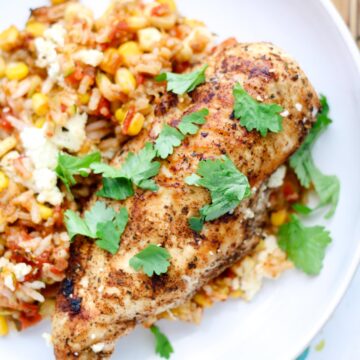
Chicken Shawarma Meal Prep with Coconut Basmati Rice
Get all the feels of chicken shawarma in this easy meal prep with coconut basmati rice and fresh veggies. A high-protein, gluten-free lunch for busy weekdays.
Print
Pin
Rate
Servings: 4
Ingredients
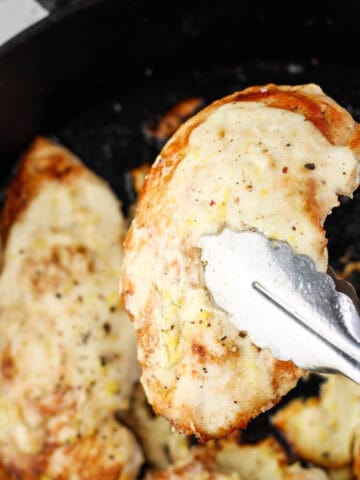
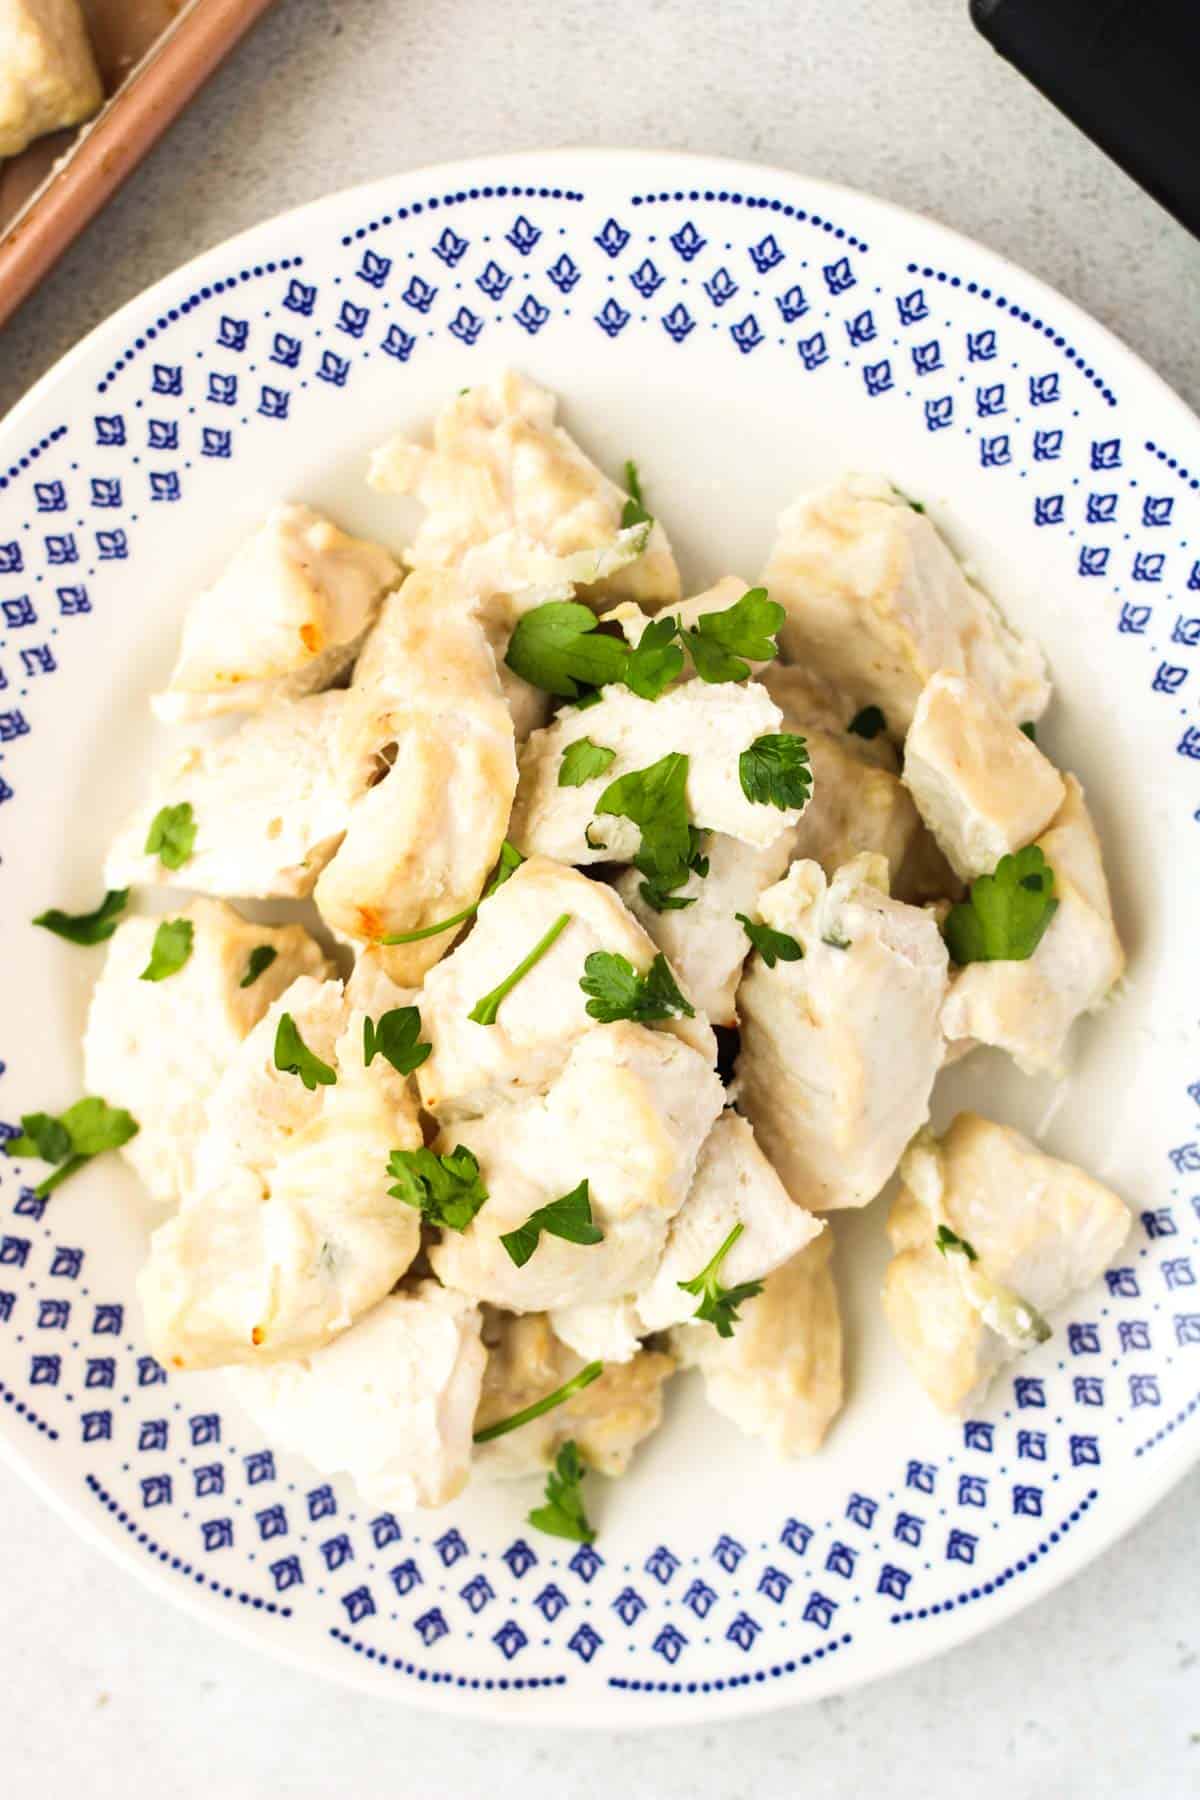
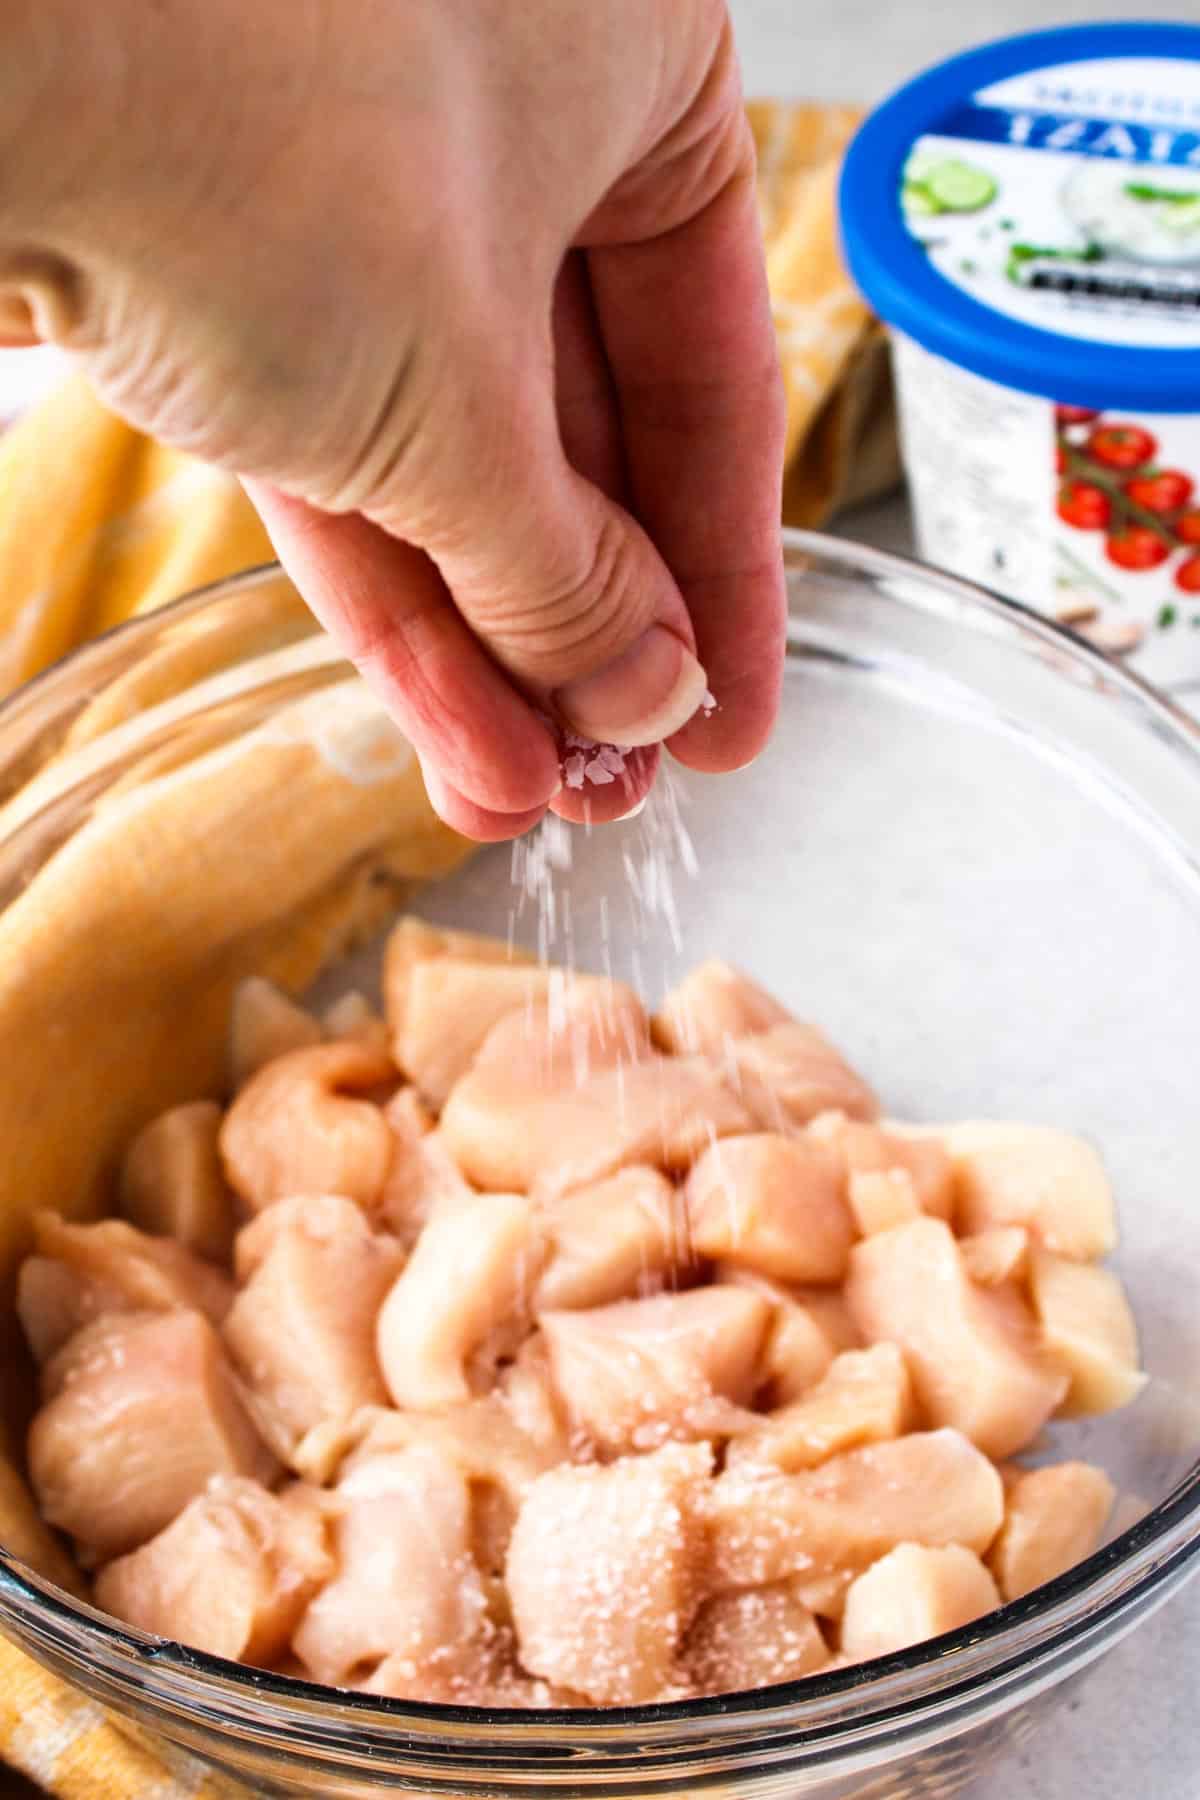
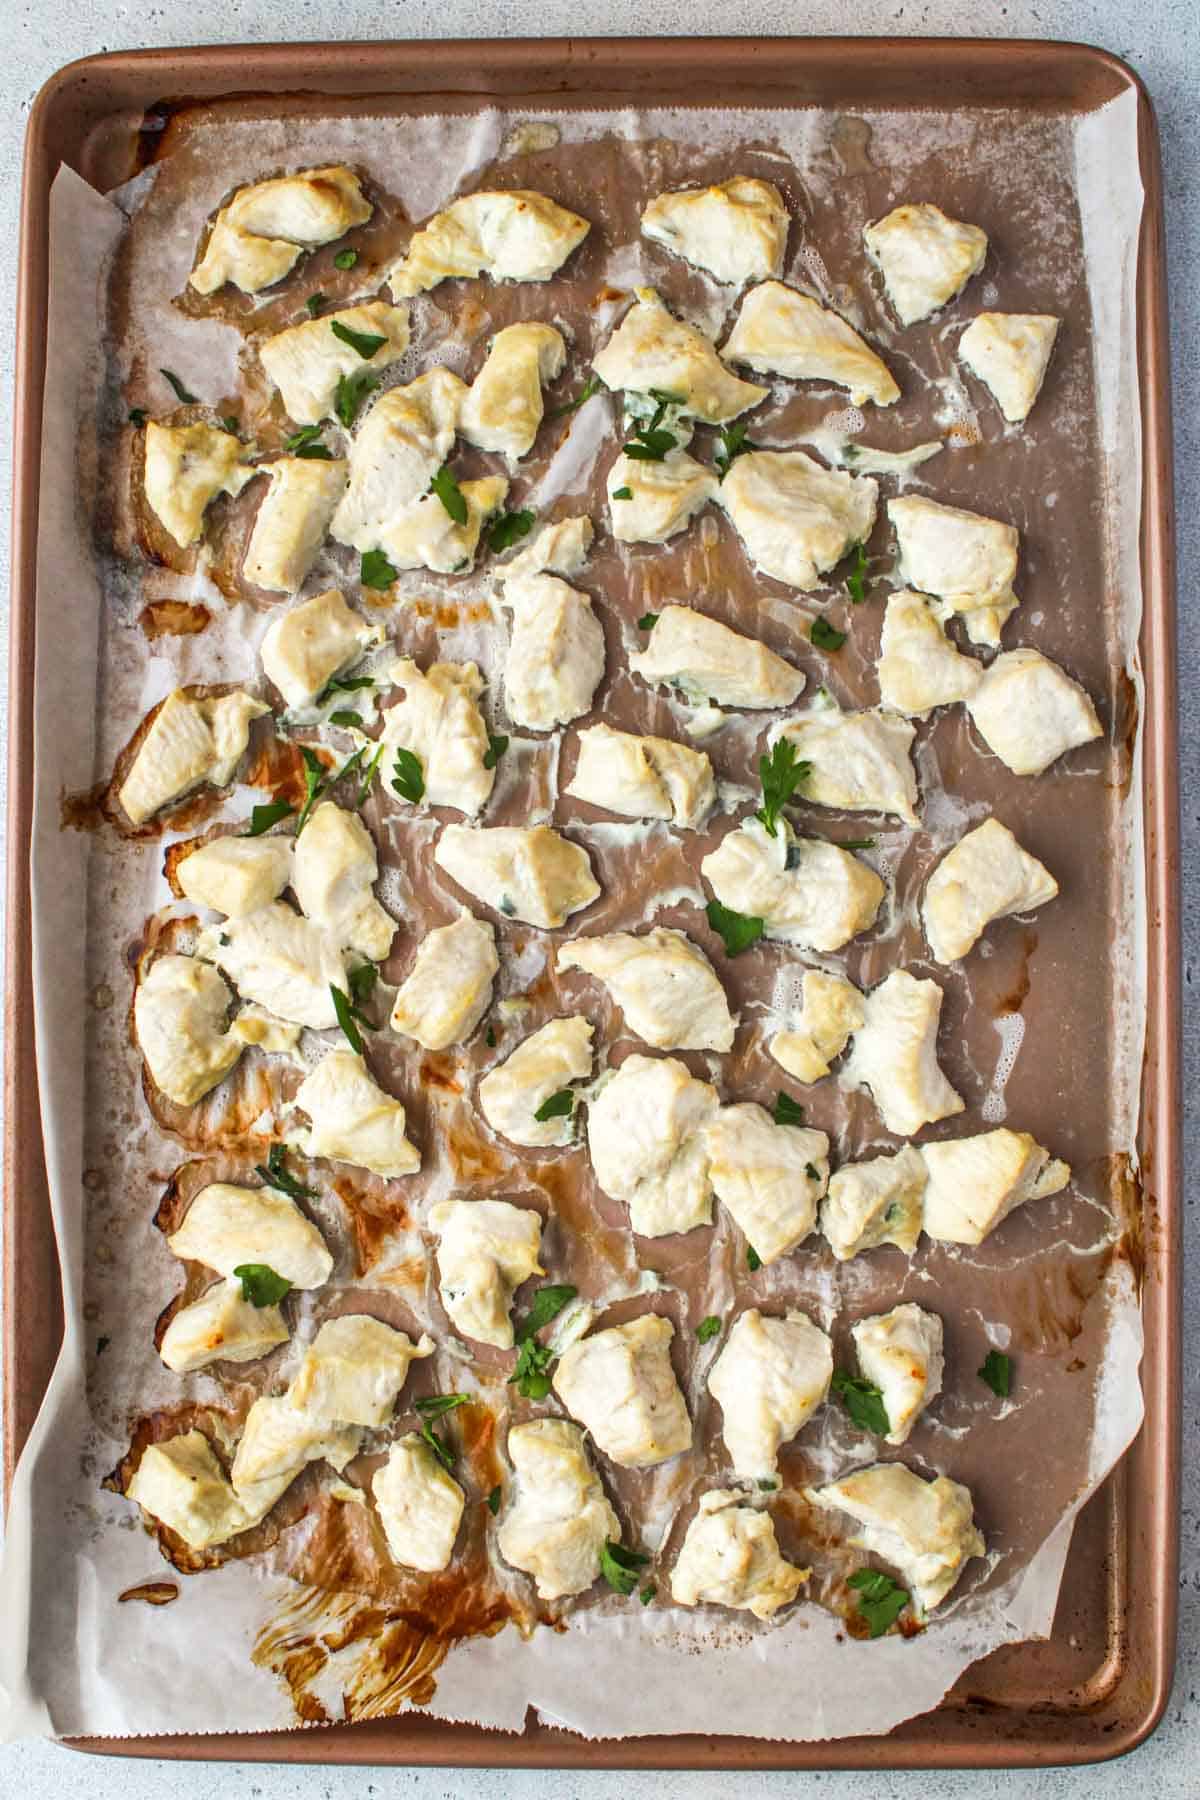
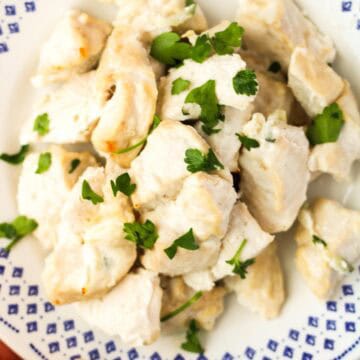
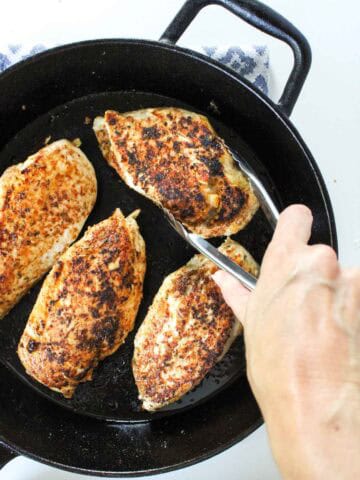
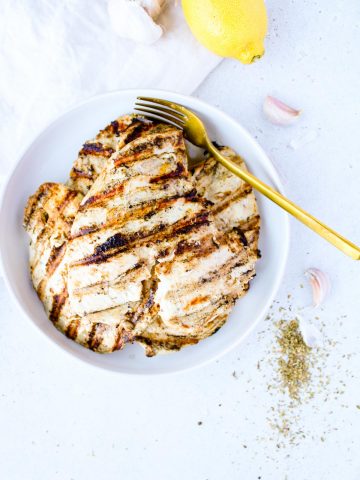
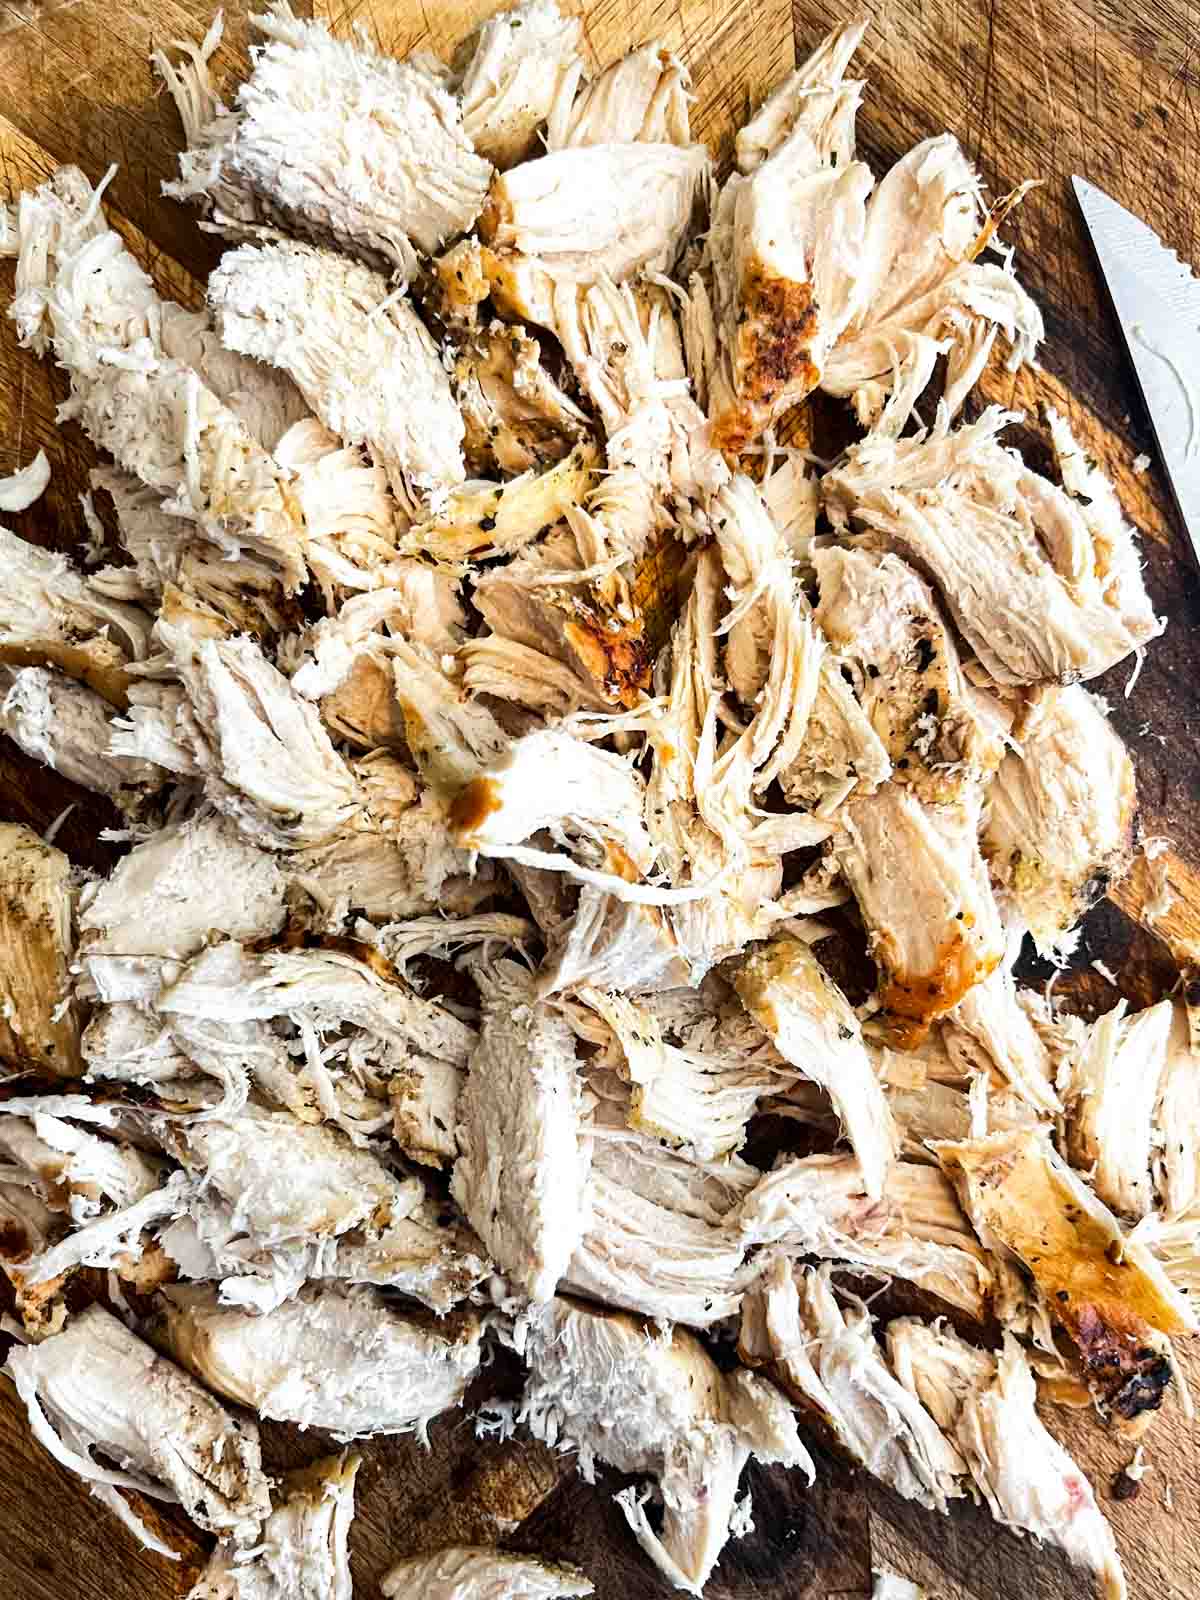
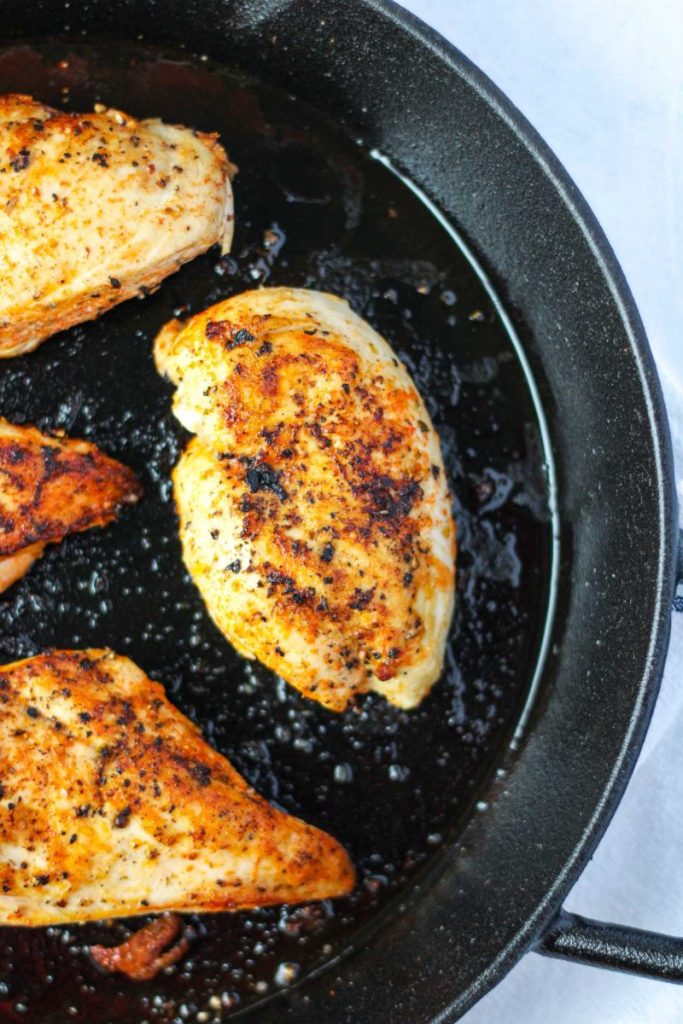
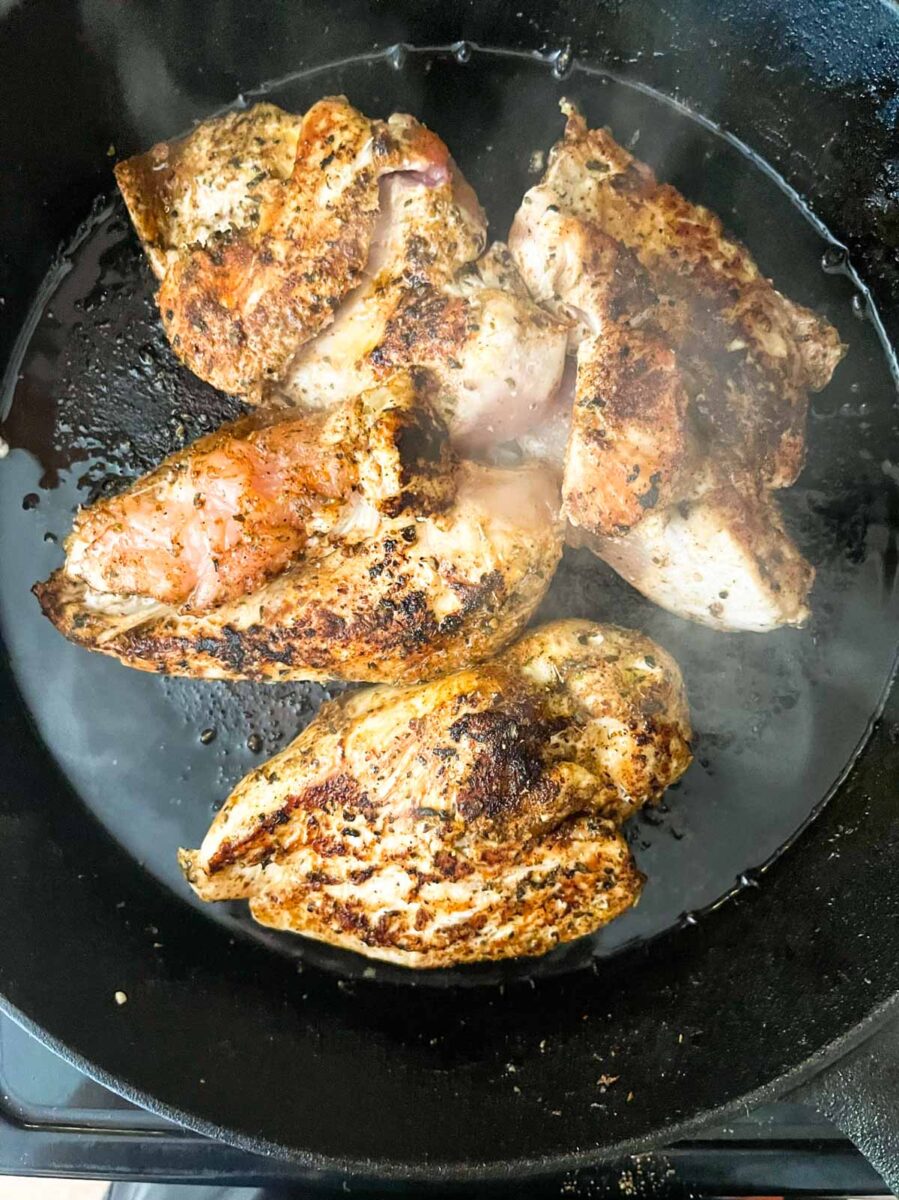
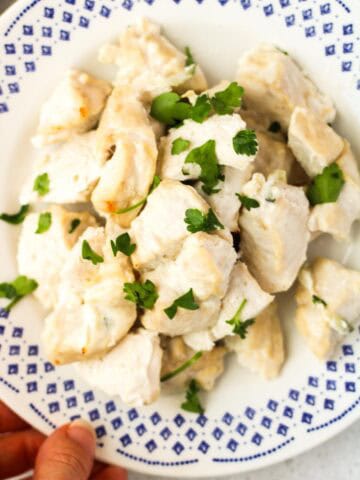
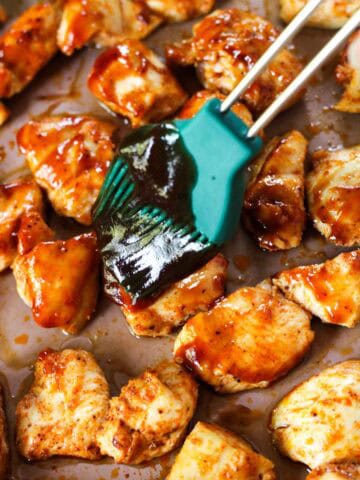
- 2 cups pre-cooked shawarma chicken
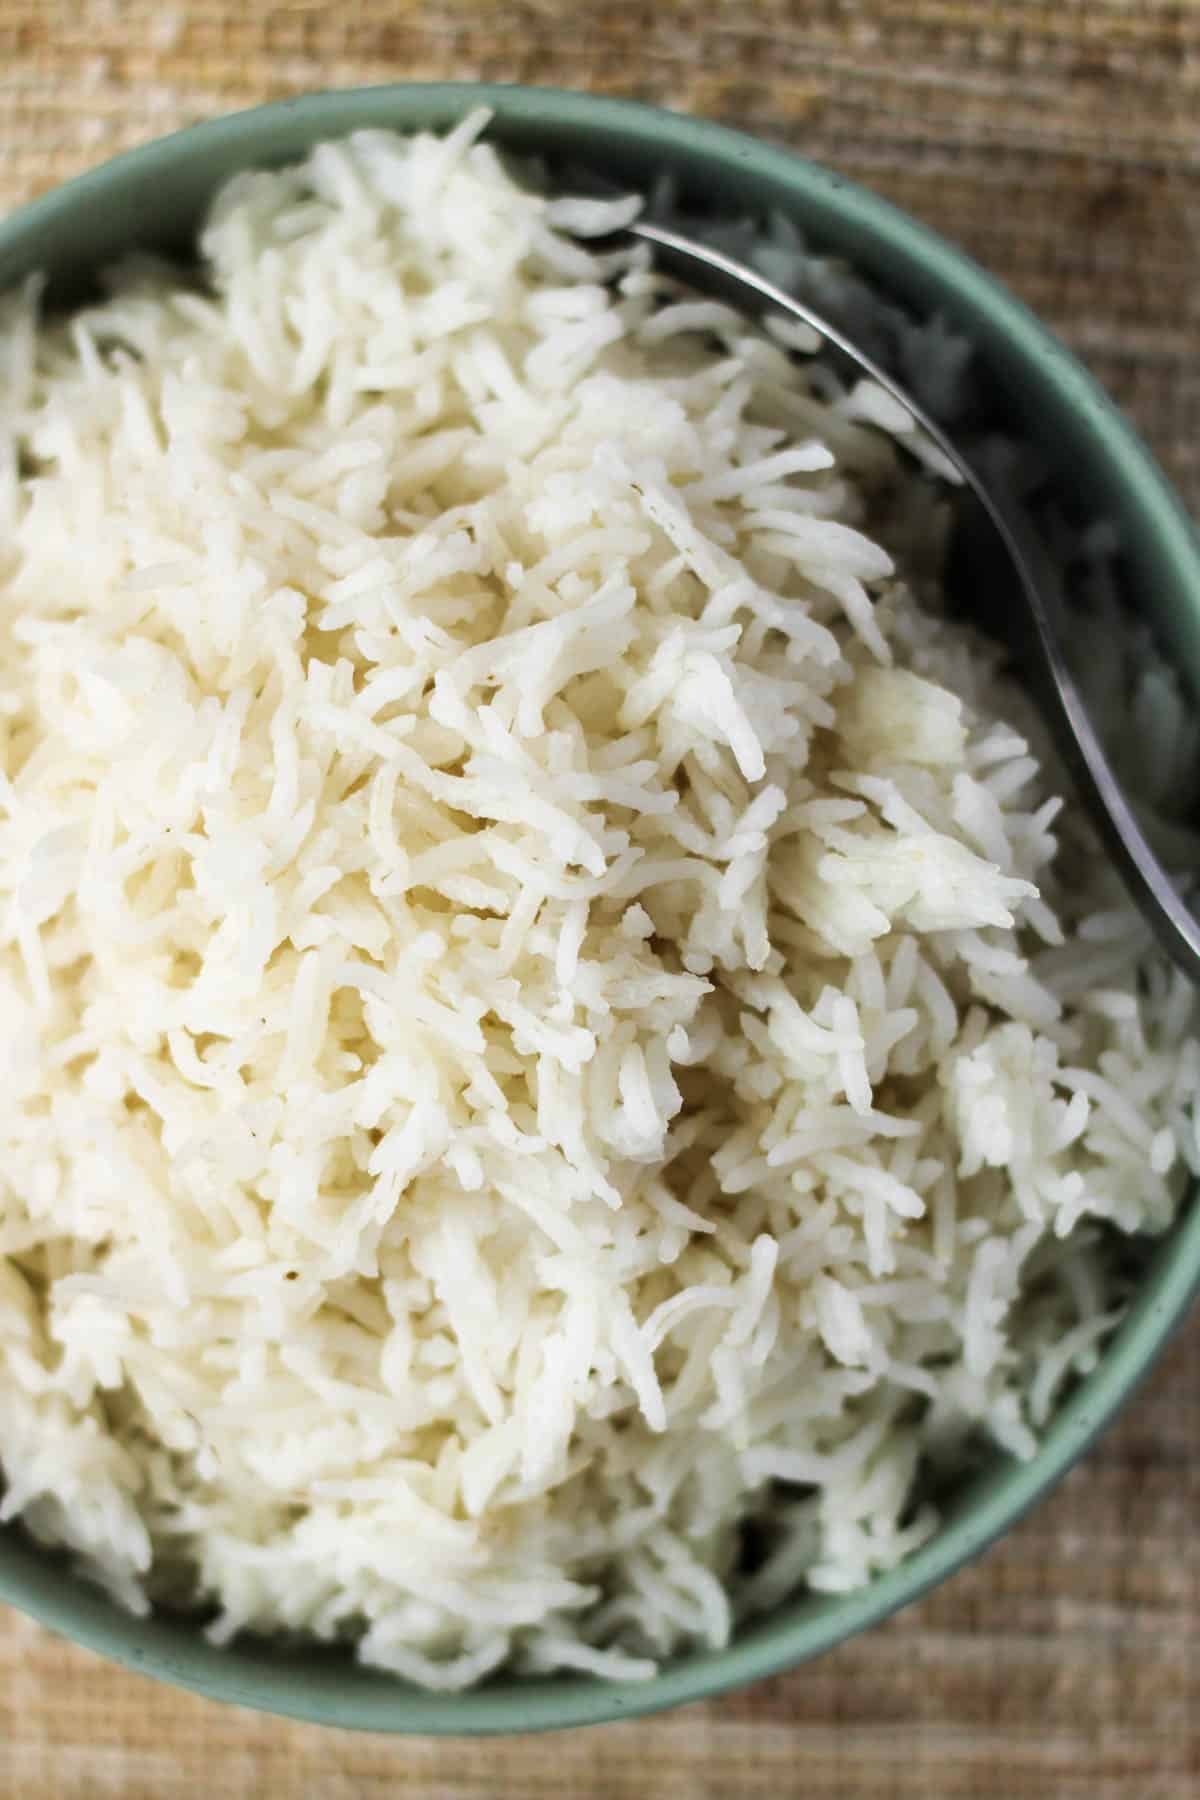
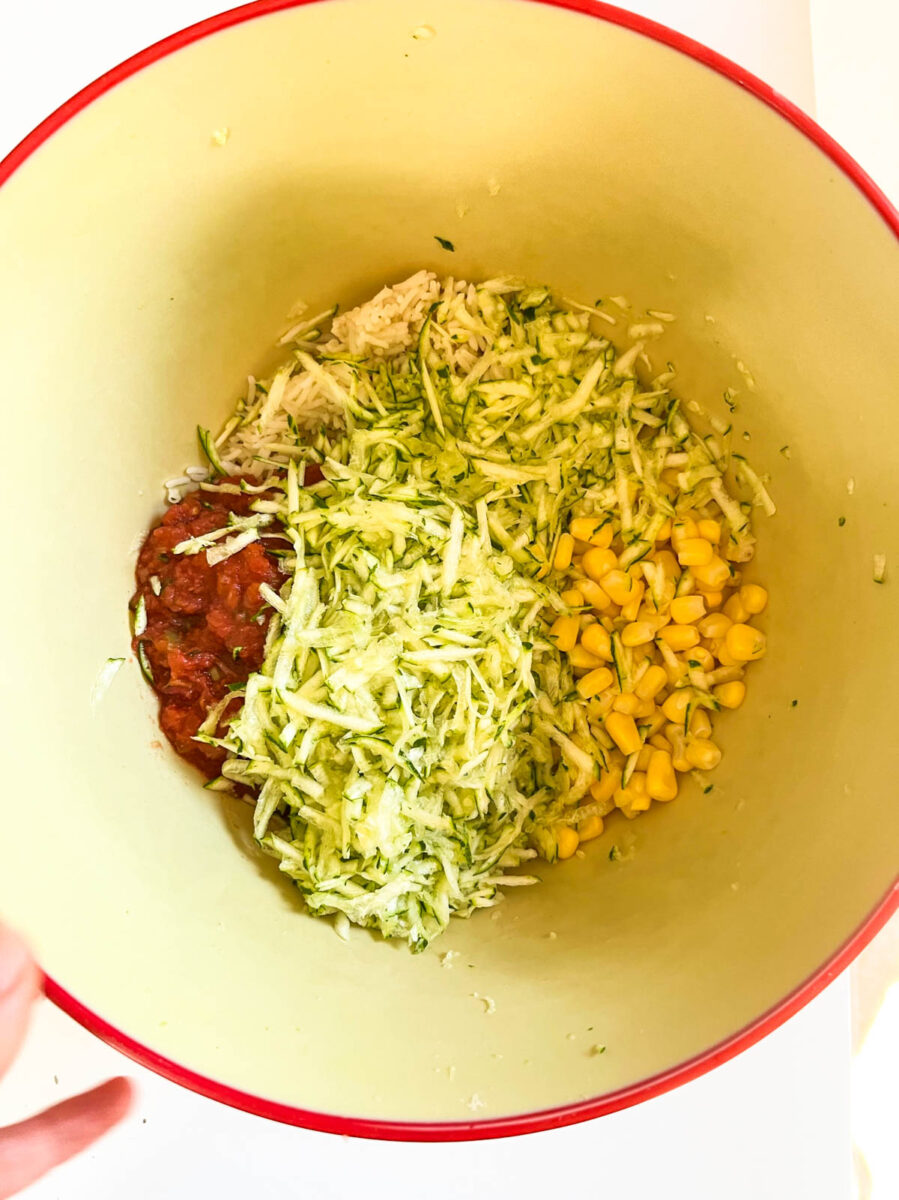
- 1 cup Basmati Rice, uncooked
- 1 400ml canned coconut milk
- 1 cup Snow peas
- 1 cup Cherry tomatoes
- 1 large Cucumber, sliced
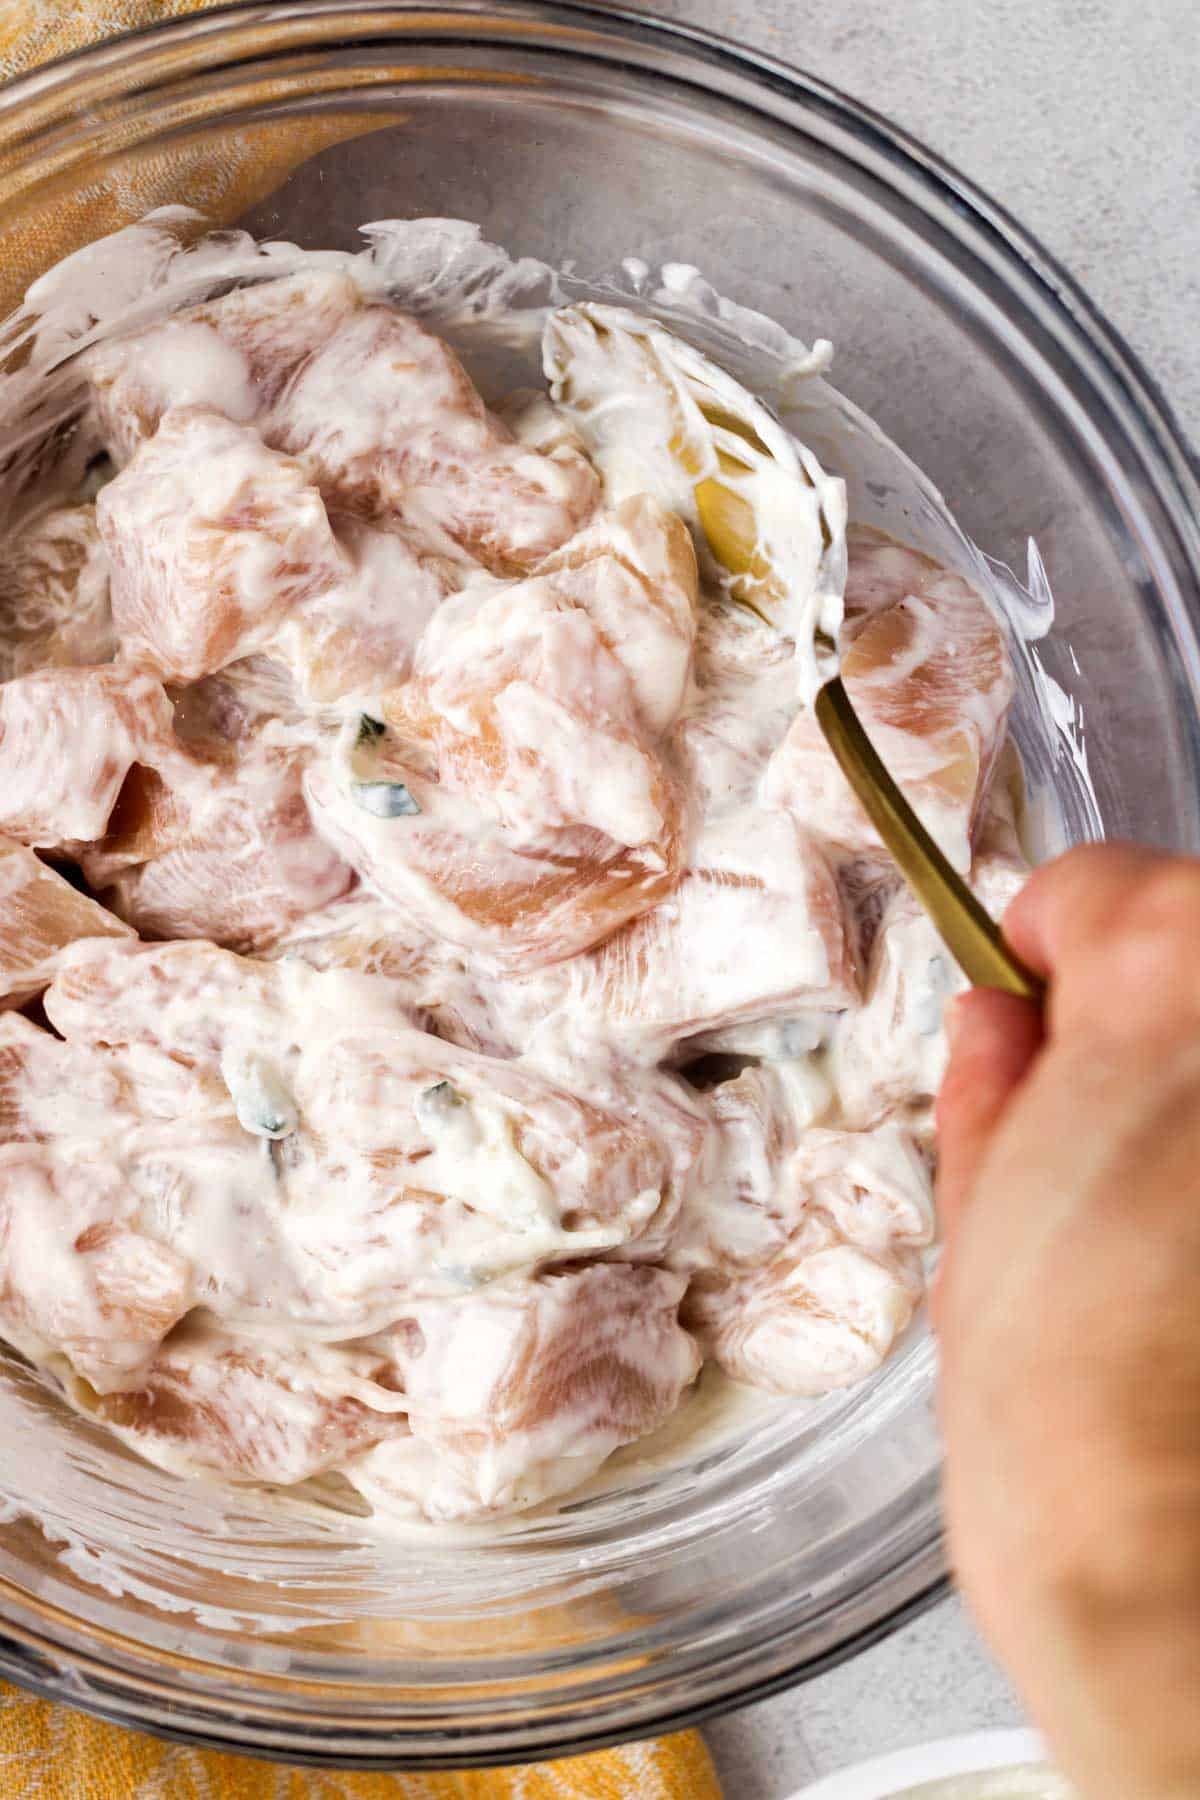
- ½ cup Tzatziki
Instructions
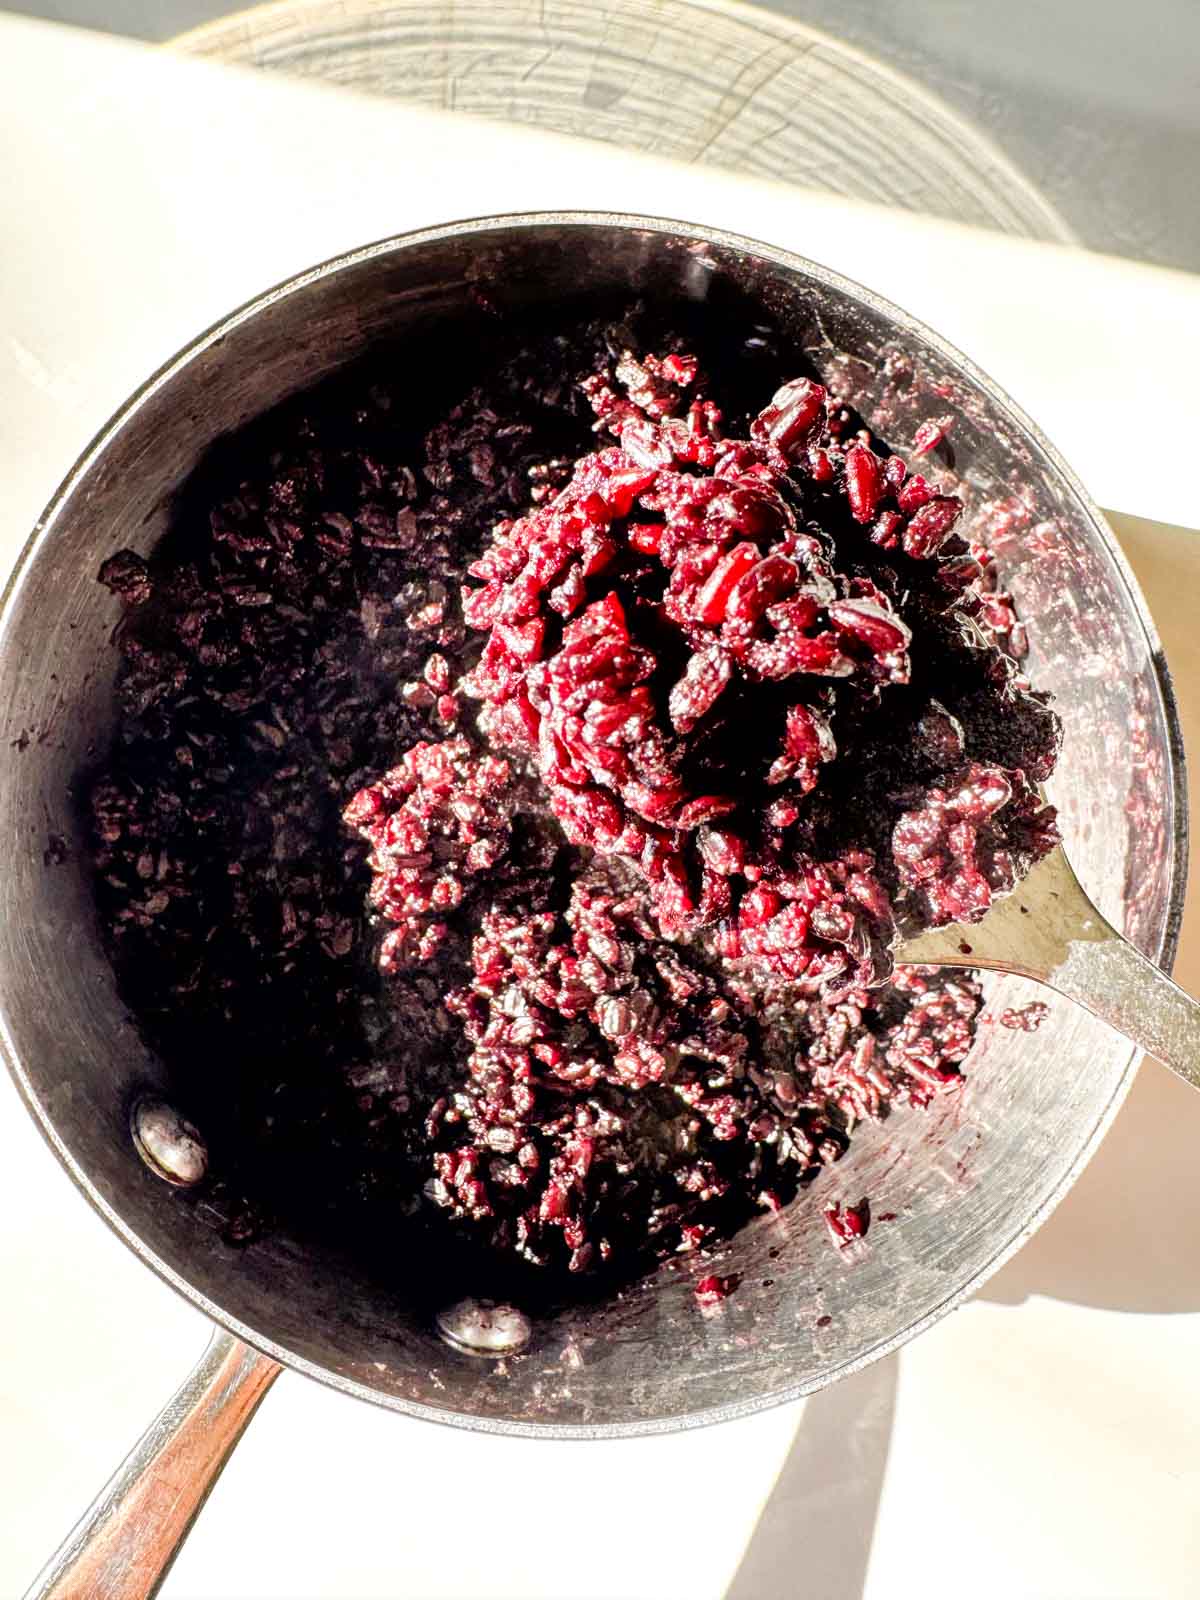
- Cook the basmati rice according to package instructions. Use the coconut milk instead of 400ml of water.
- Once cooked, set aside to cool.
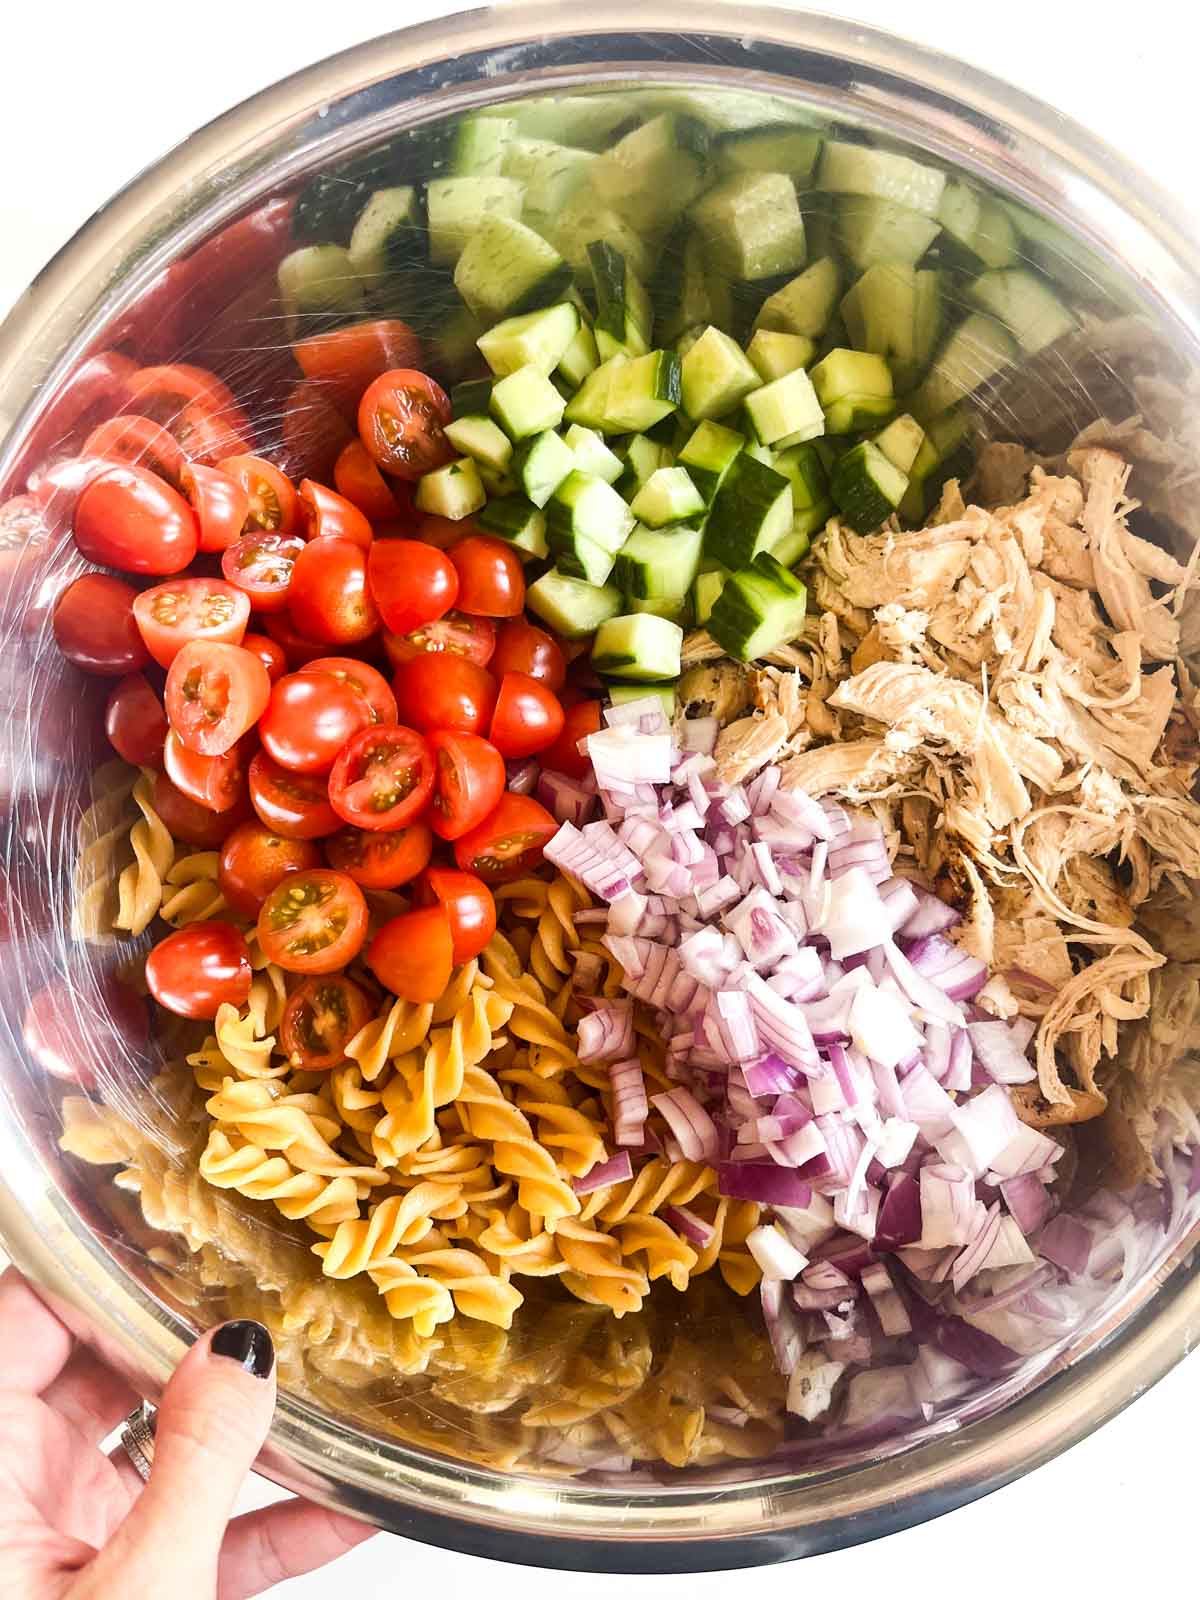
- While the rice cooks, fill divided meal prep containers with cherry tomatoes, snow peas and cucumbers. Add tzatziki.
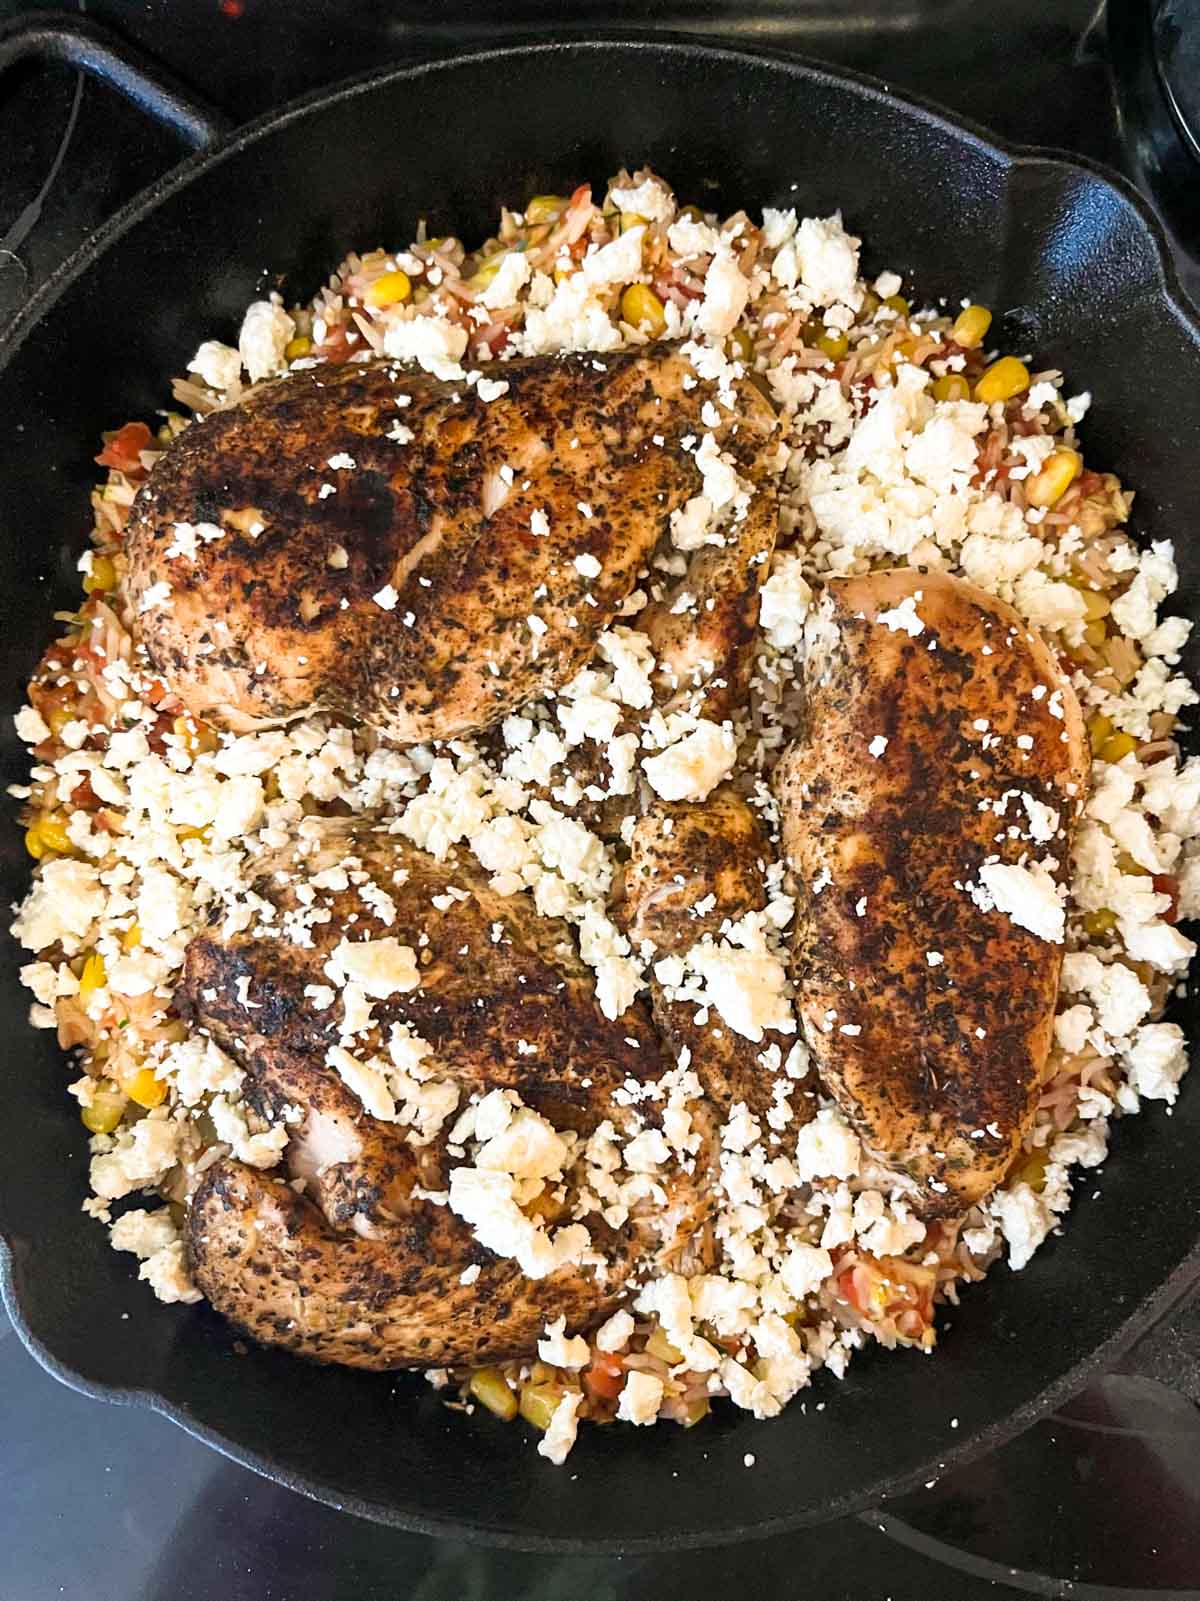
- Once the rice is cooled down a bit, fill the remaining compartments in the meal prep containers with coconut rice and top with shawarma chicken.
- Keep in the fridge for up to 3 days.
Video
Notes
Leftovers will be good in the fridge for up to 3 or 4 days.
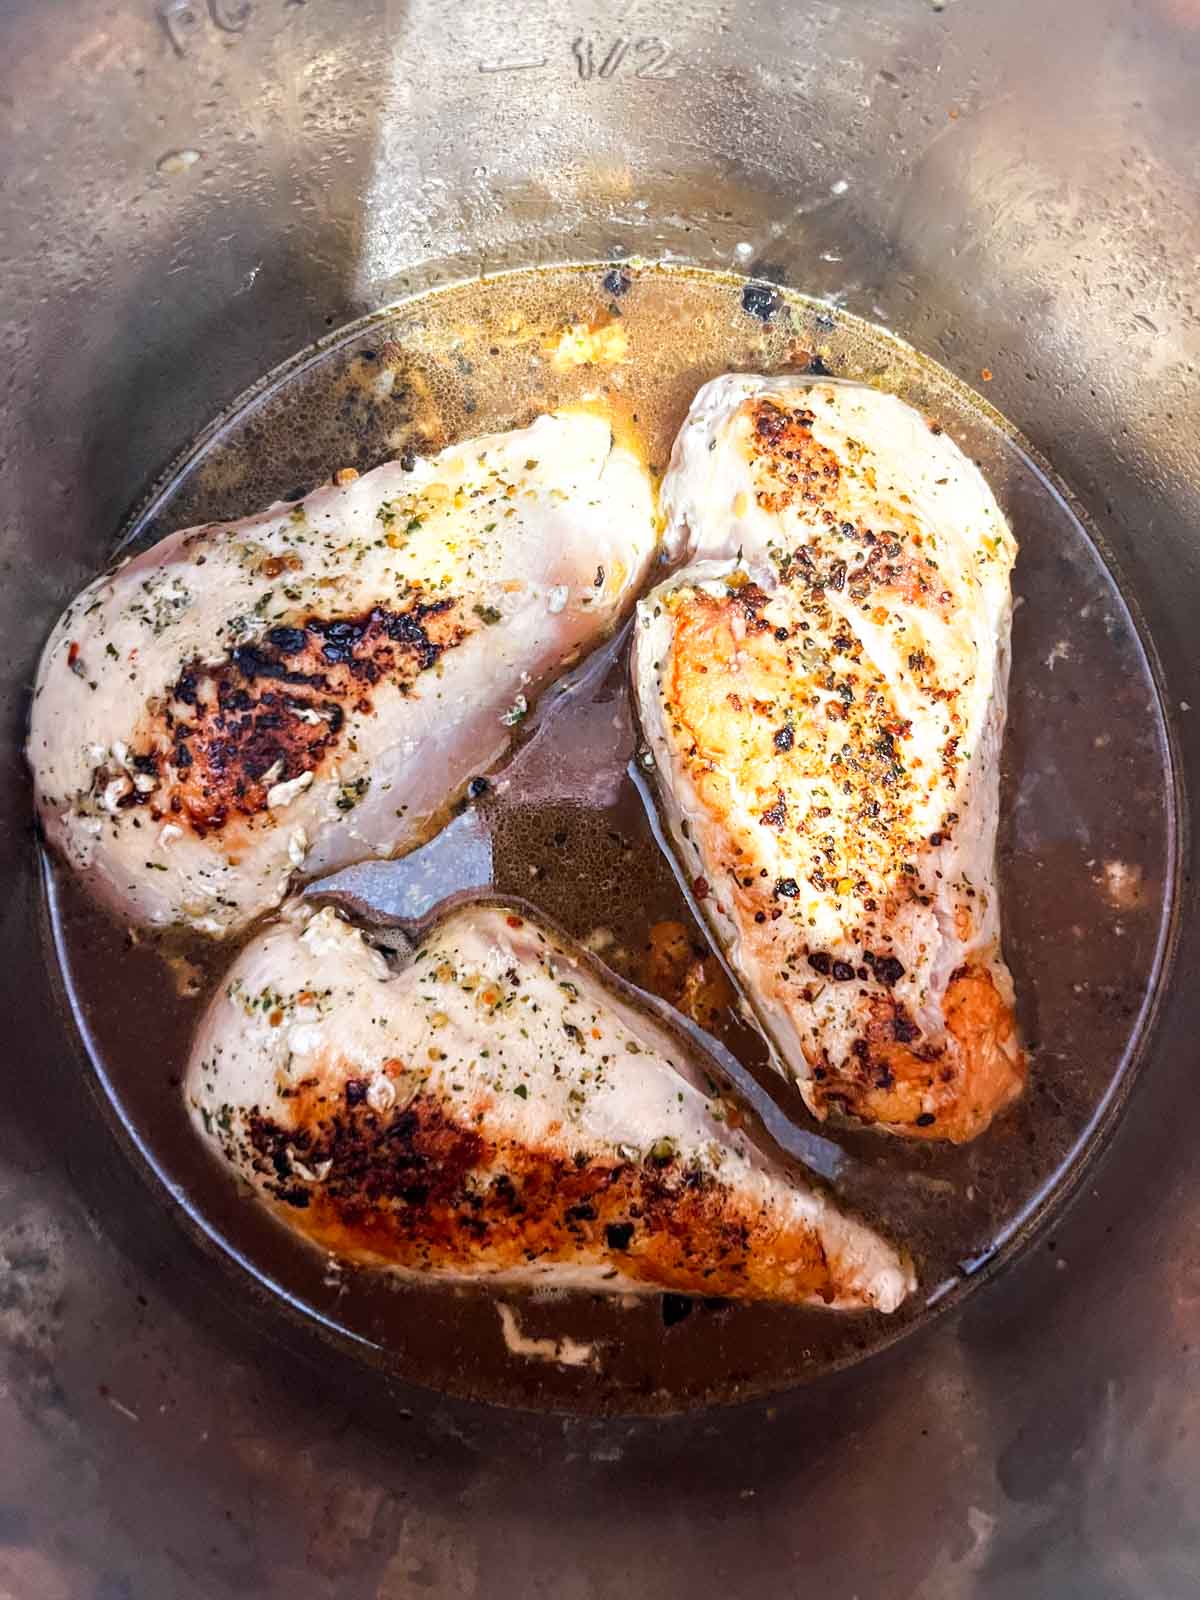
This is my fave pre-cooked chicken with shawarma spice.
If you can't find a product like this, rotisserie chicken works great too.
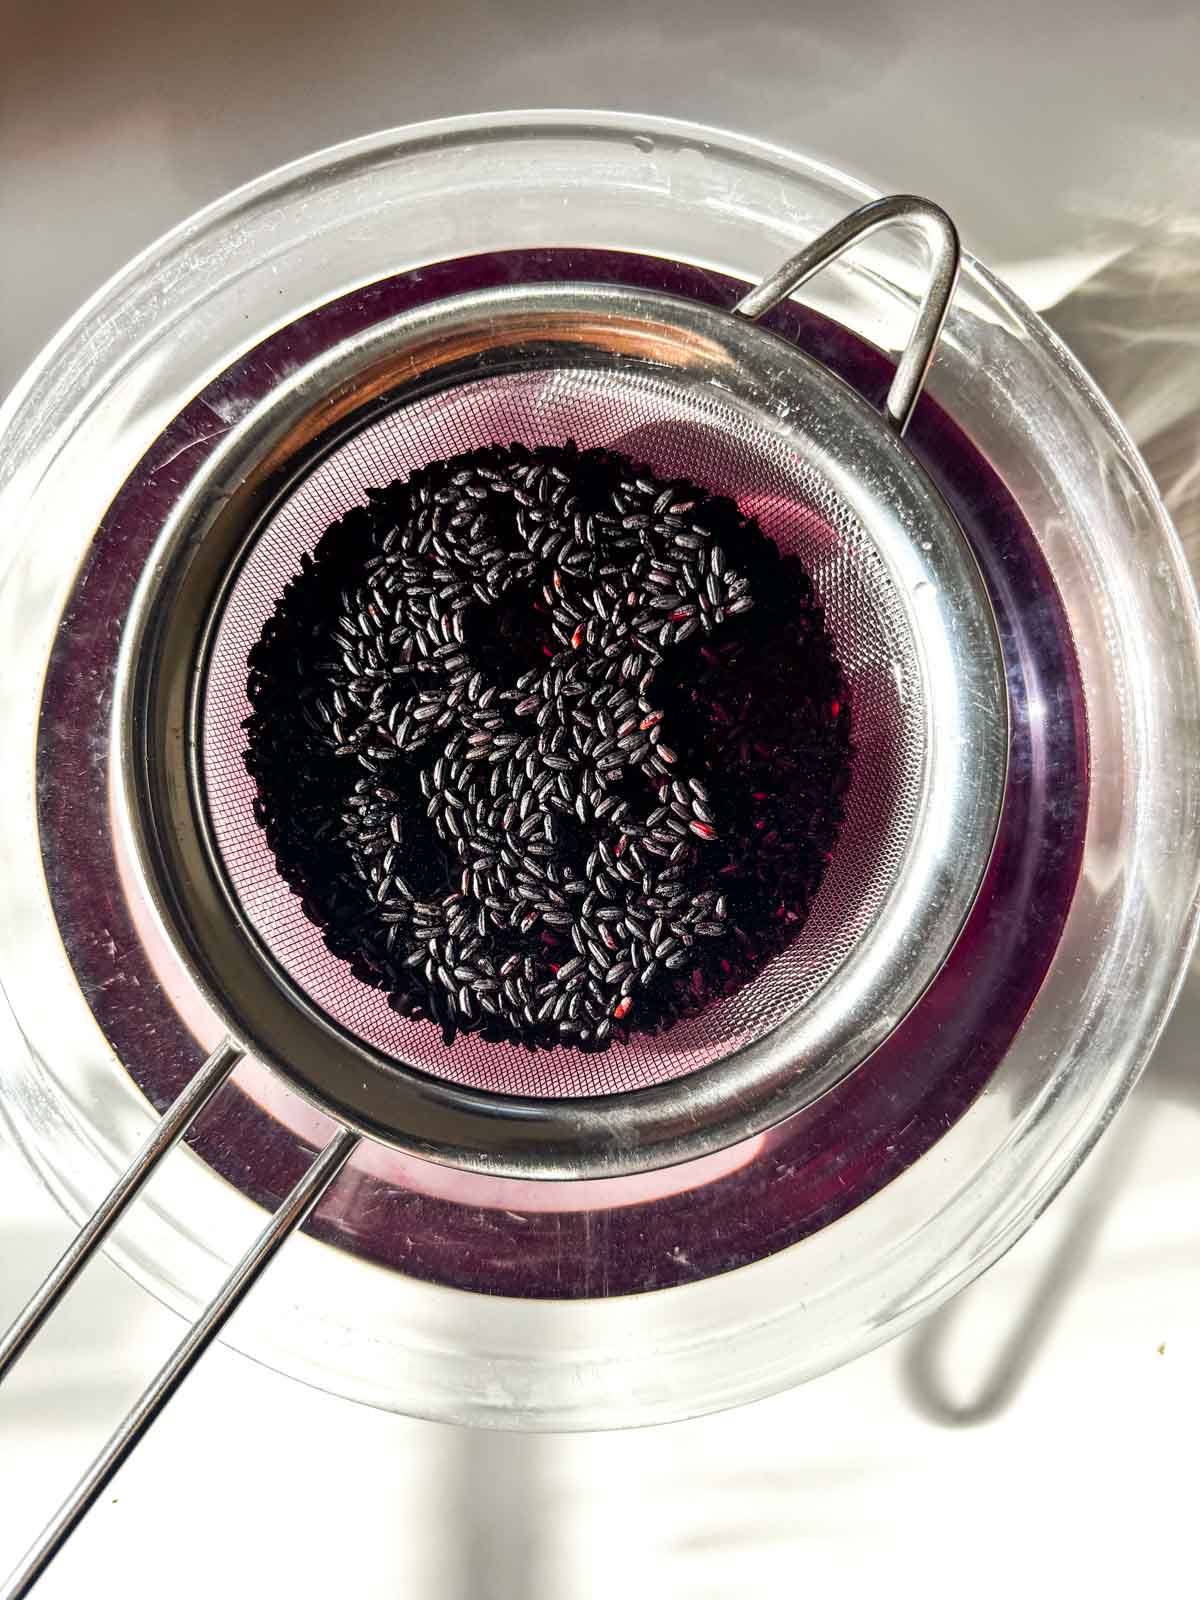
For perfect basmati rice, I rinse my rice and then soak it in a bowl of water (keep in the strainer) for about 5 or 10 minutes.
Any veggies will do so put in whatever you have: snow peas, baby carrots, cucumbers, cherry tomatoes, etc.
Nutrition information is approximate and for ¼ of the recipe.
Nutrition Facts
Chicken Shawarma Meal Prep with Coconut Basmati Rice
Amount per Serving
Calories
324
% Daily Value*
Fat
6
g
9
%
Saturated Fat
2
g
13
%
Trans Fat
0.01
g
Polyunsaturated Fat
0.4
g
Monounsaturated Fat
1
g
Cholesterol
53
mg
18
%
Sodium
243
mg
11
%
Potassium
557
mg
16
%
Carbohydrates
44
g
15
%
Fiber
2
g
8
%
Sugar
4
g
4
%
Protein
22
g
44
%
Vitamin A
620
IU
12
%
Vitamin C
26
mg
32
%
Calcium
81
mg
8
%
Iron
2
mg
11
%
* Percent Daily Values are based on a 2000 calorie diet.
Calories
324
Nutrition Facts