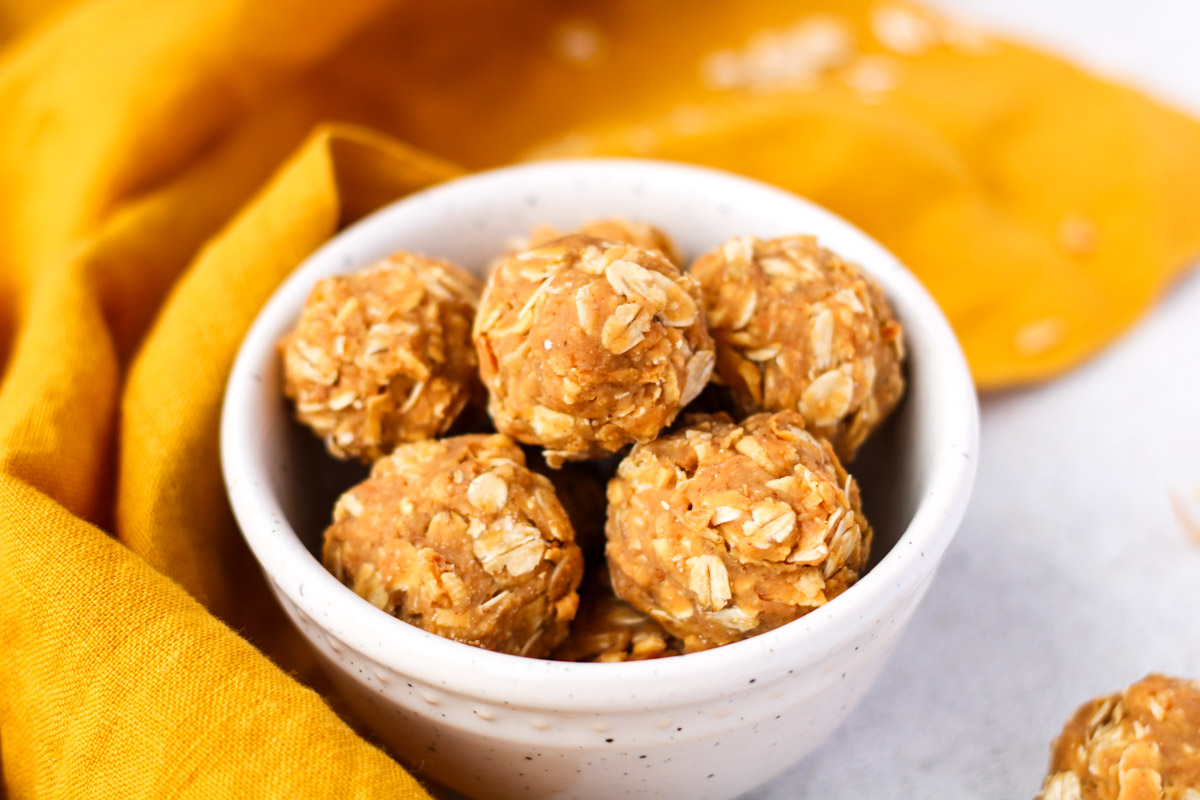
These Peanut Butter Coconut Energy Balls are a perfect no-bake gluten-free snack! With only 4 simple ingredients, you can make a batch of these peanut butter coconut energy bites in no time! Let's dig in😋
Rolled oats, peanut butter, shredded coconut and maple syrup.
Four ingredients that work SO WELL together.
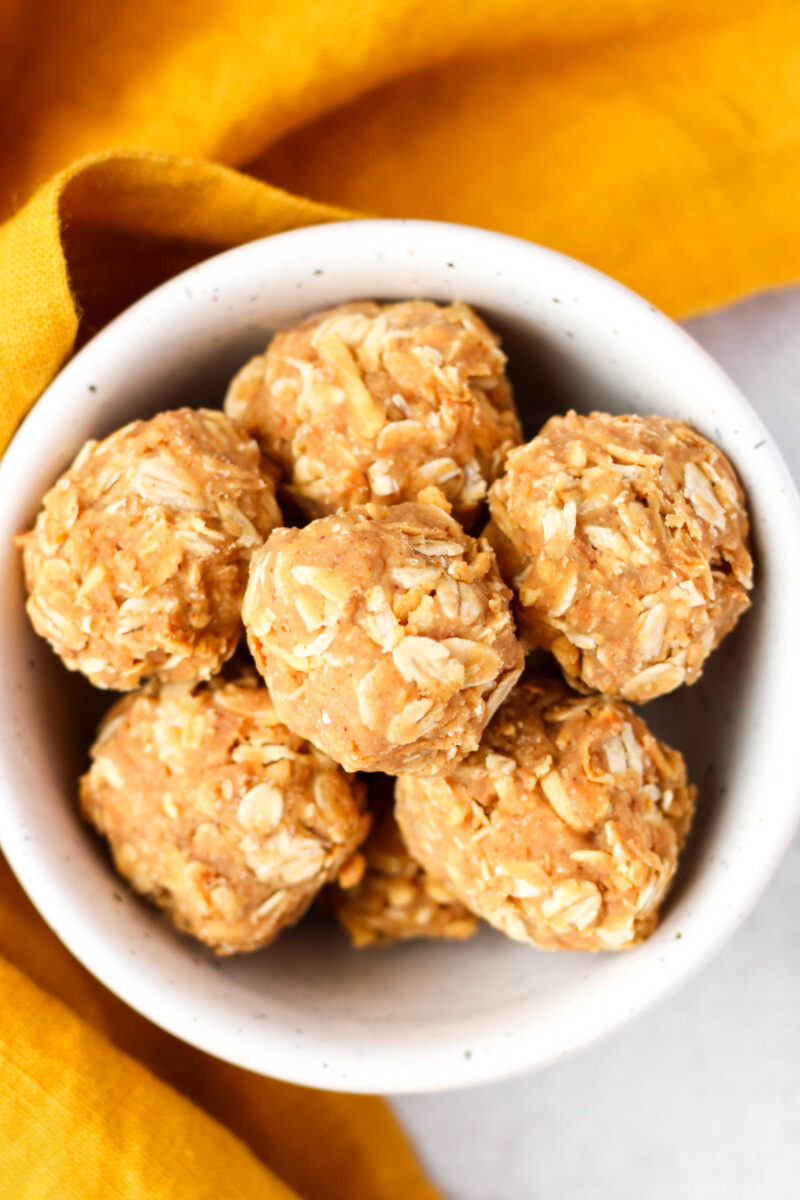
These little peanut butter balls of oat and coconut goodness are just begging to be hanging out in your freezer, patiently waiting till that moment you have a little sweet craving OR need a breakfast on-the-go.
Jump to:
📝Ingredients for peanut butter balls
- Gluten-free rolled oats - NOT instant oats; I like the "rolled oats" from Only Oats
- Pure maple syrup - the sweetness in this healthy snack come from pure and naturally gluten-free maple syrup
- Natural peanut butter - smooth peanut butter or chunky peanut butter - the choice is totally up to you! Creamy is nice for smoothness but if you like a little crunch in your energy bites, go for crunchy peanut butter
- Unsweetened shredded coconut - I recommend the unsweetened shredded coconut for this recipe. You've got enough sweetness from the maple syrup so don't need anymore. Also, if you can get toasted unsweetened and shredded coconut, that's my favourite and what I go for when it's available
See the recipe card below for amounts.
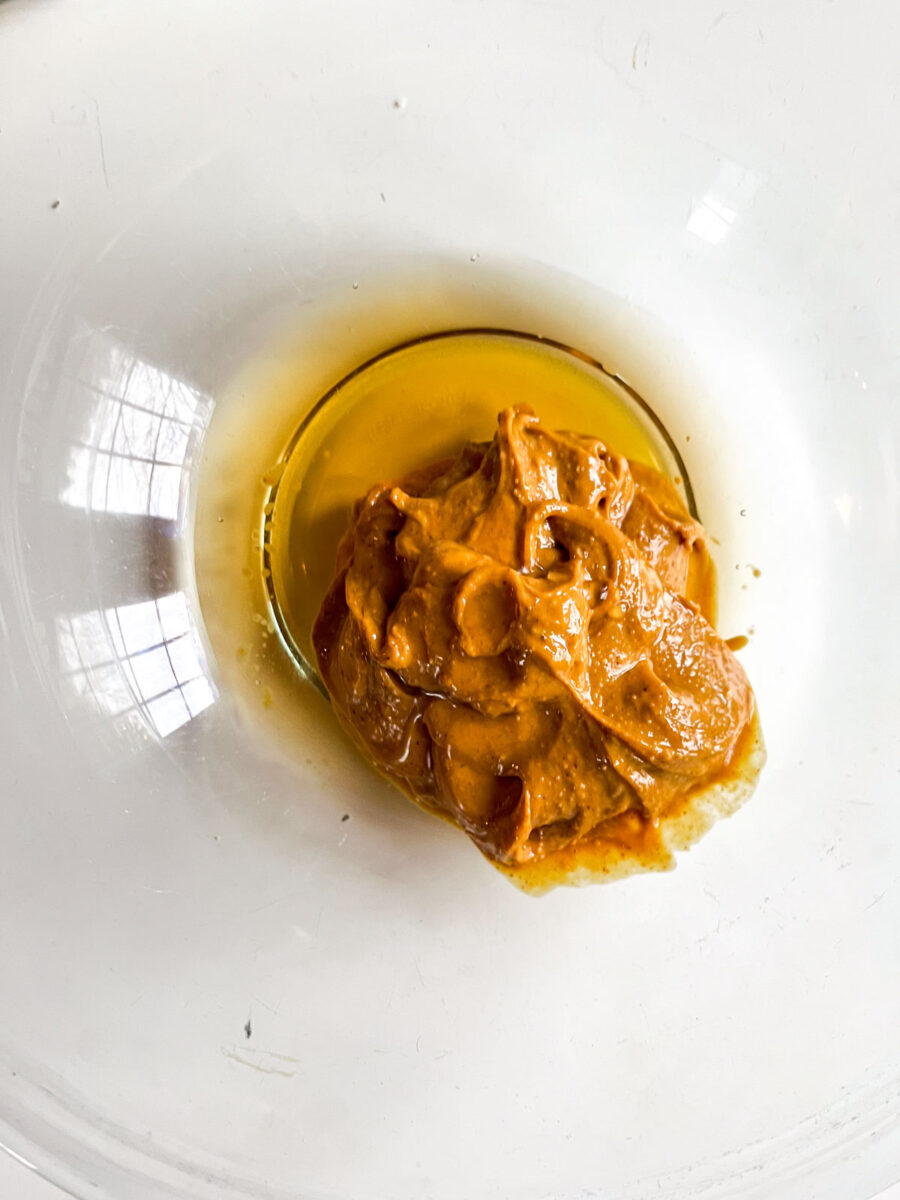
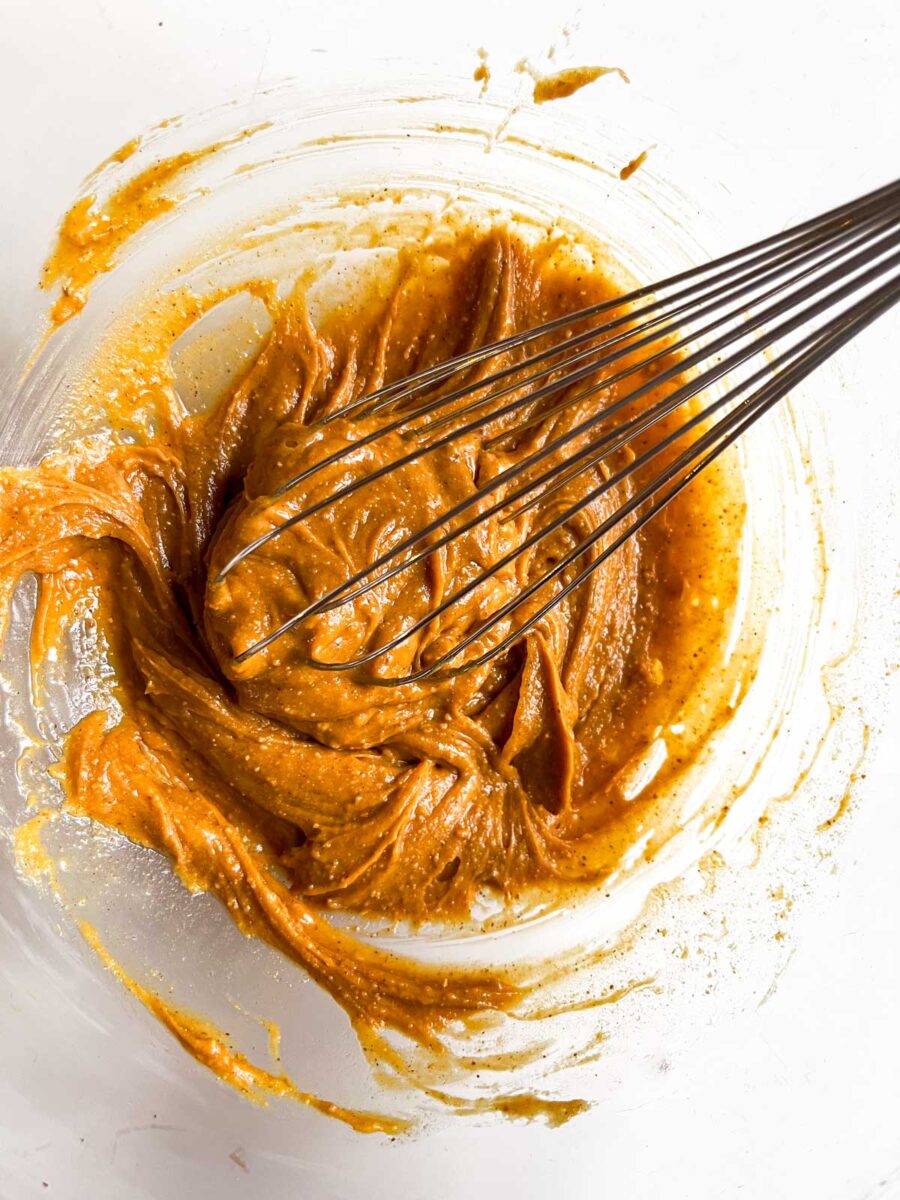
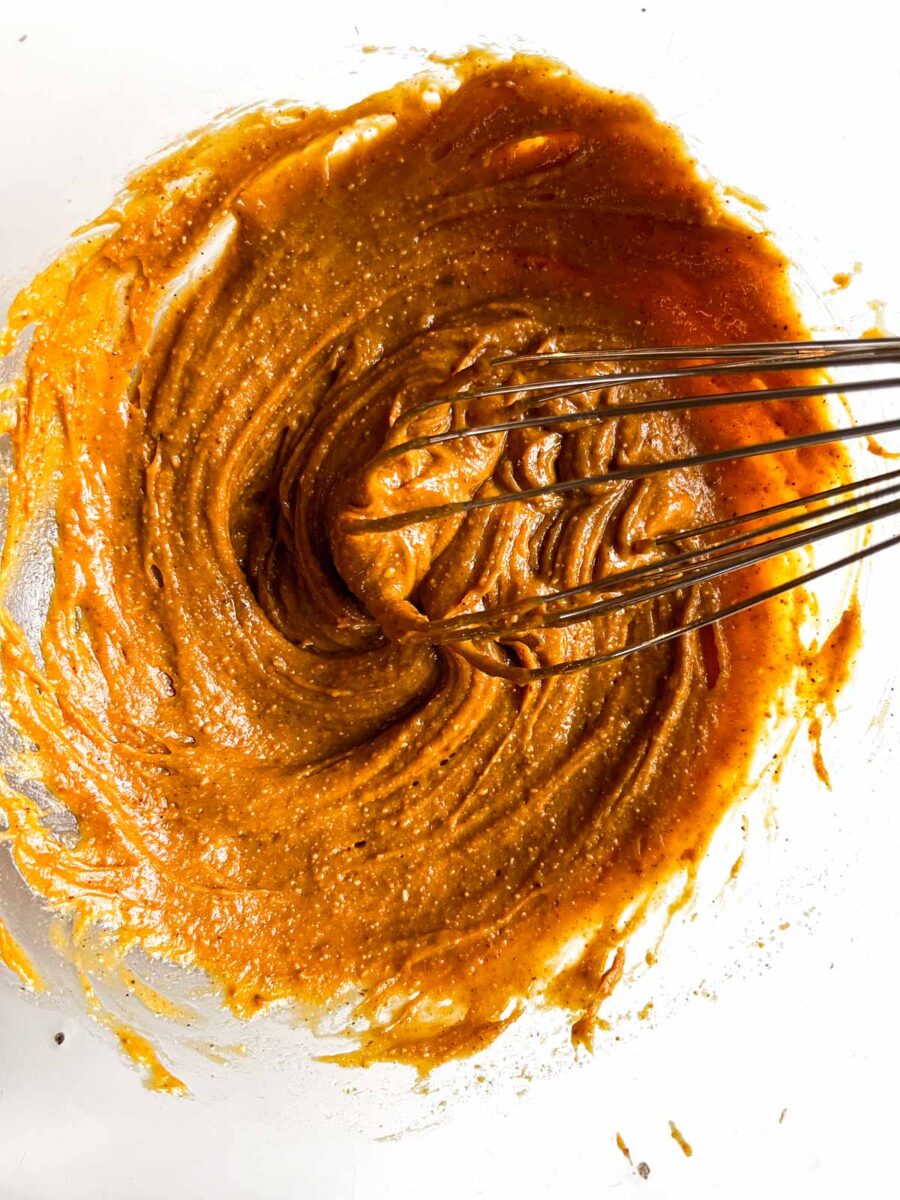
🔪How to make peanut butter energy balls
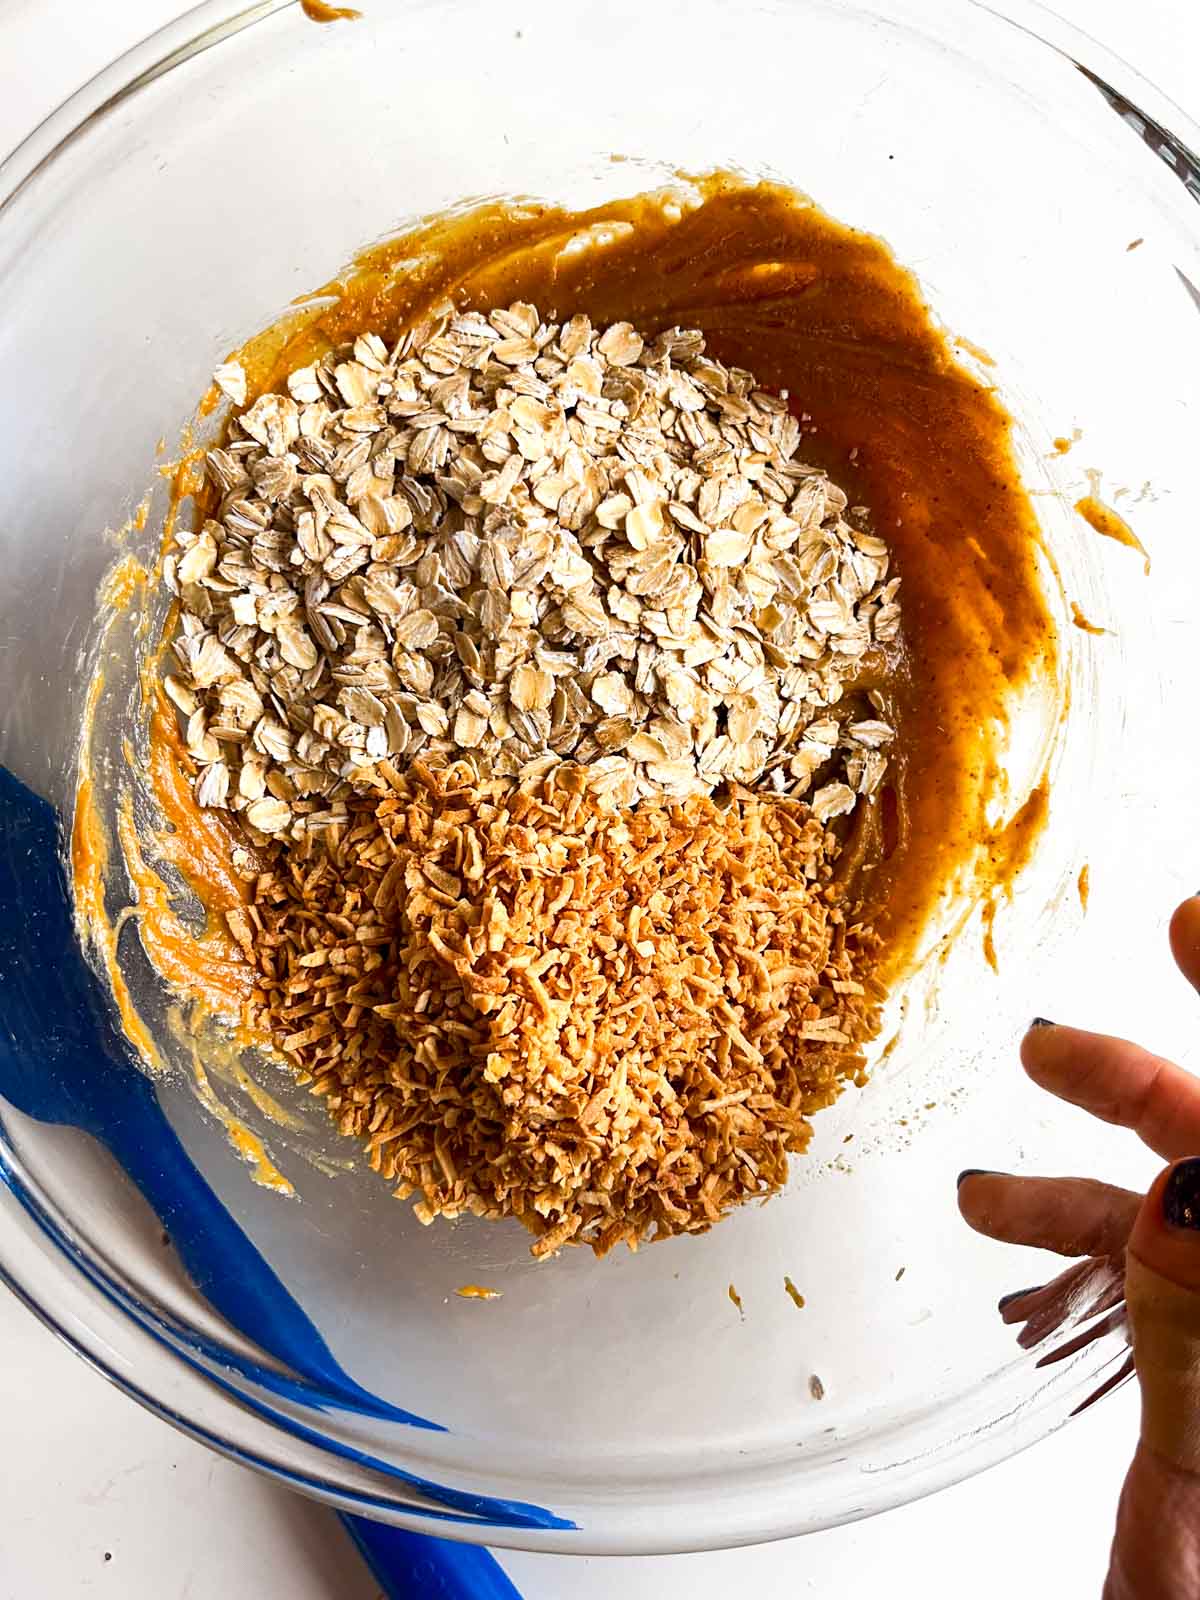
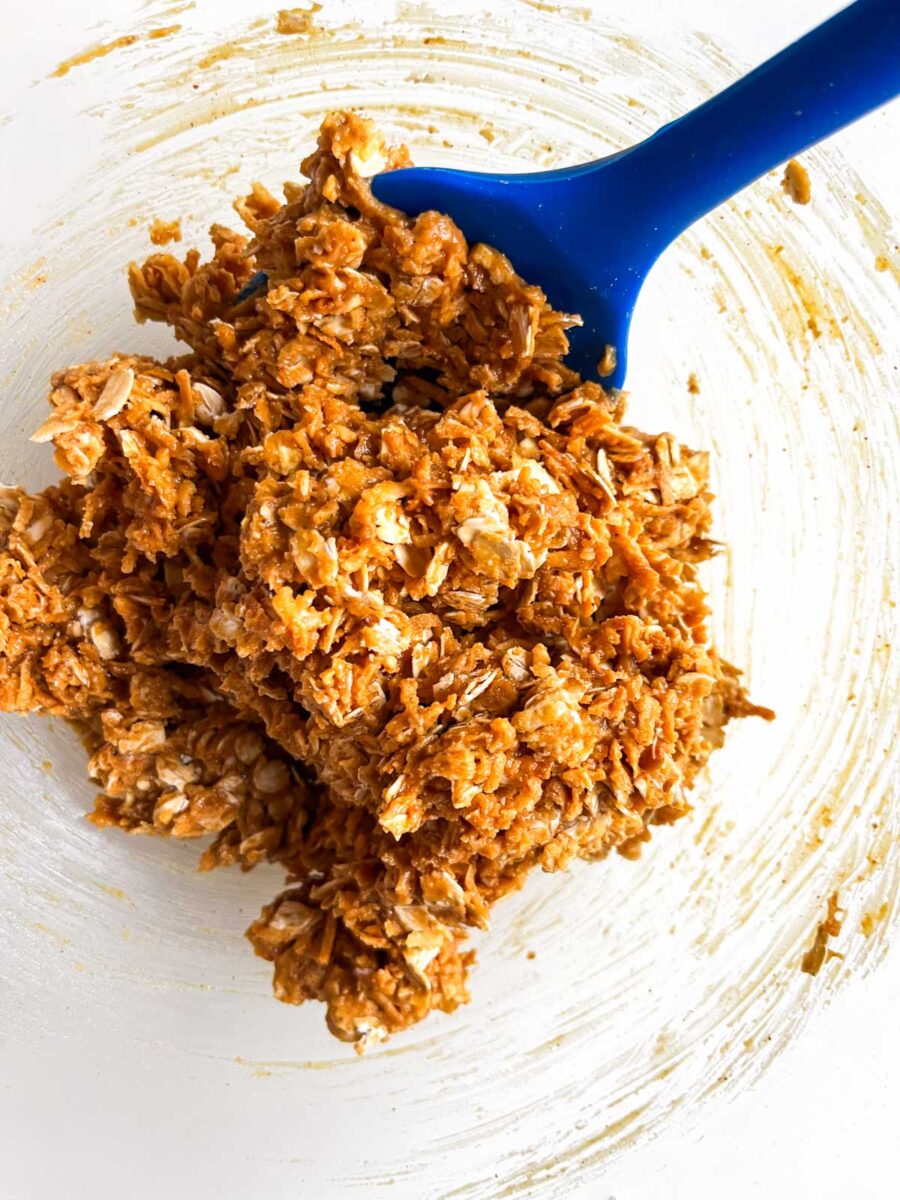
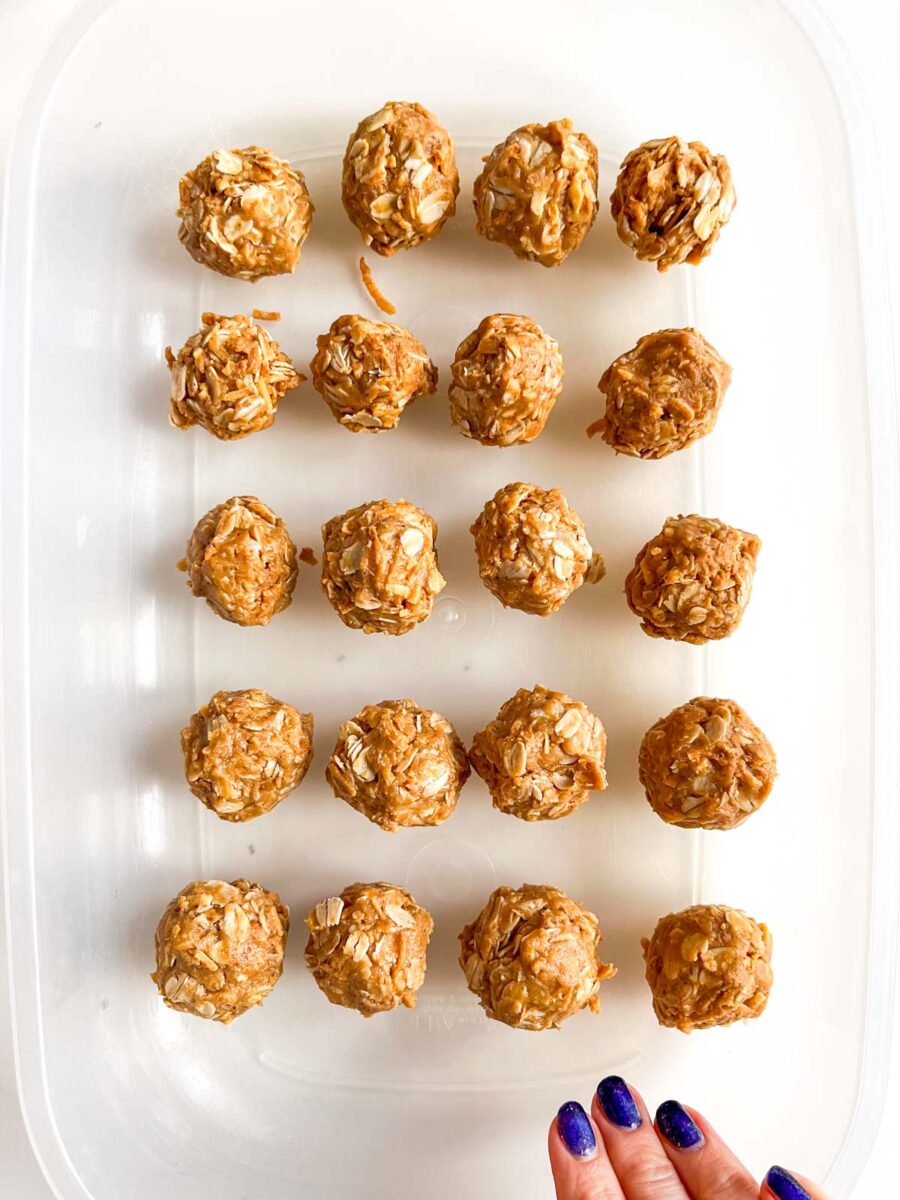
🙋♀️Can I use regular peanut butter?
Short answer: probably these no-bake bites would be just fine with regular peanut butter.
I've never tried making them with regular peanut butter though so if you do try, let me know in the comments how they turn out!
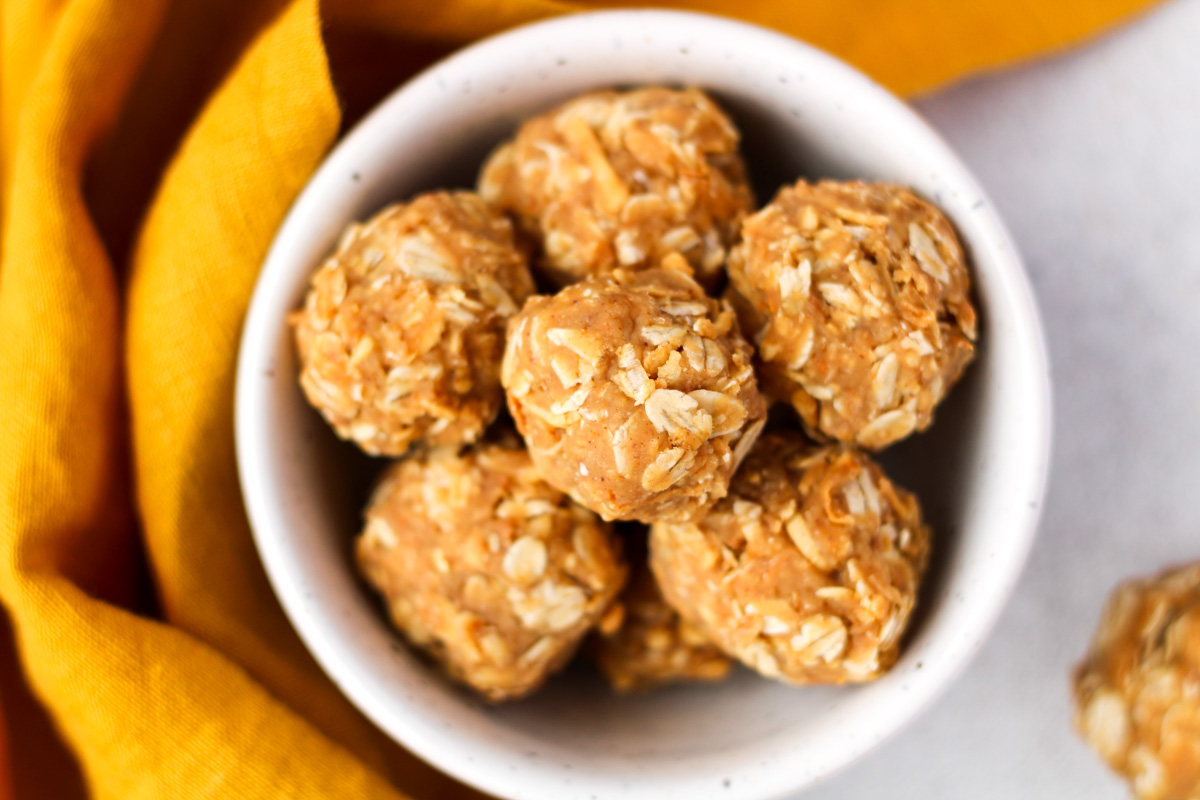
🥶Storage and Freezing
After making these peanut butter coconut bites, store them in an airtight container for up to 3-4 days.
I like to make a batch and store them in the freezer.
These peanut butter energy bites freeze really well.
After you make them, put them in an airtight container and pop them in the freezer for up to 3 months.
Then when you need a sweet treat - eat them right outta the freezer, cold.
Sweet, but not TOO sweet - and filling, these peanut butter energy bites will hit the spot for an afternoon snack or after dinner "treat".
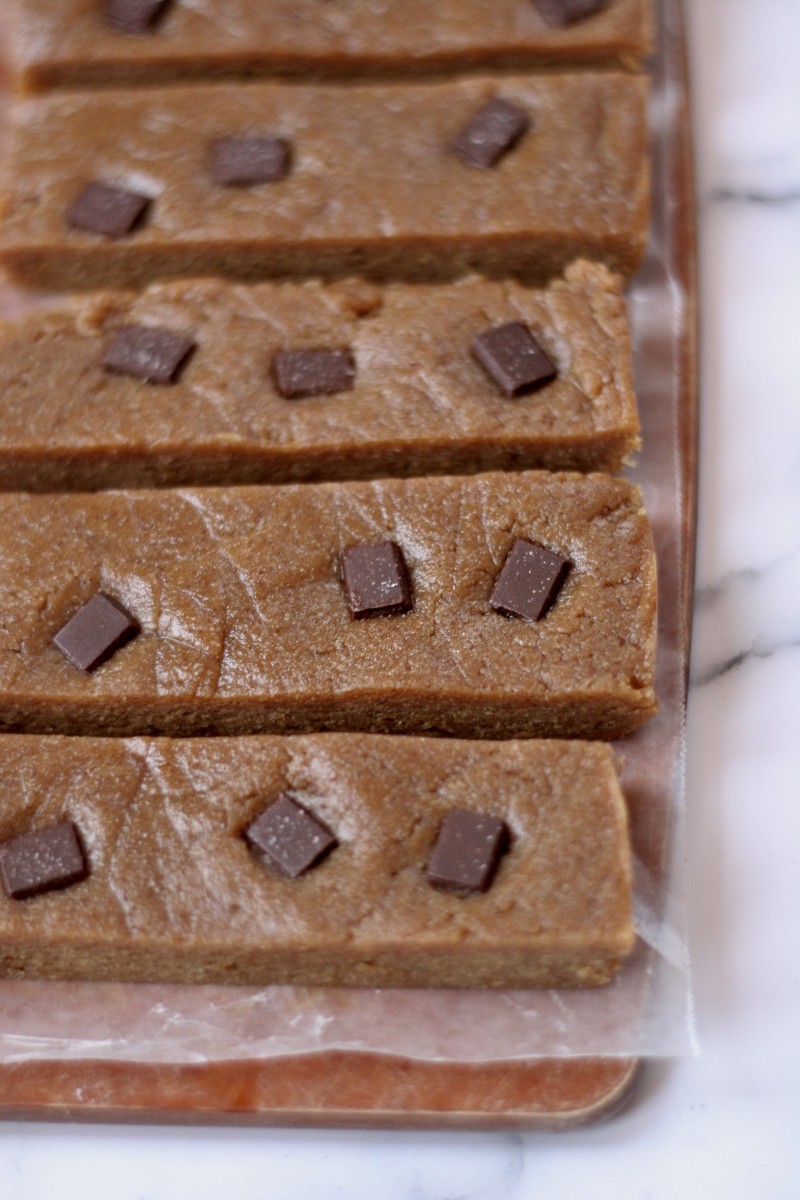
If you love healthy and easy recipes for gluten-free snacks, I think you'd also love these No-Bake California Prune Power Balls or these Gluten-Free Peanut Butter Energy Bars.
But one of my fave blogger out there throwing down delicious no-bake bites is Gimme Some Oven's recipe for no-bake bites - she's got a ton of variations too.
- You can boost the nutrition in almost any no-bake energy bite recipe with things like chia seeds or processed dates
I love how you can really customize the bites to whatever you like.
And whatever you end up putting in them, they're super easy and delicious😄
Have some fun and experiment with these energy bites.
You won't win 'em all but mistakes are easier to take when covered in peanut butter😋
Hope you love these energy bites❣️
If you try them, comment below and let me know!
I love hearing from you🙋♀️
~April
Want more?
Sign-up to get all the healthy and gluten-free recipes delivered straight to your inbox each week.
"*" indicates required fields
PS. Looking for more gluten-free and simple snacks?
Check these out:
- Healthy 3-Ingredient Sweet and Salty Oat Cookies
- Simple 2-Ingredient Greek Yogurt Summer Popsicles
- Gluten-Free Breakfast Oat Cookies with Date Sugar
- Banana Date Chia Smoothie
📖 Recipe
Peanut Butter Coconut Energy Balls
Ingredients
- ¾ cup natural peanut butter
- ¼ cup pure maple syrup
- 1 cup gluten-free rolled oats "large flake oats"
- ¾ cup unsweetened, shredded coconut
Instructions
- Add peanut butter and pure maple syrup to a medium microwave-safe bowl. Whisk together until well mixed.
- Heat this mixture for 20 seconds at a time in the microwave, about 3 times. Whisk between each heating. The peanut butter and maple syrup will start to smell amazing. It will also dry out a bit and become fluffier.
- Next, add the gluten-free rolled oats and shredded coconut to the peanut butter mixture. Stir well until completely combined.
- This mixture should be very easy to pick up. You can use your hands or a melon baller to shape into balls. (I usually start with the melon baller but then just end up using my hands because it's faster.)
- Store in an airtight container for up to 5 days or store in the freezer for up to 3 months.

Cynthia Tovar says
They look delish, thank u for sharing
Glad you think so, Cynthia! Thanks for taking the time to comment 🙂